These 7-Up biscuits are incredibly light and flaky. And, they only need four ingredients and 30 minutes!
With this easy recipe, you can enjoy the fluffiest homemade biscuits every single day.
The secret ingredient is – you guessed it – 7-Up soda mixed right into the batter.
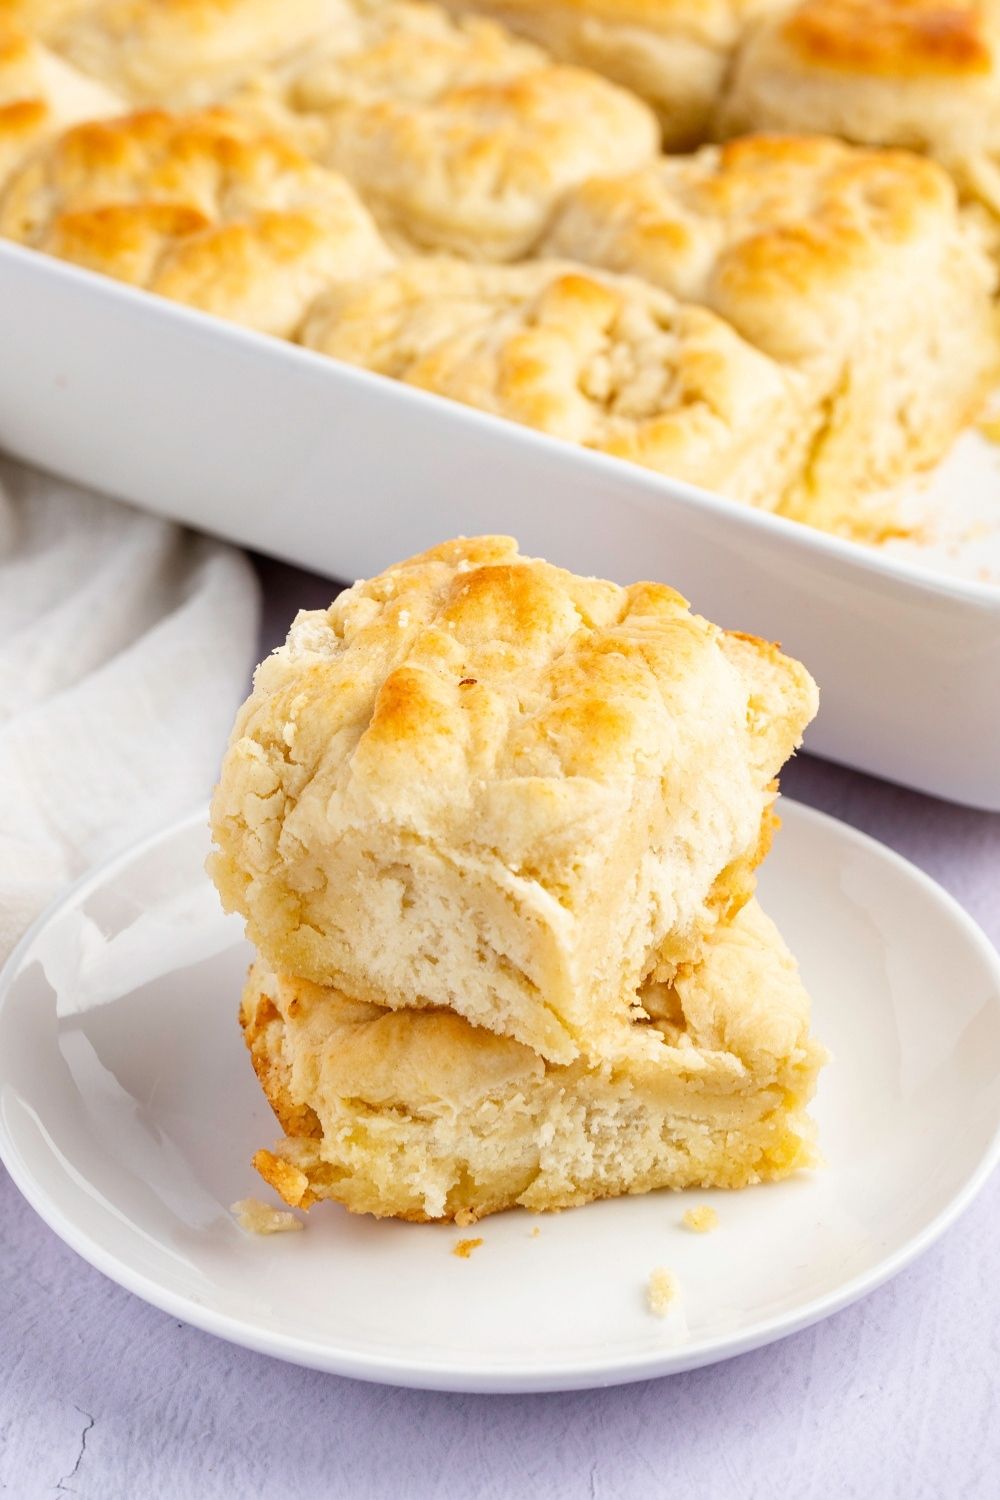
4-Ingredient 7-Up Biscuits
Homemade biscuits are great, but traditional recipes can be quite complicated.
Who has time to mix, knead, and cut biscuit dough, amirite?
Fortunately, this 7-Up biscuits recipe takes out most of the work.
The not-so-secret ingredient is 7-Up soda. The bubbles in the lemon-lime drink expand during baking, making the biscuits wonderfully airy.
Neat, huh?
Ingredients
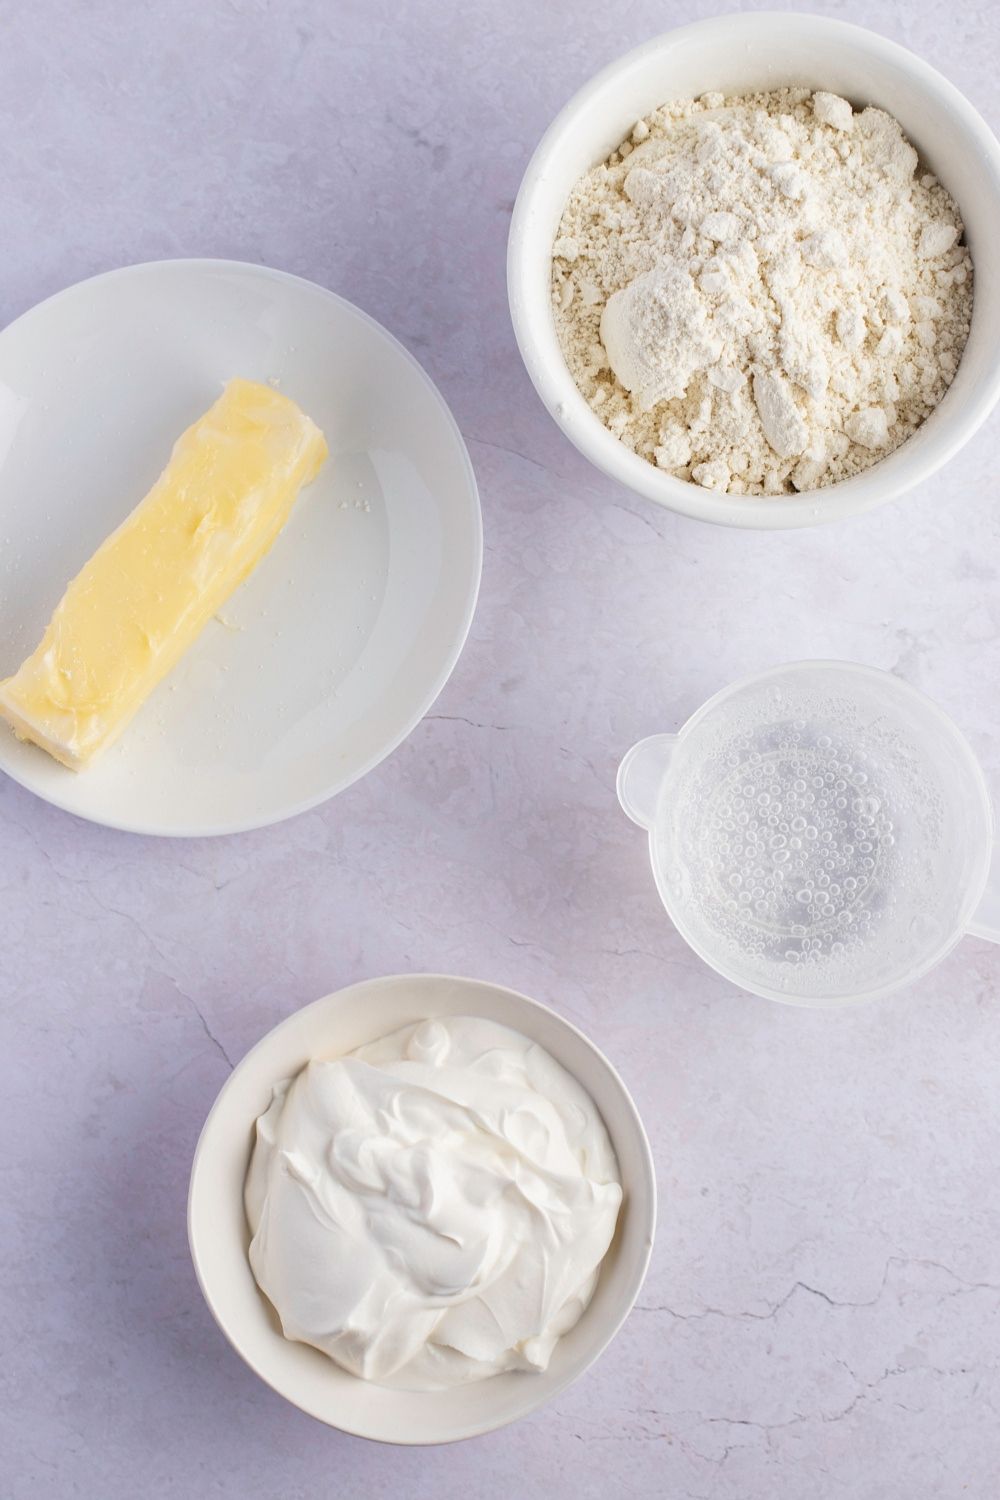
These biscuits only need four ingredients, and you might already have them on hand. Try them out and put the local diner out of business.
- Butter: Biscuits wouldn’t be biscuits without butter, both melted on top and mixed into the dough. This ingredient brings the essential fats for an extra-moist breakfast staple.
- Baking Mix: By using a pre-made baking mix, such as Bisquick, you can cut down on a lot of measuring and mixing. The factory already did it for you!
- Lemon-lime Soda: This is the ingredient that gives the recipe its name! Lemon-lime soda such as Sprite or 7-Up not only brings a sweet flavor but offers a light and airy texture to the dough.
- Sour Cream: All good recipes call for sour cream. This ingredient brings moisture and depth to the flavor of your biscuits. This is what gives them a quality taste!
How to Make Homemade Bisquick
Don’t have Bisquick? You can make your own!
But first, what is Bisquick?
It’s a ready-to-use baking mix that includes flour, shortening, leavening agents, and seasoning.
If you want to make it at home, you’ll need:
- 4 cups all-purpose flour
- 2 tablespoons baking powder
- 1/2 teaspoon salt
- 2/3 cup vegetable shortening
Just whisk the ingredients in a bowl until the mixture resembles coarse crumbs.
Homemade Bisquick can be prepared in advance and stored like regular flour for future use.
How to Make 7-Up Biscuits
Whip up some 7-Up biscuits in a snap! Here’s how:
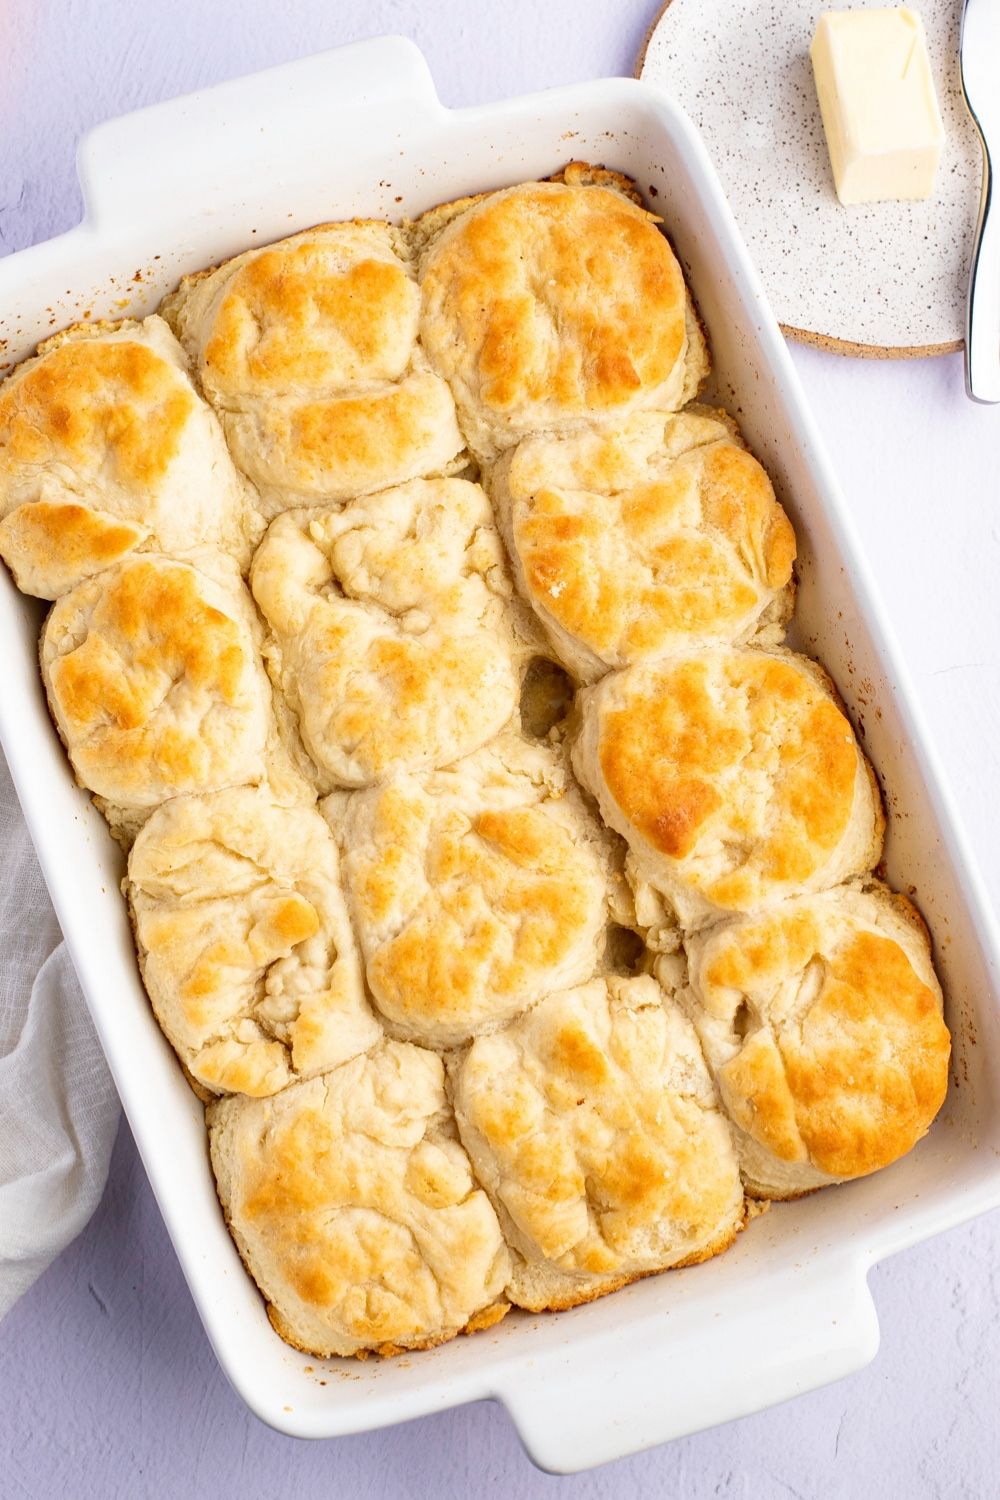
1. Preheat the oven to 425 degrees Fahrenheit. Place the butter in a baking dish and pop it in the preheating oven to melt it.
2. Combine the remaining ingredients (Bisquick, sour cream, and 7-Up) until a sticky dough is formed.
3. Shape the biscuits into one-thick-inch rounds.
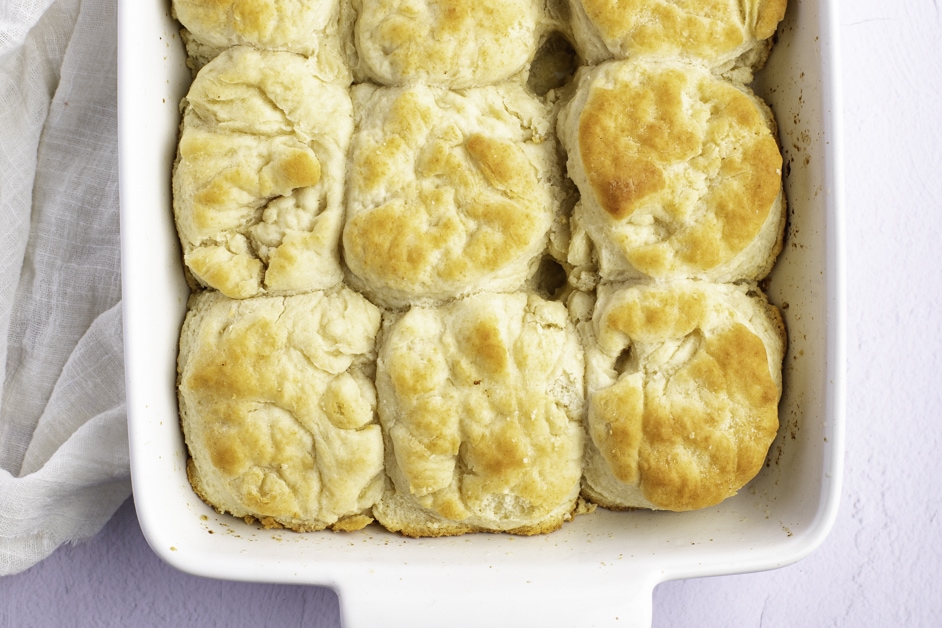
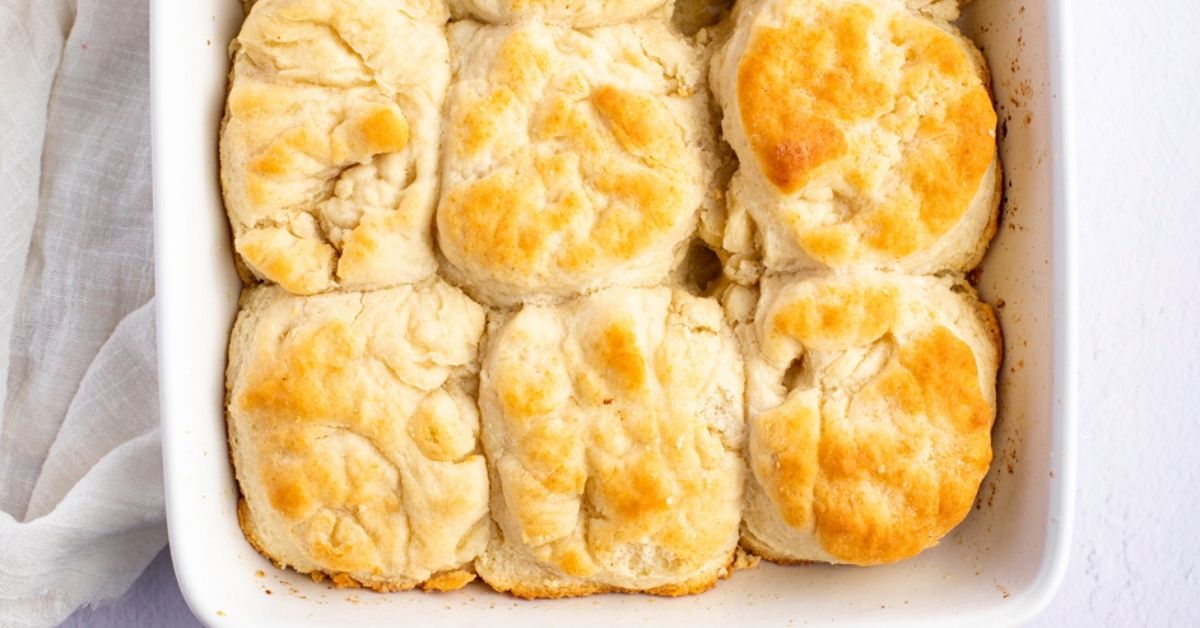
4. Bake the biscuits in the buttered dish for 10-12 minutes.
5. Serve and enjoy your freshly-baked homemade 7-Up biscuits!
Tips For the Best Biscuits
No one has time for trial and error! Follow these expert tips to ensure your first batch is a winner.
- Use a kitchen scale for accurate measurement. Weighing ingredients – especially the Bisquick – ensures precision.
- Spoon and level if you don’t have a scale. Scoop the mix with a spoon, then level it off with the back of a knife.
- Chill the dough if it’s sticky. Pop it in the fridge for about 30 minutes to firm it up. It also helps to flour your hands when working with the dough.
- Cut biscuits your way. Round or square, it doesn’t matter.
- Not enough room in the pan? Instead of cutting the dough into rounds, press it into the pan, then slice it into squares.
How to Store Leftovers
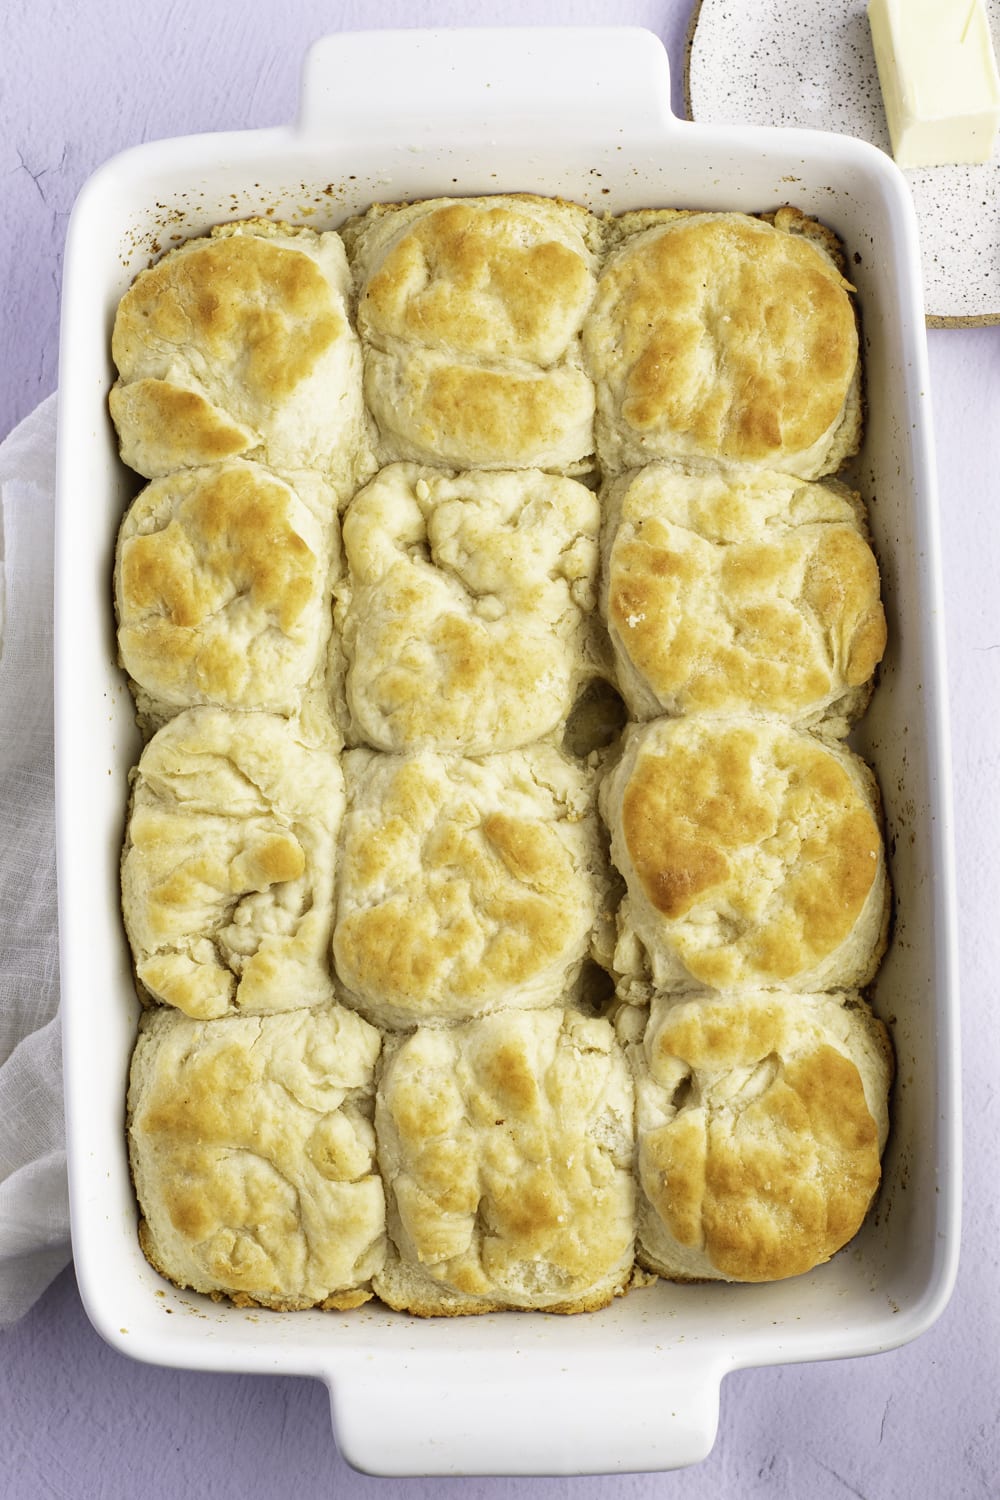
You can easily store leftovers and make 7-Up biscuits ahead. Here’s how to keep them perfect for later.
To Store Leftovers: Keep extras at room temperature, tightly covered, and they’ll stay good for 3 days.
To Freeze: Place the biscuits in a freezer-safe bag and freeze for up to 3 months.
To Reheat: Reheat biscuits in the oven until warmed through. If frozen, allow them to come to room temperature first.
To Store Unbaked Biscuits:
Whip up your dough, roll it into balls, and pop them on a greased sheet. Wrap them tightly in plastic wrap and refrigerate for 2 days max.
You can also freeze unbaked dough balls. Place them on a baking sheet and freeze them for 1-2 hours.
Transfer them into a freezer-safe bag and freeze for up to 3 months.
Let the dough balls come to room temperature and bake according to recipe instructions when you’re ready.
Frequently Asked Questions
Got biscuit baking conundrums? Here’s a quick FAQ guide.
What does the 7-Up do?
The 7-Up acts as a rising agent, giving them a fluffy texture without yeast or baking soda.
And no, the soda taste will be barely detectable.
Can I substitute Sprite or Ginger Ale?
Absolutely! This recipe works well with any lemon-lime soda.
Do be sure to stick to the lemon-lime family, though. Different soda flavors might affect the color and taste of the biscuit.
Can I use Diet 7-Up?
Yes, but bear in mind that diet soda might leave an unpleasant taste.
Why are my biscuits not light and fluffy?
It could be due to an excess of Bisquick.
Be sure to measure it accurately and avoid adding too much of it when kneading.
Don’t over-knead the dough, as well. An overworked dough often yields tough and dense biscuits.
What to Serve with 7-Up Biscuits
Old-Fashioned Beef Stew
Mississippi Pot Roast
Chicken a la King
Grandma’s Chicken Noodle Soup




I’m a 72 Lady trying lose weight due to being diagnosed as diabetic. So your recipes are great as one gets in a rut what to make that’s easy and tasty.
What size pan for the biscuits, Thank you
Hi Heidi, you’ll want to use a 9×13 baking dish for this recipe. Hope you like them!
You left out the amount of bisquick to use.
Hi Louise, you will use 2 cups of Bisquick for this recipe.
What do you mean by 2 baking mix?? How much ready mix Bisquick for this recipe?
Hi Jojo, you use 2 cups of Bisquick for these biscuits.
The recipe did not say how much Bisquick to use.
Hi Joan, you’ll want to use 2 cups of Bisquick for these biscuits!
Is this 2 cups of Bisquick???
Hi Marie, yes, 2 cups of Bisquick is correct!
Question, do you also butter the tops of the biscuits once they are in the pan before baking?
Hi, Doug!
No, you don’t have to butter the biscuit tops. The butter in the dish will coat the bottom and sides of the biscuits, so they’ll be plenty buttery already. 🙂
Hi beautyeval, glad to see you included the 7up biscuits recipe in your shared collection. I make these a lot and we love them! Before I retired I used to bake some up and take them to work to share, they never lasted long at all. The only difference is I do pat the dough out on a lightly floured surface and use a round biscuit cutter, being careful not to overwork the dough, then finish out the process exactly as you do. The biscuits are always great! Just thought I’d share that little tid bit for anyone that might be interested. All of you biscuit Bakers out there really should try this recipe, it’s soooo gooood! Thanks again beautyeval! Keep em coming!
I have tried several different biscuit recipes and I must say that that these are the easiest yet, and they are so good.