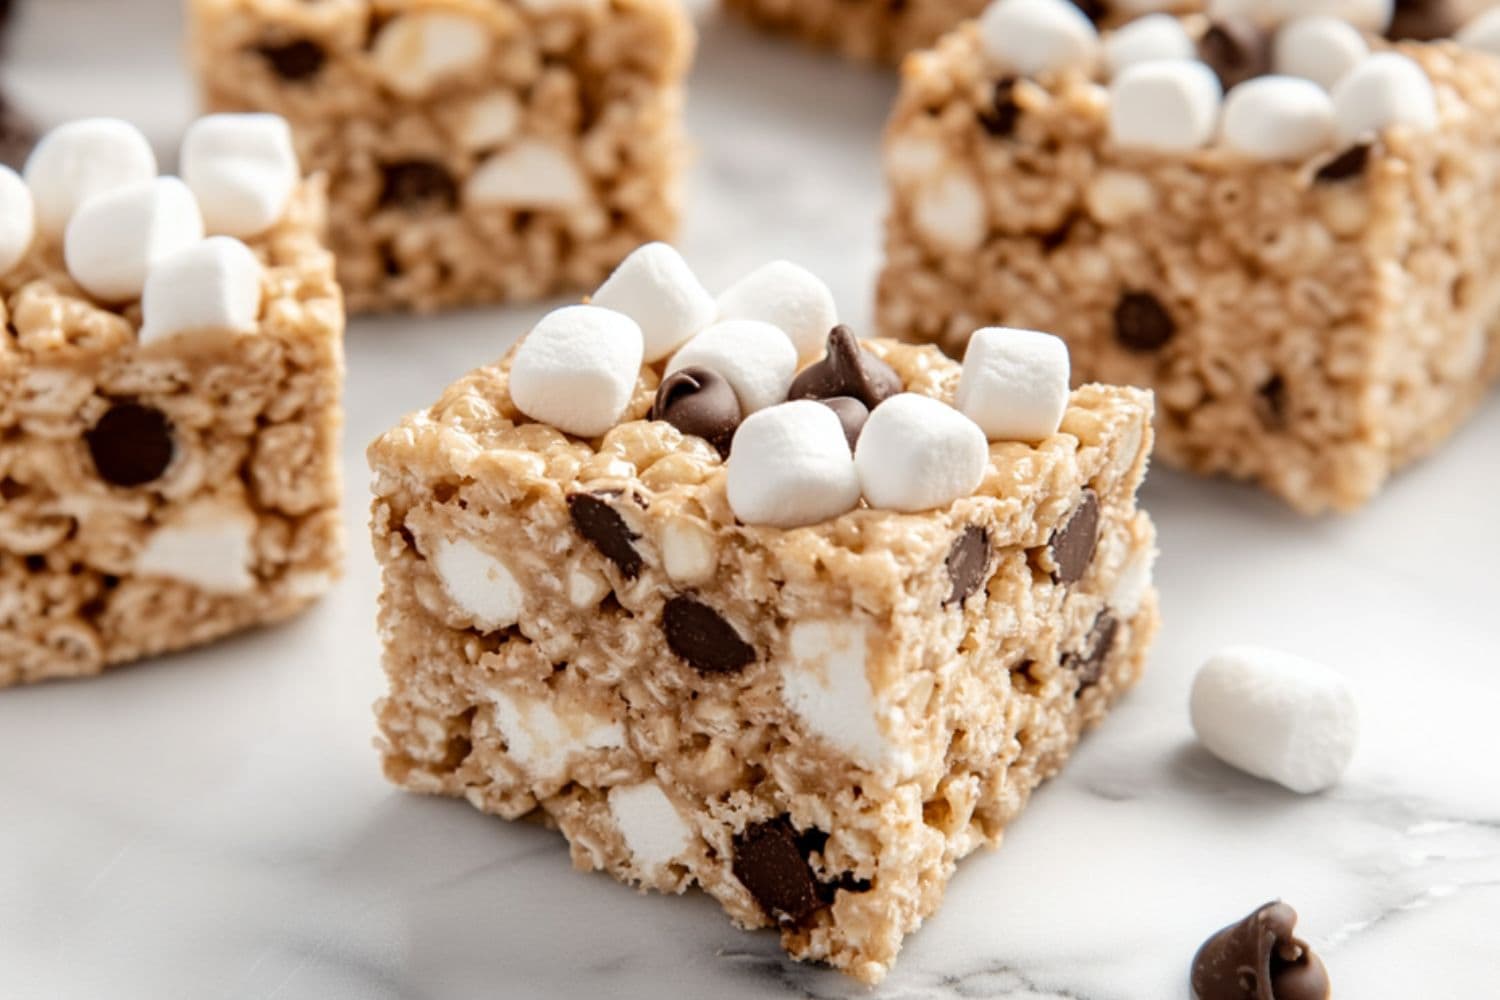
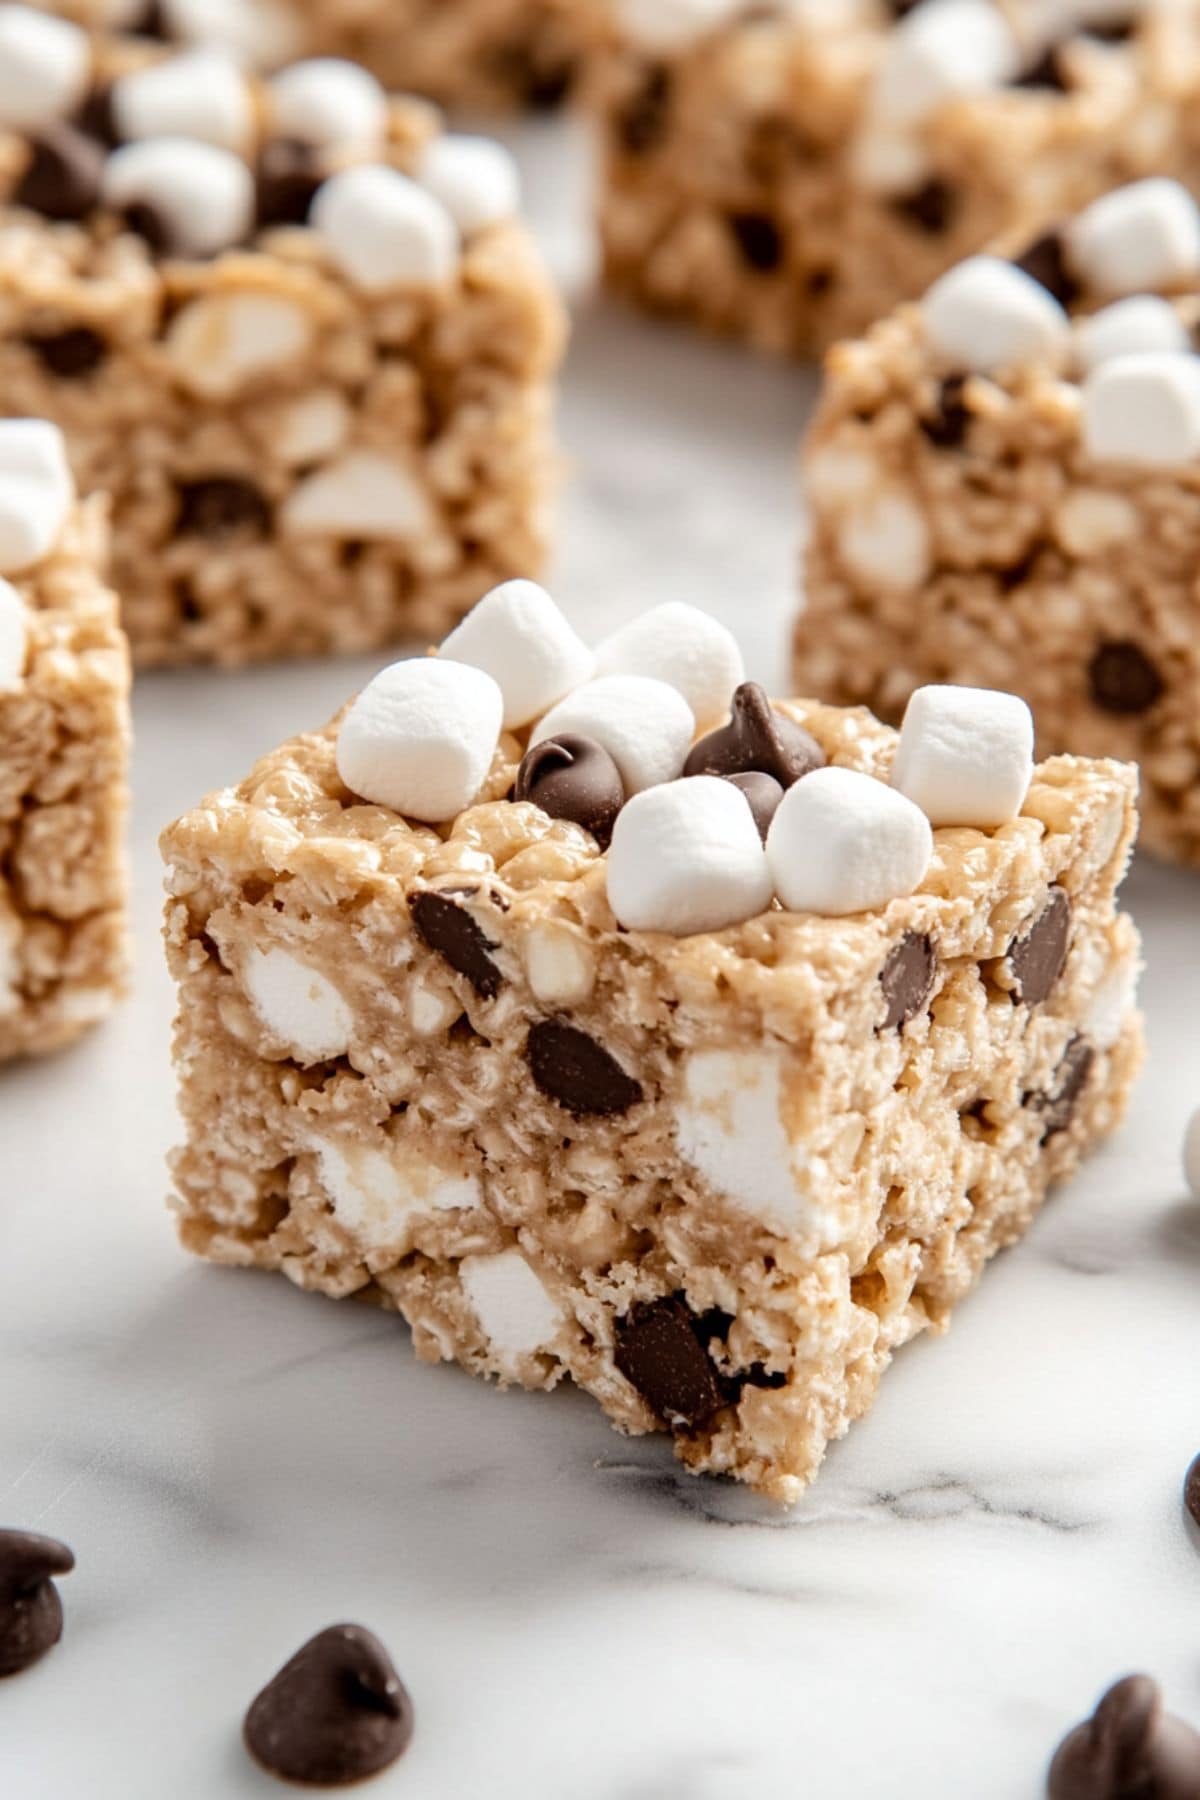
The no-bake Rocky Mountain Avalanche Bars will transport you to dessert heaven!
Between the creamy white chocolate, crunchy Rice Krispies, gooey marshmallows, and salty peanut butter, they’re seriously addictive.
They’re perfect for satisfying your sweet tooth and are super easy to make at home.
Ideal for snacking, parties, and potlucks, you should know it’s impossible to eat just one!
Why You’ll Love These Avalanche Bars
Quick & Easy: These Avalanche Bars are incredibly easy to make, requiring no baking and minimal kitchen equipment. They are perfect for quick and convenient preparation.
Textural Delight: Combining crunchy Rice Krispies, creamy peanut butter, and soft marshmallows provides a delightful mix of textures.
Rich Taste: The blend of white chocolate, peanut butter, and mini chocolate chips creates a rich and indulgent taste.
Cost-Effective: Making these bars at home is significantly cheaper than buying similar treats from specialty stores.
Ingredients
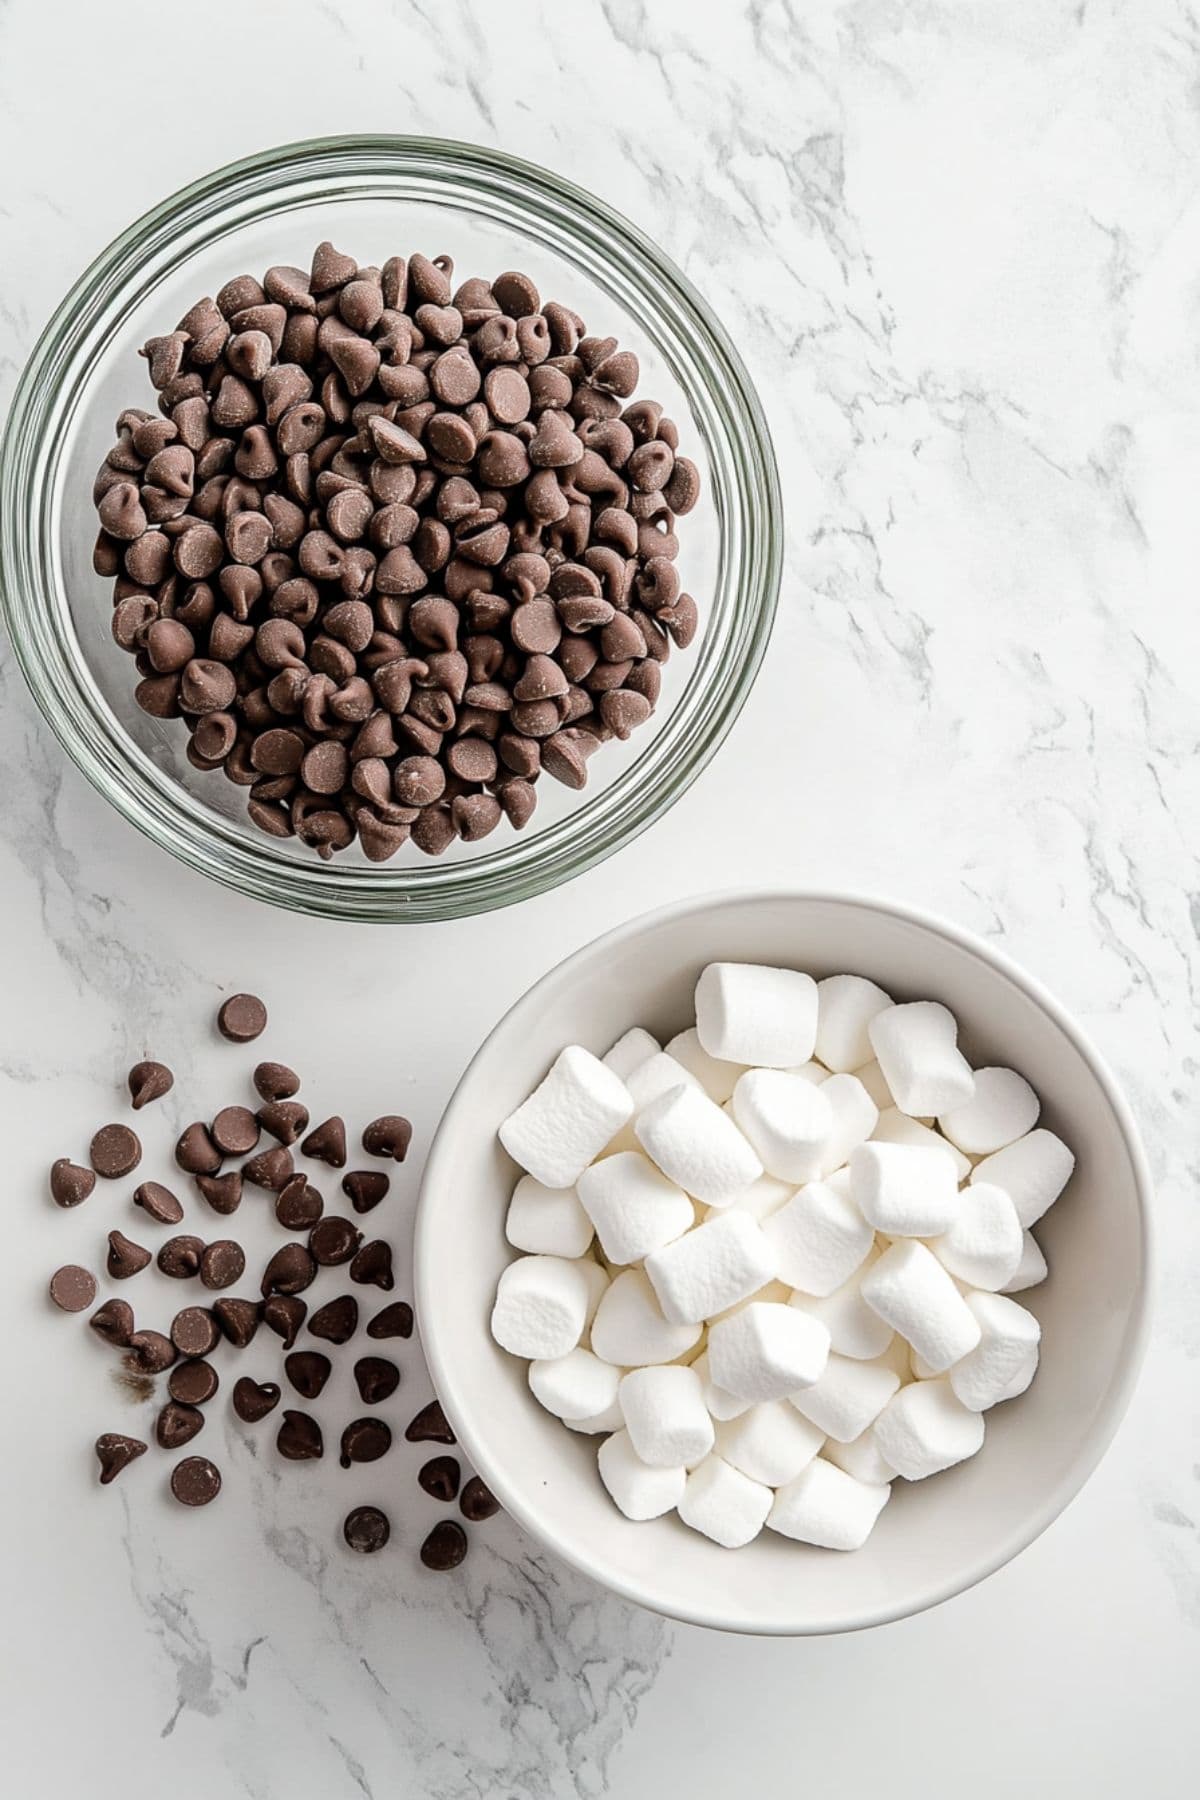
- White Chocolate Chips: The creamy, sweet base that holds everything together. Since it’s the key to the bar’s texture and taste, be sure to get a top-quality brand.
- Creamy Peanut Butter: Adds a rich, nutty flavor that compliments the white chocolate. Be sure it’s creamy, as crunchy is drier.
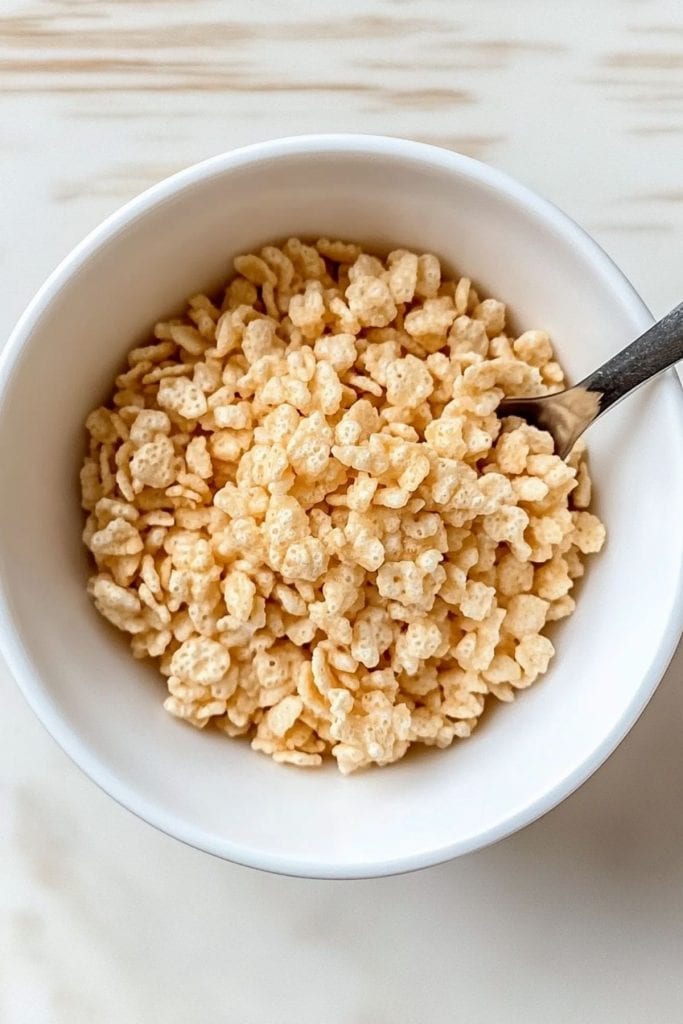
- Rice Krispies Cereal: Provides a satisfying crunch in every bite.
- Mini Marshmallows: Brings a fun, fluffy texture to the mix.
- Mini Chocolate Chips: The final flourish that elevates these bars. I like them in the bars, too, but you can just sprinkle them on top if you prefer.
How to Make Avalanche Bars
I’m not being over dramatic when I say I ADORE these tasty no-bake treats.
I may or may not have “accidentally” broken a few while cutting them so I could sample the imperfect pieces. Oops!
Luckily, they’re so easy to make! Check out the steps:
1. LINE a 9×9-inch square dish with parchment paper.
2. MICROWAVE the white chocolate chips in 30-second intervals until completely smooth. Stir after each interval.
3. MIX in the creamy peanut butter until combined.
4. STIR in the Rice Krispies, mini marshmallows, and chocolate chips until evenly coated with the white chocolate mixture.
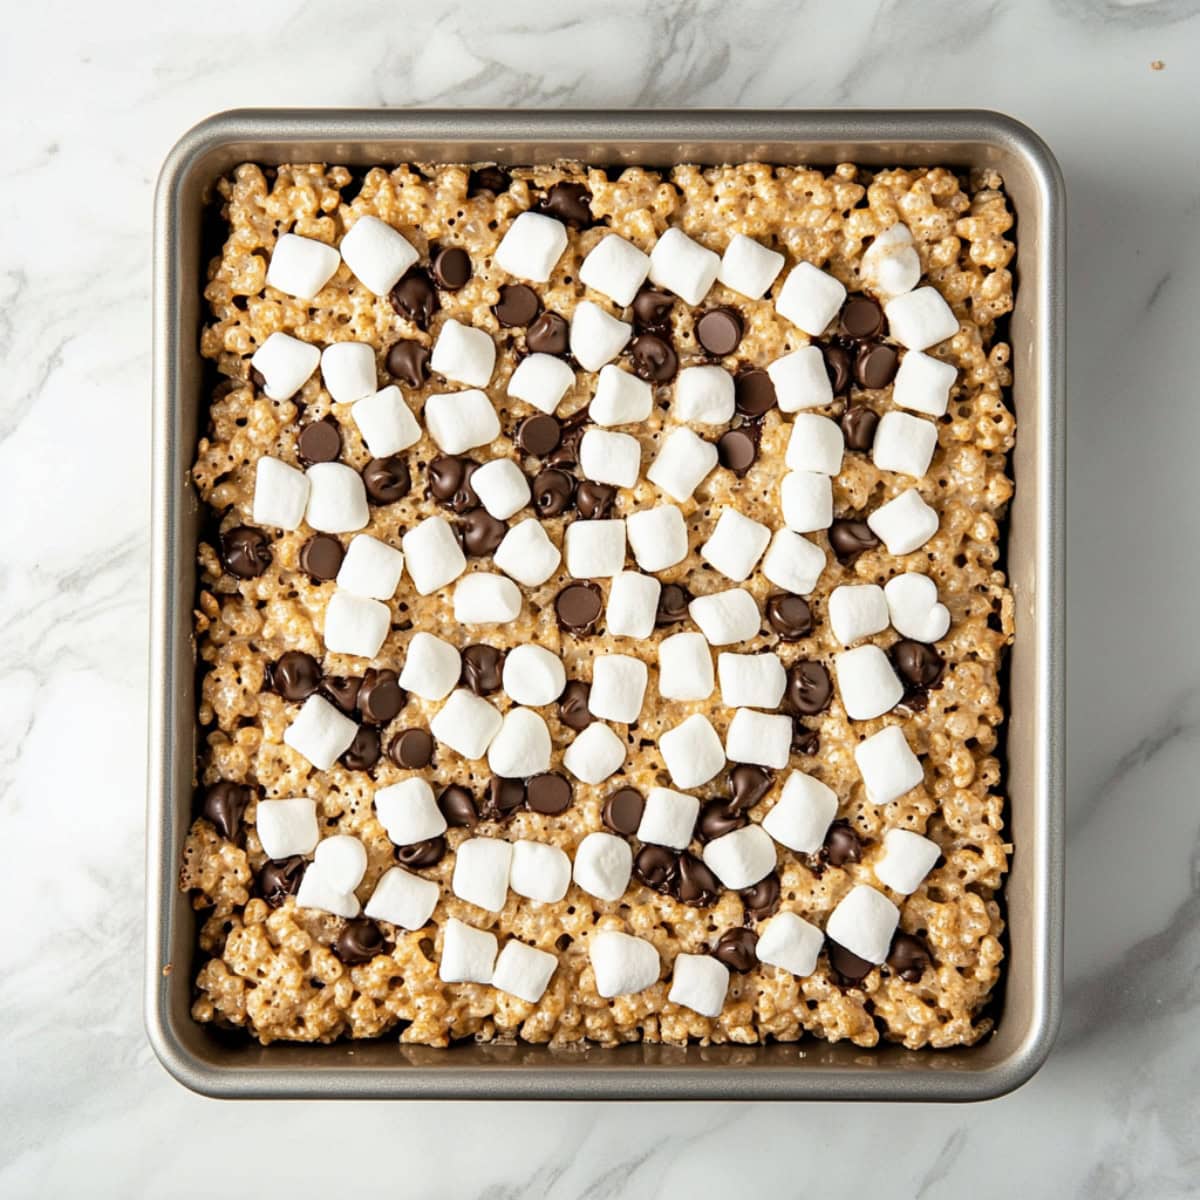
5. SPREAD the mixture evenly into the prepared dish. Top with extra chocolate chips.
6. COOL the bars at room temperature or in the fridge until firm.
7. SLICE into squares using a sharp knife and enjoy!
Tips For the Best Avalanche Bars
I’ve always been a fan of the original Rocky Mountain Avalanche Bars, but making them at home takes it to a whole new level.
The aroma of the melted white chocolate and peanut butter is heavenly. So much so, you might not be able to wait until they’re set to dive in.
But if you can hold off, I promise it’s worth it!
Check out these tips, then let’s get mixing:
- Use parchment paper. Line the baking dish with parchment paper to easily remove the bars.
- Top-quality chocolate. It’s worth the splurge for that rich and creamy taste and texture.
- Melt carefully. White chocolate is prone to burning, especially cheaper white chocolate. So, use 50% power and stir well every 30 seconds.
- Fold gently. When adding the rice krispies and marshmallows, fold them gently to avoid crushing the cereal.
- Press lightly. Press down gently on the top of the mixture to smooth it out. Don’t compact the bars too much, or they will be hard.
- Chill briefly. Let the bars set at room temperature until firm. Or place them in the fridge for 15-20 minutes to speed up the process.
- Get creative. Try variations with different cereals or chopped nuts. Or swap white chocolate for butterscotch or peanut butter chips.
How to Store
Whether you’re a fan of the original or just love a good sweet treat, you’ve got to try making these at home. I promise you won’t be disappointed!
And yes, they’re ideal for making ahead.
To Store: Place cold Avalanche Bars in an airtight container, separating layers with parchment paper. Keep them at room temperature for up to 3 days or refrigerate for a week.
To Freeze: Wrap individual bars tightly in plastic wrap, then place them in a freezer-safe container or bag. Freeze for up to 3 months, thawing at room temperature for 2-3 hours before serving.
More No-Bake Treats You Have to Try
Homemade Reese’s Bars
No Bake Cookies
No-Bake Avalanche Cookies
No-Bake Brownies
Avalanche Bars
12
servings10
minutes20
minutes149
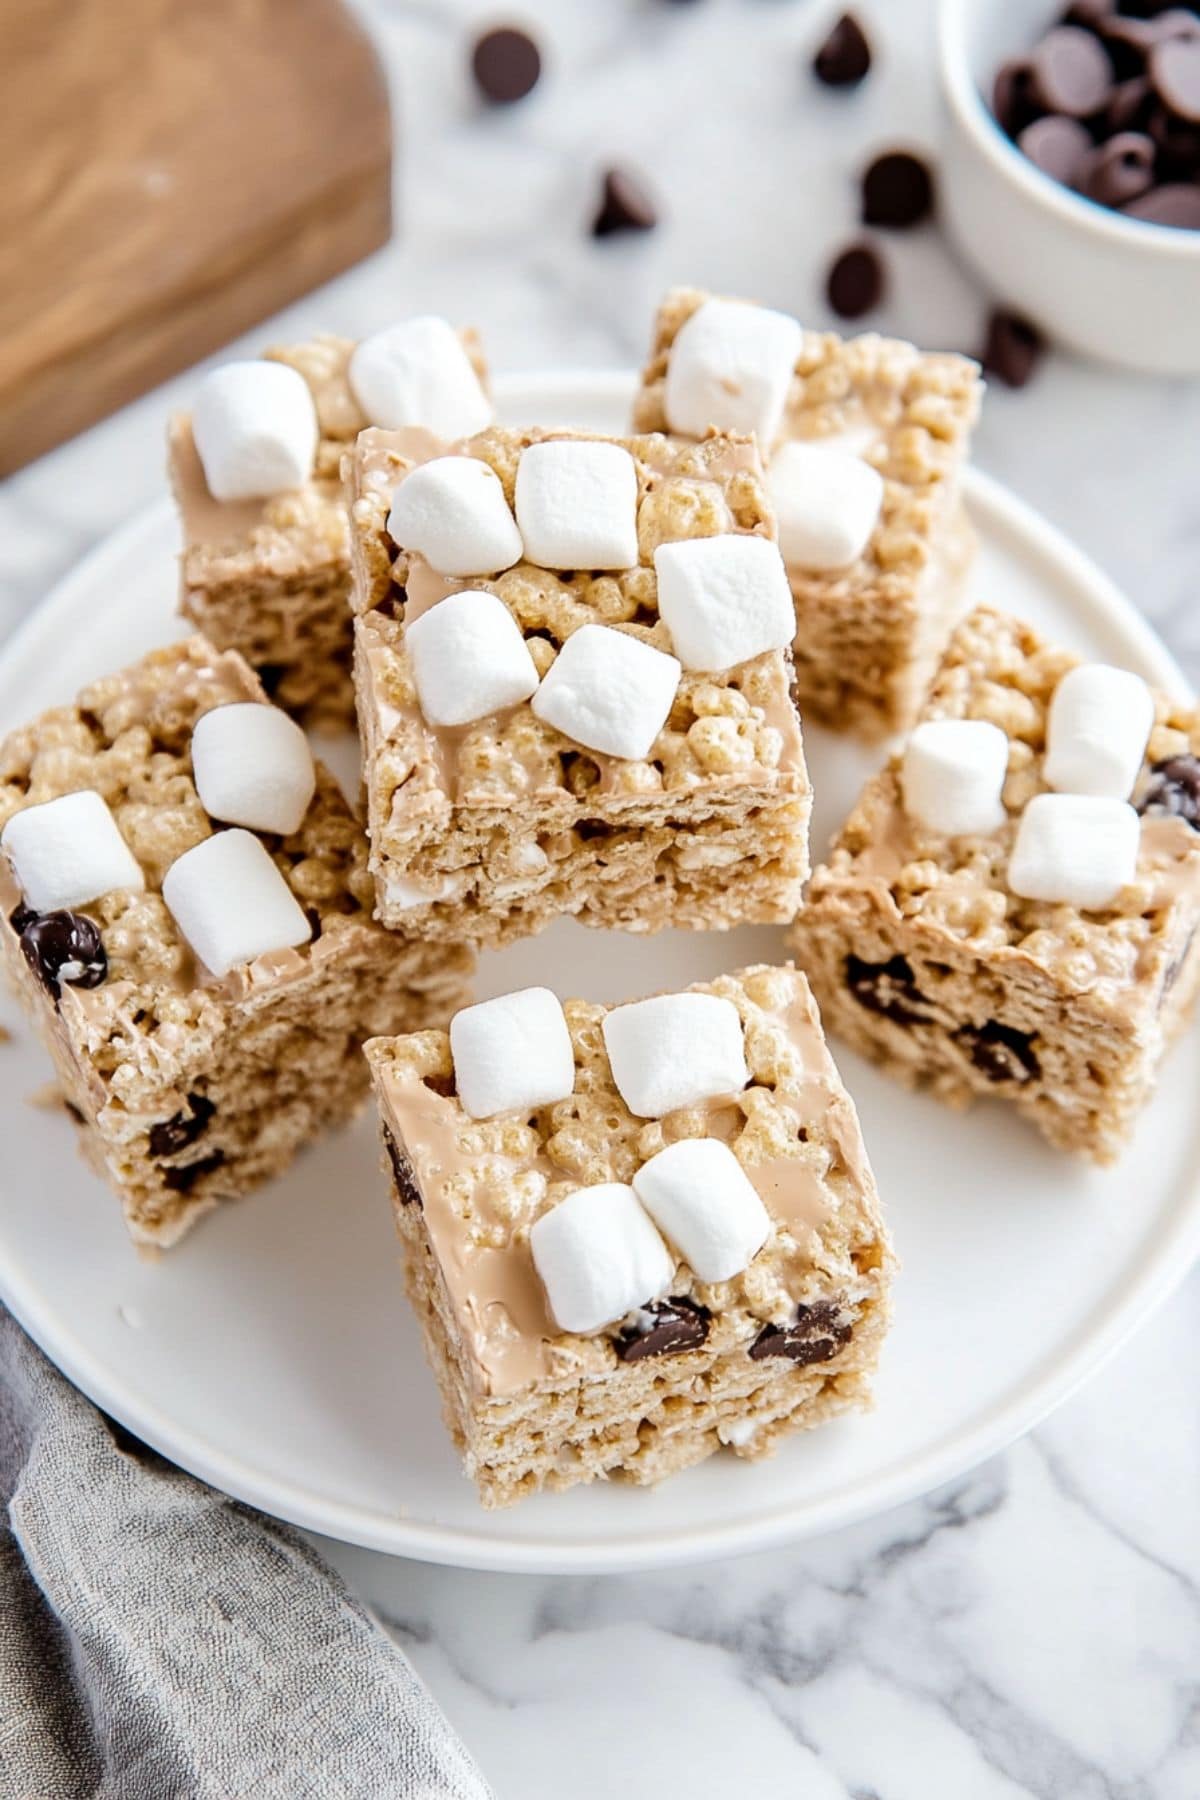
kcalThese Rocky Mountain Avalanche Bars are loaded with rich and creamy white chocolate, salty peanut butter, chewy marshmallows, and crispy rice cereal.
Ingredients
2 cups white chocolate chips
1/3 cup creamy peanut butter
3 cups Rice Krispies cereal
1 1/2 cups mini marshmallows
1/2 cup mini chocolate chips
Instructions
- Line a 9×9-inch baking dish with parchment paper, leaving a bit of overhang for easy removal. Lightly grease the paper with baking spray and set aside.
- In a large, microwave-safe bowl, melt the white chocolate chips at 50% power in 30-second intervals. Stir well between each spin until completely smooth.
- Stir in the creamy peanut butter until fully combined.
- Gently fold in the Rice Krispies, mini marshmallows, and 1/4 cup of mini chocolate chips, making sure they are evenly coated with the white chocolate mixture.
- Spread the mixture evenly into the prepared dish, pressing down gently to smooth the top.
- While the mixture is still soft, sprinkle the remaining mini chocolate chips over the bars. Lightly press them onto the surface to ensure they stick.
- Let the bars sit at room temperature until firm. Alternatively, place them in the fridge for 15-20 minutes to speed up the setting process.
- Once set, lift the bars out using the parchment overhang. Cut into squares and enjoy!
Notes
- Top-quality chocolate. It’s worth the splurge for that rich and creamy taste and texture.
- Melt carefully. White chocolate is prone to burning, especially cheaper white chocolate. So, use 50% power and stir well every 30 seconds.