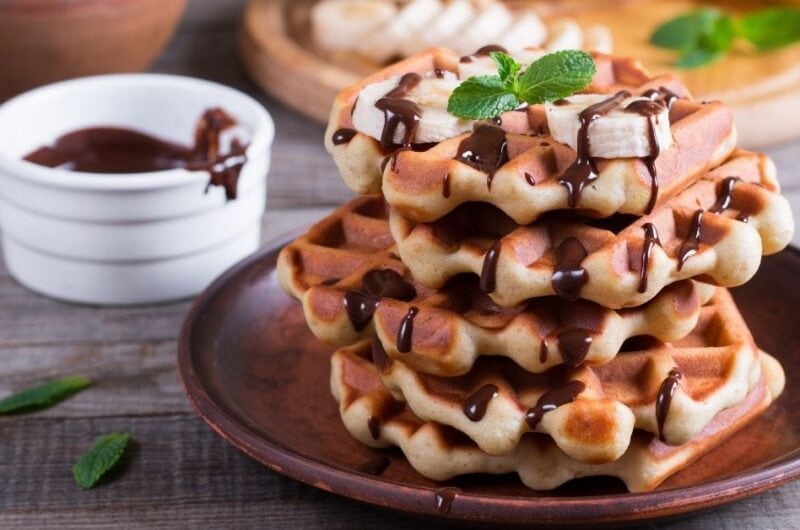
Who can resist the taste and smell of freshly made banana waffles?
Buttery, golden, and exploding with natural banana flavor, they’re the stuff of breakfast dreams.
Whether you like them smothered in caramel or with some salty bacon (or a mix of both!), this is one sweet breakfast that won’t disappoint.
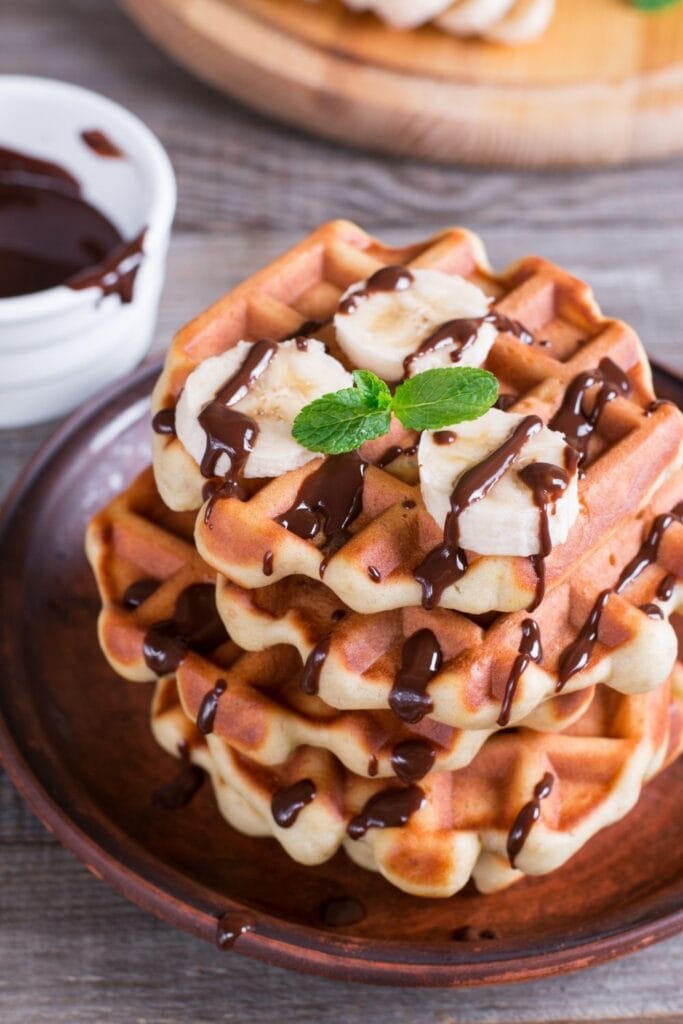
They’re tasty, satisfying, and best of all, effortless to make. So, there’s no need to wake up too early in the morning to whip up a batch.
With their crispy edges and fluffy middle, these banana waffles are sure to coax the family out of bed. They smell fantastic and are naturally, deliciously sweet.
Homemade Banana Waffle Recipe
You’re probably wondering: is it worth making waffles from scratch when you can easily use a boxed mix?
Absolutely!
These homemade banana waffles are sensational! They’re crisp and fluffy and have an outstanding fruity flavor.
Honestly, it just doesn’t compare.
And if you think it’s a lot more complicated to make, think again. The batter is so simple; it comes together in just 5 minutes.
Drooling yet? I am! Let’s get down to business.
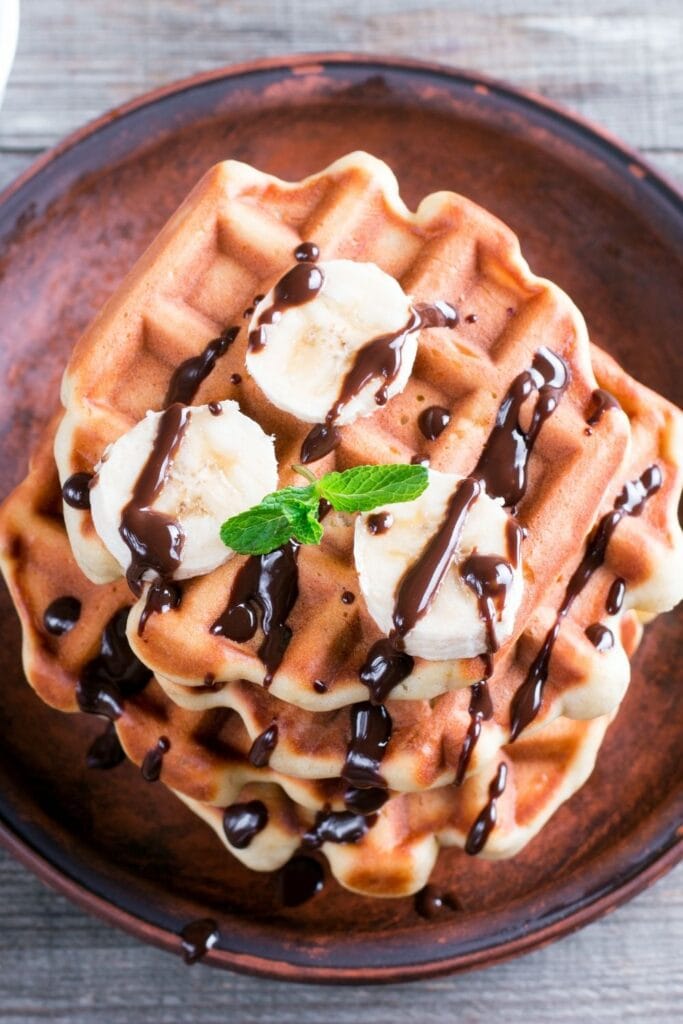
Ingredients
- All-Purpose Flour – it forms the base of the batter. I use all-purpose flour here, but if you want healthier waffles, swap it out with the same amount of whole wheat or gluten-free flour.
- Baking Powder – this leavening agent gives rise to the batter, such that the waffles are nice and fluffy.
- Salt – a little bit of saltiness to contrast the sweet bananas.
- Ground Nutmeg – for that cozy, warming flavor. You can also use cinnamon.
- Milk – I use 1%, but you can use any kind. Even nut milks will work.
- Egg – just one, to bind the ingredients together and give the batter structure.
- Ripe Bananas – they make the batter moist and sweet.
The recipe doesn’t use sugar at all, so the sweetness of your batter relies solely on the bananas. That means the riper they are, the sweeter your waffles will be.
I like to use overripe bananas in mine. You know, the kind that are brown-black and kind of mushy?
Trust me, they have the most flavor, and since you’ll mash them anyway, it doesn’t matter that they’re slightly…well, slimy.
Fresh or frozen bananas are both okay. Just let the frozen bananas sit for five minutes.
How to Make Banana Waffles
Waffles are some of the easiest breakfast recipes to make. Even if you whip up the batter from scratch, it’ll still be a breeze.
1. Preheat the waffle iron. Stick to medium to medium-high heat to keep the waffles from burning.
2. Sift together the dry ingredients, namely, the flour, baking powder, salt, and nutmeg.
3. Whisk in the wet ingredients – milk, eggs, and mashed bananas – to create the batter. Don’t overmix! Lumps are to be expected.
4. Grease the waffle iron with non-stick spray. This is essential to keep the waffles from sticking to the iron.
5. Pour four tablespoons of batter onto the iron and cook. The cooking time will vary from waffle iron to waffle iron, but it takes about 3-4 minutes on average.
6. Serve with your favorite waffle or pancake toppings and enjoy!
Tips for the Best Waffles
- Don’t overmix the batter. Whisking it too much will yield flat, dry, and rubbery waffles, instead of light and fluffy ones.
- Stop stirring once the wet and dry ingredients are fully incorporated. Lumps are okay.
- For sweeter waffles, use overripe bananas. And if you want chunks of bananas in your waffles, don’t mash the fruit too much.
- Other fruits work, too. Try mashed or pureed pears, apples, sweet potatoes, or pumpkin next time and let me know how it turned out!
- Use whole wheat flour for a healthier option. Just add more milk in case the batter is too thick.
- Add more flavor by whisking in a pinch of cinnamon, nutmeg, allspice, or pumpkin spice to the batter. Or, leave them out and use a teaspoon of vanilla paste instead.
- If the batter looks a little too runny, whisk in a little bit more flour. Some brands are more absorbat than others, especially if you use whole wheat or gluten free.
- If you’re not in a rush, let the batter sit for 5-10 minutes. This will allow the gluten in the flour to expand, which in turn results in more tender waffles.
- Preheat the waffle iron at medium high-heat to get perfectly crispy waffles. If you put it on high, they’ll burn on the outside before they’re cooked in the middle.
- Not all waffle irons operate the same way, so check the manual for cooking time recommendations. Mine takes around 3-4 minutes.
- If you want toppings incorporated into the waffles, sprinkle them over the batter once it’s already on the waffle iron. Mixing them in the bowl will only cause them to sink to the bottom.
- Don’t pile the waffles on top of each other while cooling as the steam they release will cause the other waffles to go soggy. Lay them on a single layer on a cooling rack instead.
- This recipe can easily be doubled to feed more. If making more waffles, make sure the rest stay nice and warm by placing them on a single layer in the oven preheated to 200 degrees Fahrenheit.
- Let leftovers cool completely and place them in an airtight container. Refrigerate for up to 3 to 4 days. Reheat in the toaster or the oven at 200 degrees Fahrenheit for 5 to 10 minutes.
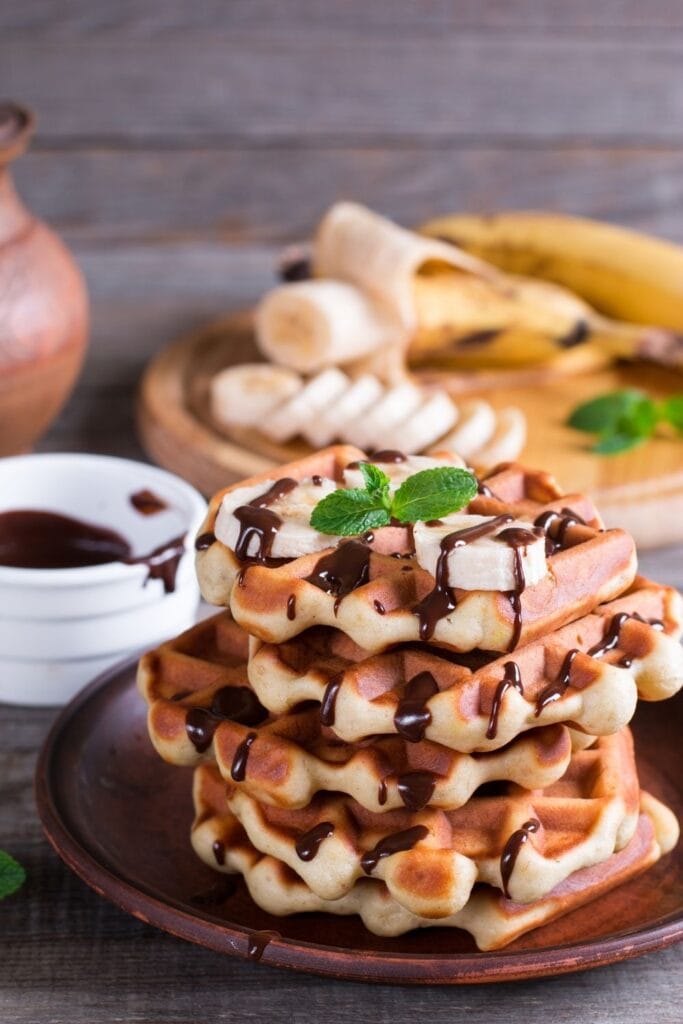
Topping Ideas
Waffles with butter and maple syrup are a no-brainer breakfast idea, but you may also want to consider trying other toppings.
There are so many to choose from, so feel free to mix and match!
- Fruits and berries. They can be fresh, frozen, or dried, or come in jam or marmalade form.
- Whipped cream and powdered sugar. For something light, airy, and with just a hint of sweetness.
- Warm Caramel. This also goes great on top of whipped cream. Sprinkle a bit of sea salt to make salted caramel.
- Nuts. You’ll love the added nutty crunch of almond slivers, chopped pecans, or crushed walnuts.
- Nutella, peanut butter, and other bread spreads. For the kids and the kids at heart.
- Poached egg, bacon, ham. Something savory to counterbalance the sweet.
- Chicken and gravy. For a classic Southern treat.
- Sour cream, salsa, and guacamole. You can’t go wrong with Tex-Mex.
Can You Freeze Homemade Waffles?
Homemade waffles freeze very well. Be sure to let the waffles cool completely to room temperature and then wrap them individually in plastic wrap and aluminum foil. Finally, place them in freezer-safe bags or a sealable container for around three to four months.
Alternatively, place them on a tray lined with parchment paper and freeze for 30 minutes to an hour, or until frozen solid. You can then stack them together in the same container without wrapping them individually.
Reheat in the toaster at medium-low for two cycles or bake them at 350 degrees Fahrenheit for 8-12 minutes—no need to thaw beforehand.
I like doubling the recipe and keeping the rest in the freezer so my family can enjoy homemade waffles whenever they want.
More Sweet Breakfast Recipes
Krusteaz Waffles
Bisquick Waffles
Old-Fashioned Pancakes
Brioche French Toast
Trisha Yearwood’s Blueberry Pancakes




I used 1 can (6oz) condensed coconut milk and 2 oz Heavy whipping cream. O M G!
Glad it turned out yummy, Mitch!