What’s quick, easy, and delicious throughout — Bisquick peanut butter cookies!
I don’t know about you, but any sweet treat with peanut butter gets two thumbs up from me. And these super easy cookies are better than most.
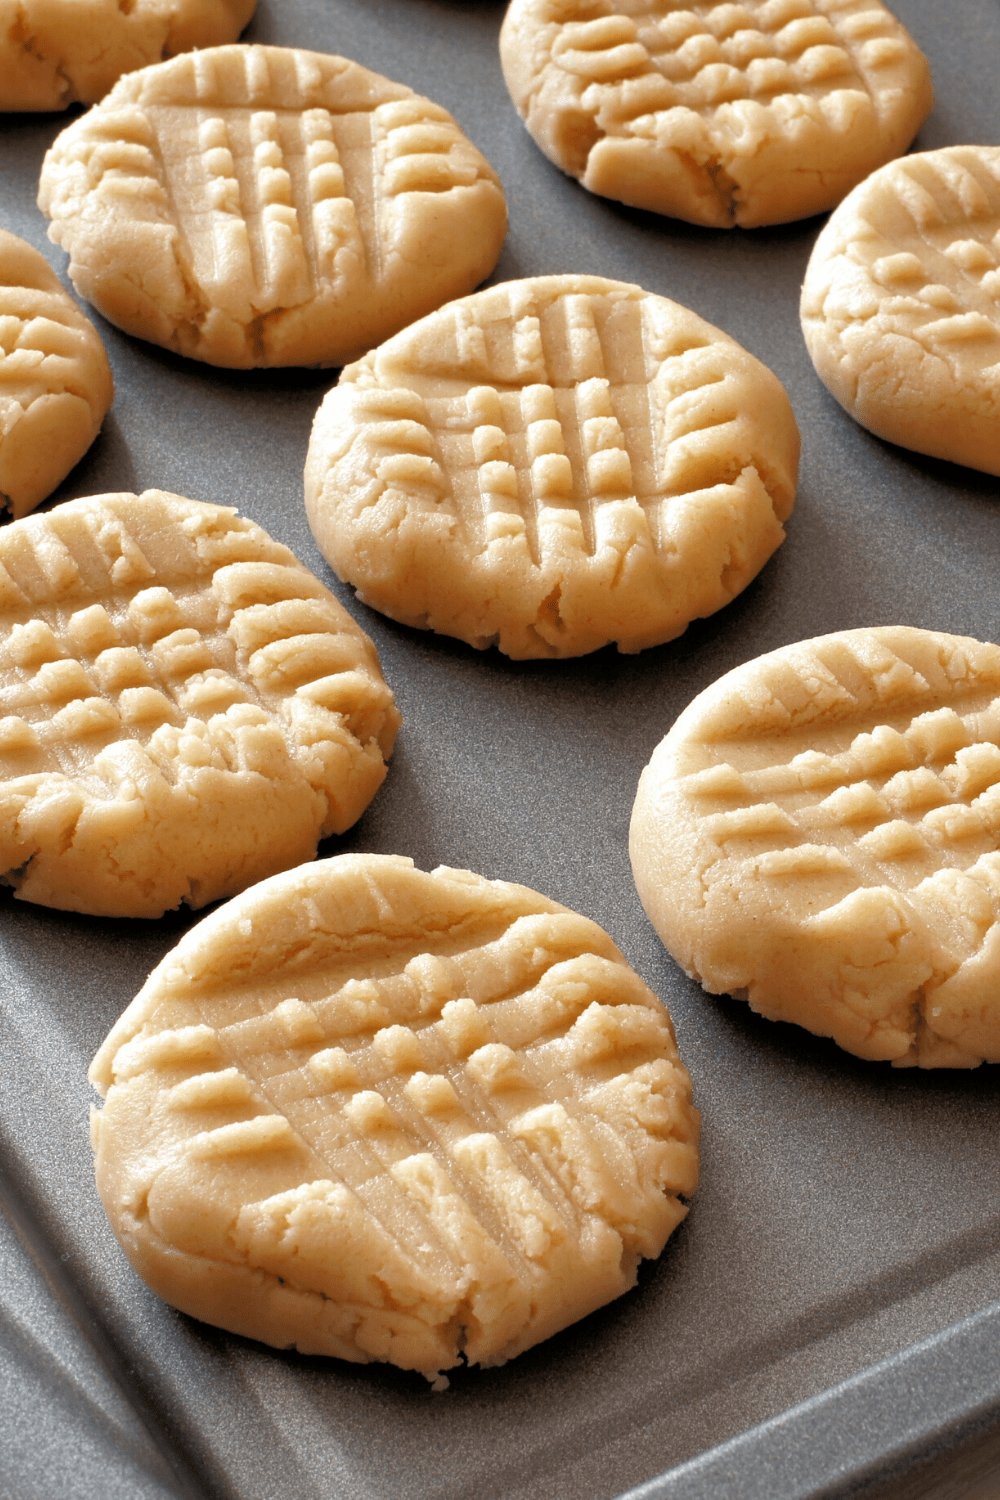
They have the same rich, nutty, creamy flavor as every good peanut butter cookie. They’re also thick, moist, and chewy.
So, what makes them different from regular peanut butter cookies?
Thanks to Bisquick, Bisquick peanut butter cookies are much quicker and easier to make!
Peanut Butter Cookies
What if I told you you could have old-fashioned peanut butter cookies like your gramma used to make with only four ingredients?
Sounds like a fairytale, right? It’s not!
Bisquick peanut butter cookies require just four ingredients. (Bisquick, peanut butter, vanilla, and sweetened condensed milk.)
That makes them an absolute breeze to make. But they still look, feel, and taste like the best peanut butter cookies you’ve ever had.
Ingredients
As mentioned, you’ll need only four ingredients to make these incredible cookies. They are as follows:
- Peanut butter. Any brand of peanut butter will work but stick to creamy instead of crunchy. Also, avoid natural PB as it’s very oily.
- Sweetened condensed milk. Be sure to get sweetened condensed milk — not evaporated milk. I typically go with Eagle Brand.
- Vanilla extract. A flavor enhancer that makes the cookies richer, sweeter, and yummier.
- Original Bisquick mix. This ingredient is the shortcut that cuts all the other baking ingredients out. It does everything flour, eggs, and baking soda would typically do. It holds everything together, makes the cookies rise, etc.
How to Make Peanut Butter Cookies with Bisquick
When it comes to peanut butter cookies, these are some of the easiest you’ll ever make. Check out these simple steps:
1. Prepare. Prepare a baking sheet with cooking spray and preheat the oven to 350 degrees Fahrenheit.
2. Make the batter. Mix the peanut butter, condensed milk, and vanilla in a large bowl. Stir well to combine. Then, add the Bisquick and stir some more.
When the mixture reaches a batter-like consistency, it’s ready.
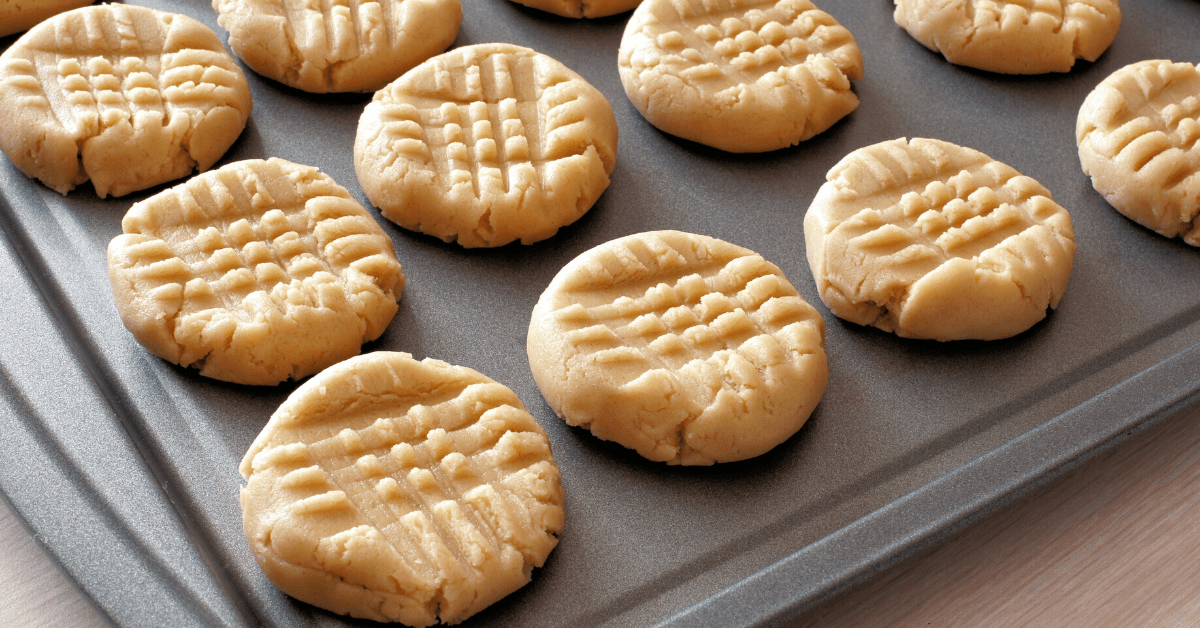
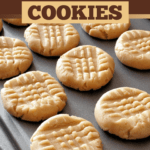
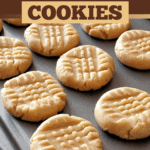
3. Chill. Scoop out 11 balls of cookie dough with a cookie scoop. Place them on the prepared tray and flatten them halfway down with a fork.
Wrap the entire tray with plastic wrap and chill in the fridge for at least 1 hour.
4. Bake. Remove the baking sheet from the fridge and ensure the cookies are at least 2 inches apart. Bake for 13-14 minutes or until done.
Remember, the cookies should remain slightly soft after baking.
5. Cool. Let the cookies cool on the baking sheet for about 10 minutes. (They’ll get firmer during this time.) Then, serve and enjoy!
Tips For Making Bisquick Cookies
Want to make the best Bisquick peanut butter cookies ever? Follow these tips and tricks for easier, tastier treats!
- Never bake without chilling! If you put them straight in the oven, the dough will be too moist and will spread and flatten.
- Use a fork to flatten the dough. When flattening your cookie before baking, use a fork. Don’t worry if they get crinkly on the sides. That’ll add just a little bit of crunch to the cookie once it’s done baking.
- Don’t over-flatten. These peanut butter cookies are best when they’re about 1/3 of an inch thick. It ensures they stay gooey, chewy, and delicious!
- Stick to regular, creamy peanut butter. Homemade peanut butter doesn’t work well for this recipe. Stick with creamy store-bought peanut butter instead. I like to use Jif.
- Remember the 1:1:1:1 ratio. If you forget to bookmark this recipe, don’t fret! It’s easy to remember. Everything uses a 1:1 ratio. 1 cup peanut butter, 1 can condensed milk, 1 tablespoon vanilla, and 1 cup Bisquick.
- Make them gluten-free. Simply use gluten-free Bisquick! You won’t even have to substitute the other ingredients.
- Up the peanut butter content. Add peanut butter chunks! The best way to do this is also after baking. Press them onto the soft, warm cookie for more texture and nutty goodness!
Variations
Making these super easy peanut butter cookies takes practically no kitchen skill. You can even mix in add-ins or experiment without much trouble.
Here are some of my favorite variations:
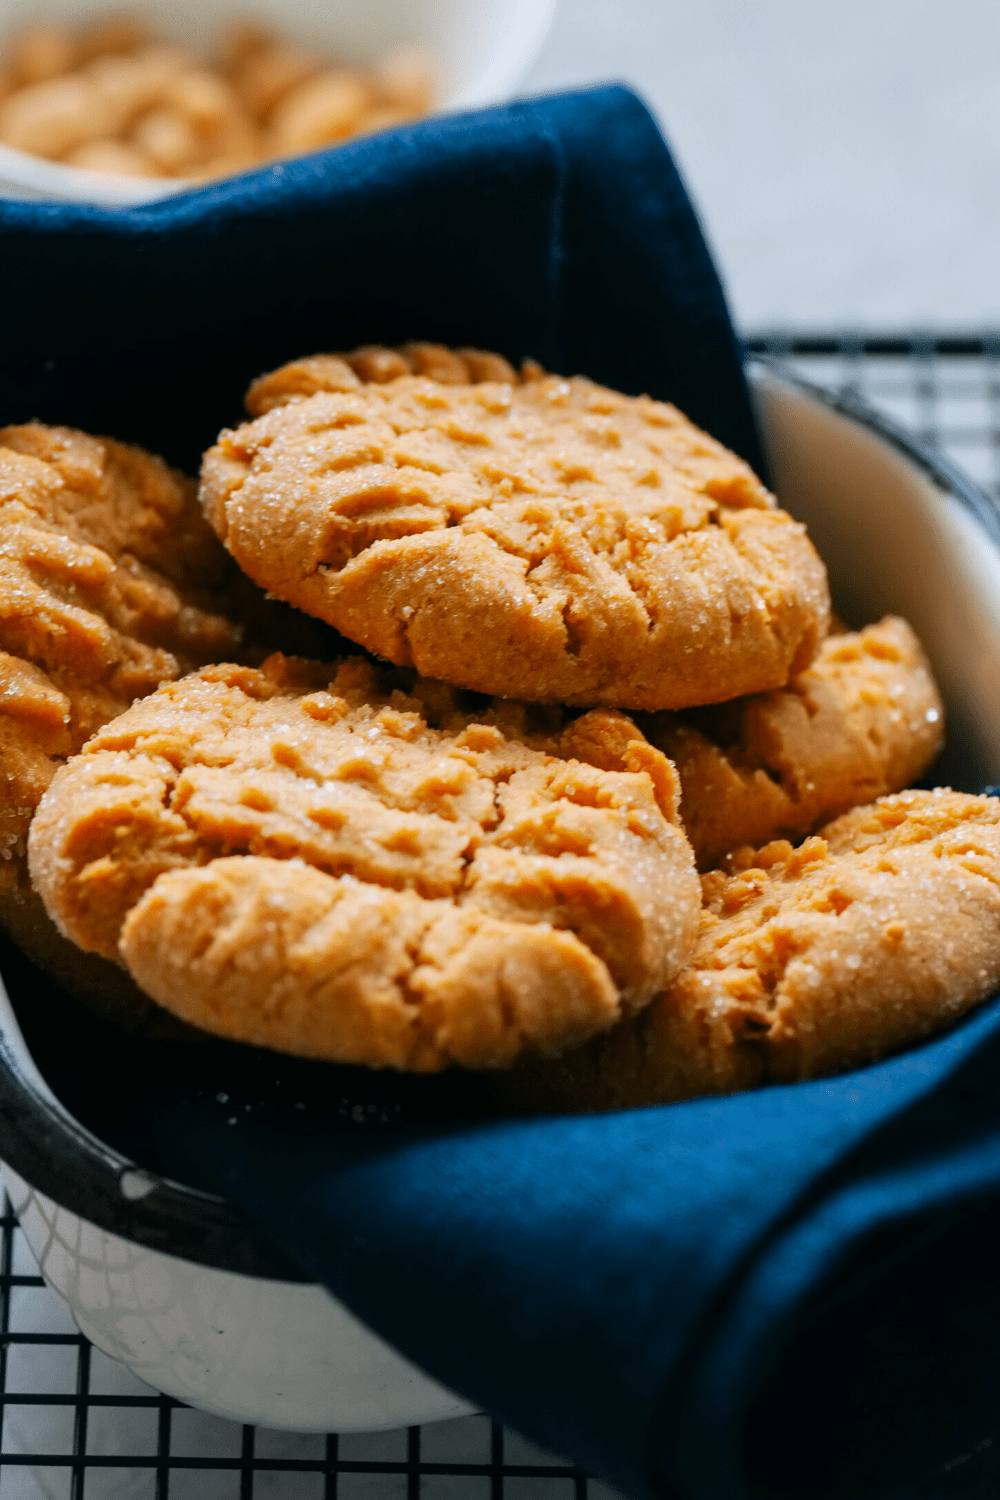
- Add extra sweetness. Before flattening the dough, roll the balls in granulated or cinnamon sugar. They’ll taste even better!
- Add a bit of crunch. Mix your favorite nuts into the batter before scooping and chilling. Some people recommend crunchy peanut butter, but I prefer adding nuts. Crunchy peanut butter makes the cookies slightly grainy.
- Use add-ins. You can add anything you like to your cookie dough batter. Besides nuts, I recommend chocolate chip cookies, raisins, dates, or butterscotch chips.
- Vary the flavor. Try making these cookies with Nutella instead of peanut butter. Or use half a cup of each.
- Make peanut butter blossoms. More info on that below. 😉
Bisquick Peanut Butter Blossoms
To turn these cookies into peanut butter blossoms, you’ll need only one extra ingredient: Hershey’s kisses.
Simply follow the recipe as written on the recipe card below. Just be sure the cookies are round.
As soon as they come out of the oven, press a Hershey’s kiss into the center of each one. The cookie will still be soft enough for you to embed the chocolate.
How to Store
These cookies never stick around for long in my house. They’re simply too hard to resist! If you have more self-control than me, here’s how to store them:
- To store. Place leftover cookies in an airtight container and keep them at room temperature. They should last for up to 2 weeks.
- To freeze. Place the cooled cookies in a freezer-safe container with parchment paper separating them. Freeze them for up to 3 months.
- To thaw. Defrost frozen peanut butter cookies in the fridge overnight. Then, enjoy them chilled or reheat them in the microwave for 30 seconds.
You can also prepare the dough ahead of time and bake the cookies later. Here are the steps for that:
- Shape your dough into mounds or balls.
- Flatten them as you would before baking.
- Place them on a baking sheet or pan and freeze for 2 hours.
- Move the balls into an airtight container.
- Separate each of them with parchment paper so they don’t stick together.
- When you’re ready to bake, place the frozen cookies back on a baking sheet.
- Bake in the oven at 375 degrees Fahrenheit.
You can also make the dough and refrigerate it for up to 5 days before baking it. Either way, they’ll still come out great!
More Peanut Butter Recipes You’ll Love
Old-Fashioned Peanut Butter Cake
Easy Peanut Butter Cup Cookies
Reese’s Peanut Butter Pie
Peanut Butter Milkshake





These are very good. I use the low carb version of bisquick that is called Carbquik. I sometimes top them with a single ( or maybe 3) butterscotch chip, upon exiting the oven, to fancy them up a bit. Very nice flavor combo.
Just trying these now, so far the texture is oily? is this normal?
hopefully when they come out of the oven ,they will be ok 🤔🤔
Hi Sandra!
Since peanut butter is pretty oily, yes, the dough will be before baking.
That’s why it’s key to use standard peanut butter (not natural) and to thoroughly chill the dough before baking.
Hope this helps!