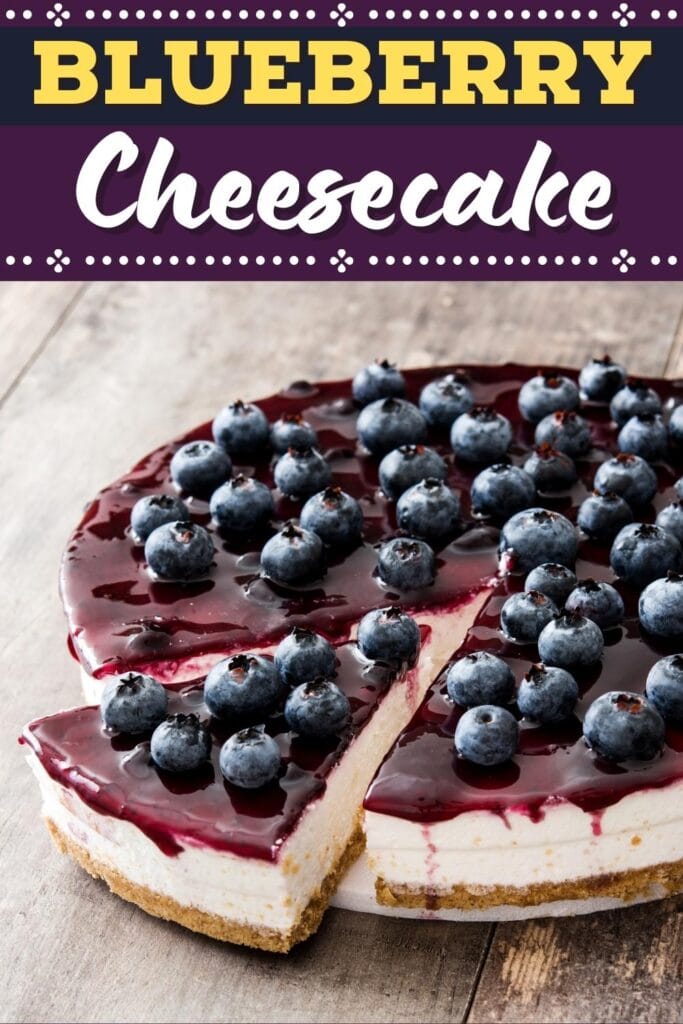
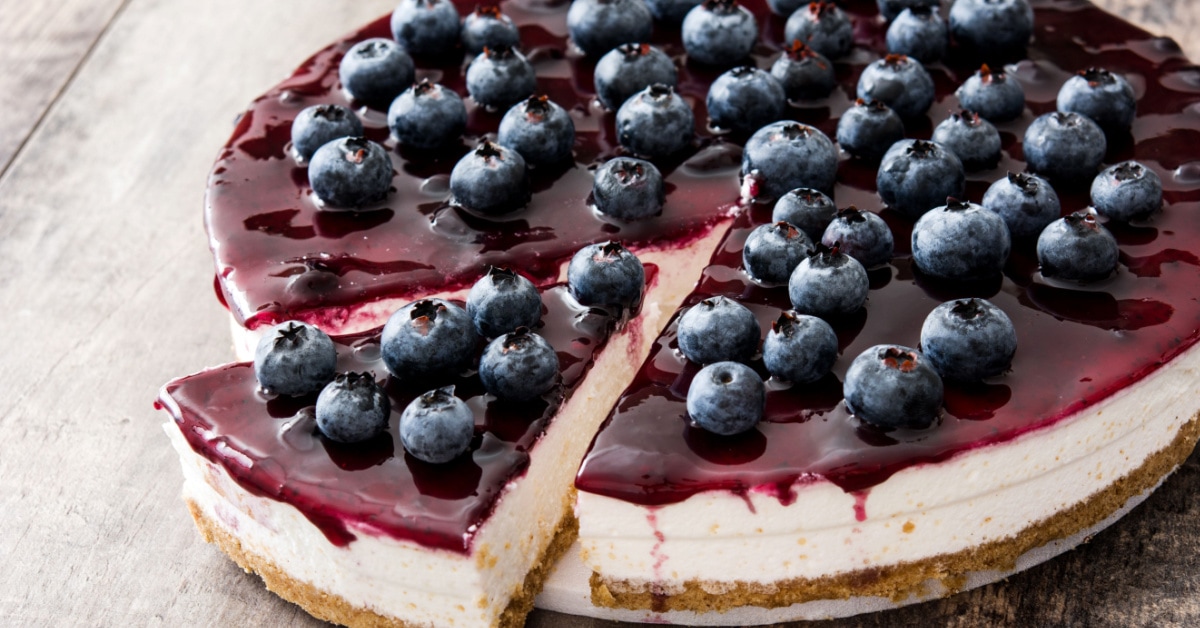
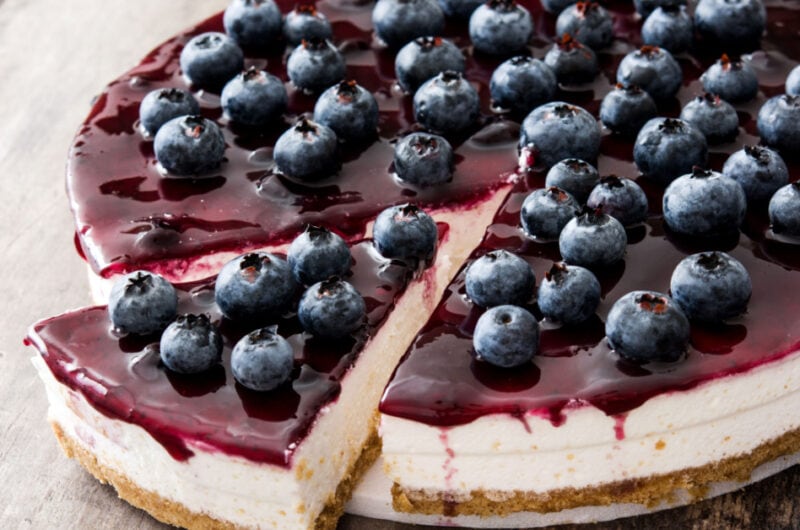
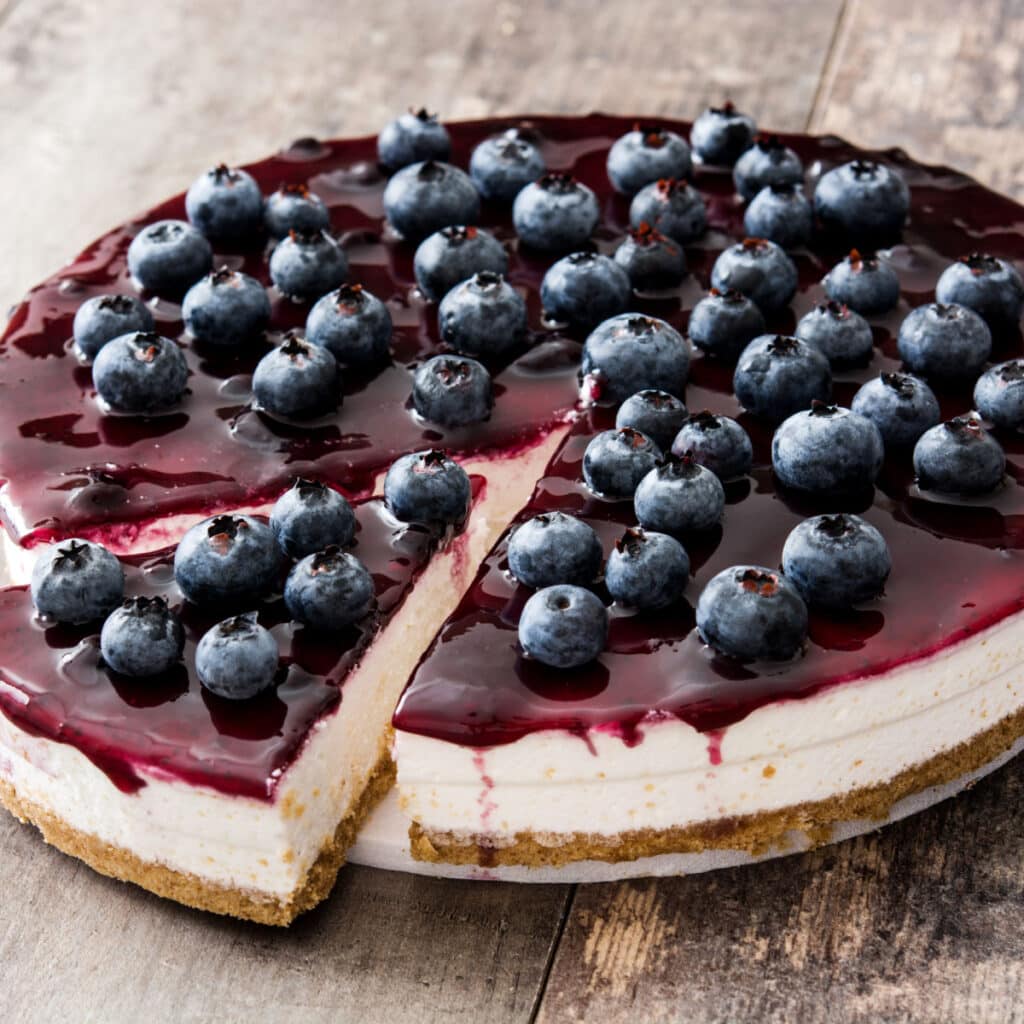
Are you ready for a culinary adventure? If so, get your tastebuds ready for the ultimate indulgence: blueberry cheesecake.
Deliciously rich and creamy, it’s a truly delectable dessert.
It will tempt you with its yummy combination of sweet and tart flavors.
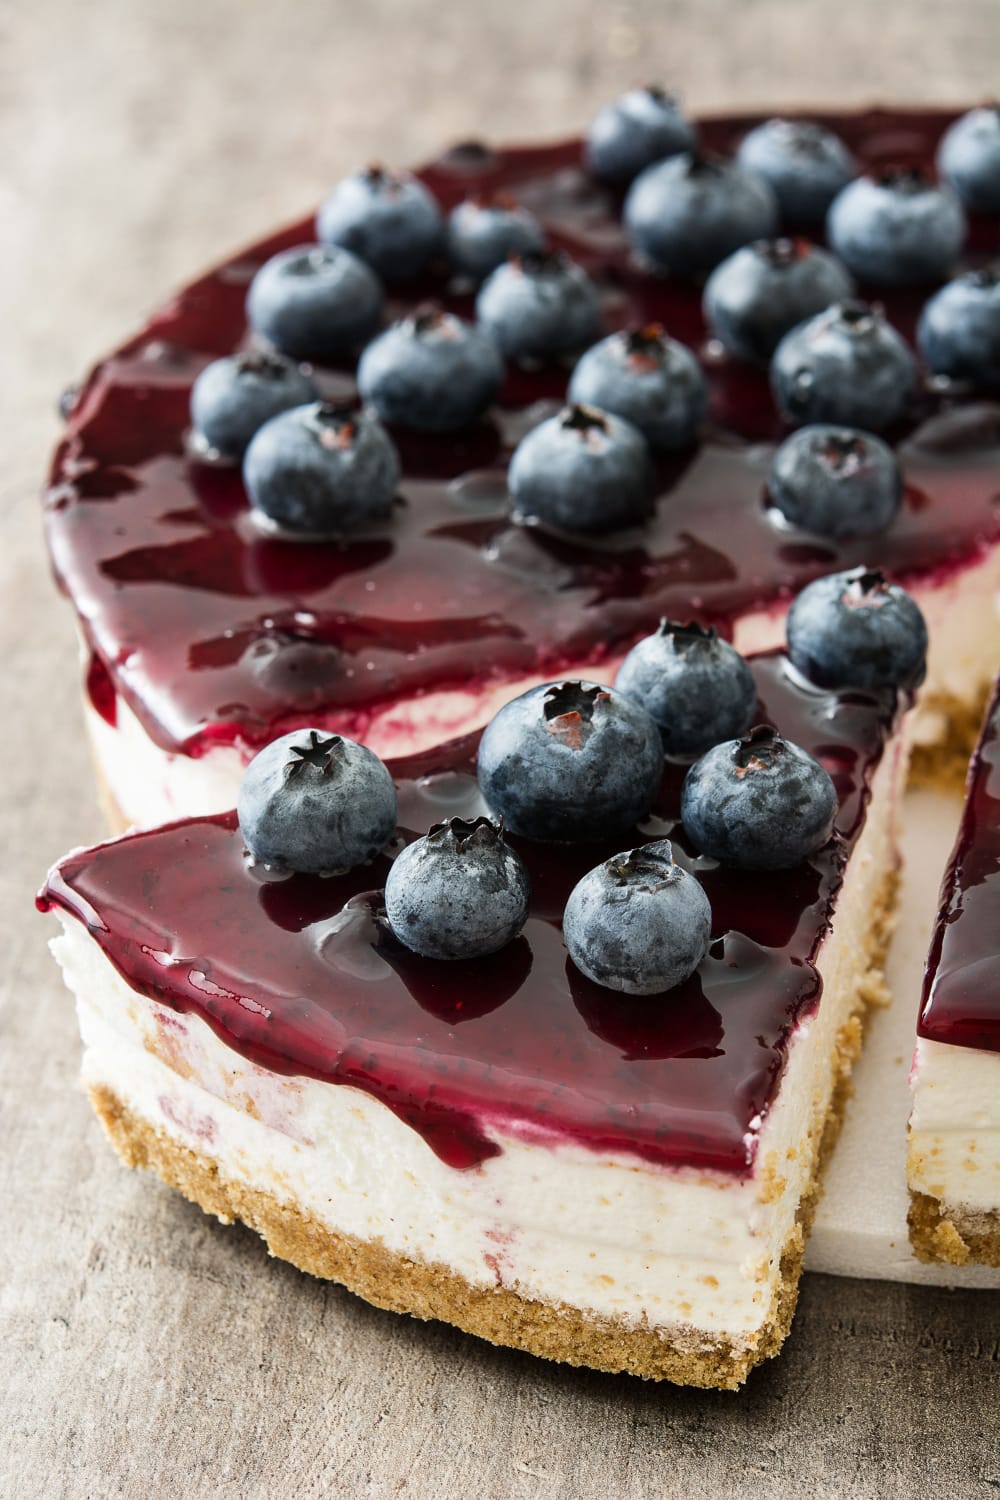
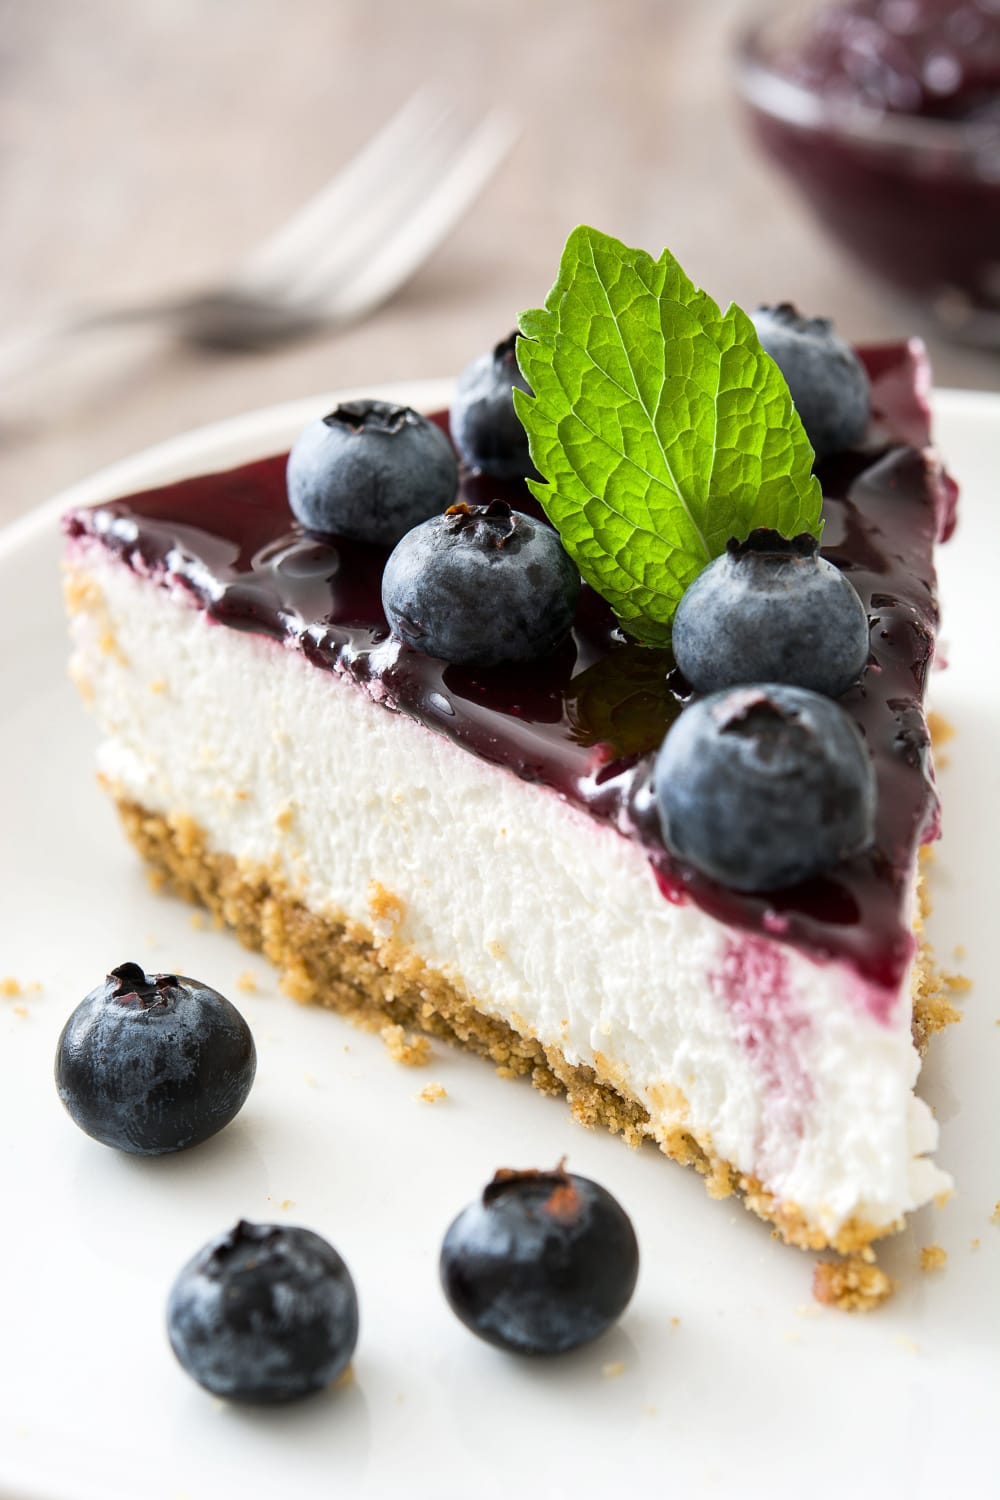
To make it, you blend rich cream cheese with tangy blueberries and a crunchy graham cracker crust.
The result is an irresistibly delicious treat that will make anyone’s mouth water.
So, if you’re looking for something special, blueberry cheesecake might be just what you need.
I’ll tell you everything you need to know about how to make it.
Blueberry Cheesecake
When I tell you there’s a lot to love about this incredible blueberry cheesecake, I mean a lot.
Its flawless blend of sweet and tangy flavors is just the tip of the iceberg.
This cake has it all. The silky, luscious cheesecake layer. The crumbly, warm flavor of graham crackers.
And, of course, the sweet tartness of juicy blueberries.
It’s a decadent but not too heavy dessert that everyone will love.
It’s relatively easy to make but looks and tastes fantastic. That makes it an excellent choice for both formal and casual events.
Its cool creaminess also means it’s perfect for summer.
It’s a fun and delicious way to enjoy blueberries outside of muffins or cobbler.
Ingredients
Here’s what you’ll need to make this incredible dessert:
- Graham crackers. Toss these in a food processor to make crumbs first. If you prefer, you can substitute shortbread cookies or Nilla wafers instead.
- Butter. I typically use salted butter because it’s what I have on hand. You’ll use it to hold the crumbs together into a cohesive crust.
- White sugar. You’ll add sugar to the crust and the filling of your cheesecake.
It adds a bit of extra sweetness to the crust. It also helps cut through some of the tanginess in the cheesecake filling.
- Cream cheese. You can’t have cheesecake without cream cheese.
You need two 8-ounce packages of full-fat cream cheese. Reduced fat won’t give you that same rich, wonderful flavor.
- Sour cream. Sour cream is the secret ingredient in this recipe. It helps ensure the silkiness of the cheesecake filling.
- All-purpose flour. Flour helps hold everything together.
- Vanilla extract. This adds a bit of warm, rich vanilla flavor. It helps offset the tart tanginess of the cream cheese and blueberries.
- Eggs. Eggs bind everything together.
- Frozen blueberries. These, along with the jelly, will make up your topping. They provide a bright, berrylicious burst of flavor.
- Blueberry jelly. Melt this down for a sweet, yummy glaze. This and the blueberries take the place of the blueberry pie filling you’d find in other recipes.
As you can see, it needs just 10 simple ingredients. As such, it’s a relatively inexpensive dessert to whip up.
How to Make Blueberry Cheesecake
Follow these steps to make your blueberry cheesecake:
1. Prepare. Preheat the oven to 325 degrees. Set out your ingredients, and allow them to warm to room temperature. Process the graham crackers into crumbs.
You might also want to measure out your ingredients.
2. Make the crust. Use the graham cracker crumbs, butter, and two tablespoons of sugar. Mix everything well. Then, press the mixture into a springform pan.
3. Make the filling. Mix the cream cheese, sour cream, sugar, flour, and vanilla. Then, add the eggs one at a time.
Finally, pour the filling into the springform pan on top of the crust.
4. Bake. It should take about an hour for the cheesecake to bake. It should be firm to the touch when you remove it.
5. Chill. After it cools, let the cheesecake chill in the fridge for about 4 hours.
6. Add the toppings. Once the cheesecake is chilled, remove it from its pan. Place it on whatever serving dish you plan to use.
Then, top it with the frozen blueberries and melted blueberry jelly.
7. Serve or refrigerate. At this point, you can serve the cake immediately. If you want to give the toppings time to settle, you can place it in the fridge instead.
Leave it in the refrigerator until you’re ready to serve it.
How to Store
Storing cheesecake is simple. It needs to be in the fridge whenever you aren’t eating it, anyway.
So, when it comes time to store leftovers, that’s where you’ll put them.
You can put it in a lidded container. Or you can wrap the serving platter and cake in plastic wrap.
Either way, the dessert should last in the fridge for 3 to 4 days.
If you plan to freeze it, it’s best to do that without adding the topping. Instead, prepare and bake the cheesecake.
Then, you can freeze the whole thing in a freezer-safe container.
You can also cut it into individual slices and freeze those. Either way, wrap the slices or cake in plastic wrap.
Then, wrap it in aluminum foil. Add a date, and pop it in the freezer.
Let it thaw in the fridge overnight when you get ready to eat it.
(Room temperature thawing will also work. It’ll take about 2 hours.)
Be sure to add the blueberry topping after the cake has thawed.
Cheesecake FAQ
Cheesecake is one of those desserts that scares a lot of people off.
They’re so afraid of messing up that they don’t try to make it.
If you’re still on the fence, don’t be! This cake is too delicious to pass up.
And to put your mind at ease, I’ll answer some of the most commonly asked questions about cheesecake.
1. How do I keep it from cracking?
You can do a few things to ensure your cheesecake doesn’t crack. First and foremost, don’t overmix the batter.
Let everything warm to room temperature first.
That way, you can spend less time mixing everything. Then, mix gently until everything is just mixed.
Furthermore, don’t cook in an overly hot oven. My oven does best at 325 for cheesecakes.
Getting the cheesecake too hot too quickly can cause it to crack.
2. Do I need a springform pan to make it?
Technically, you don’t have to have a springform pan to make this cheesecake.
However, it’s the easiest way to cook it, especially if you’re new to cheesecake baking.
Getting the cheesecake out without it cracking can be tricky in other pans.
Additionally, different pans will require different cooking times and temperatures.
If possible, stick with the springform pan for this recipe.
Still, you aren’t totally out of luck if you don’t have one.
Use parchment paper, and ensure it comes up well above the sides of your pan.
Then, when you’re ready to remove the cheesecake, lift it out with the parchment paper “handles.”
3. Do I have to use a water bath?
No! No! And no! That’s the great thing about this cheesecake. There are no water baths required!
4. My cheesecake cracked! Is it ruined?!
Again, the answer to this is a big, resounding NO! Keep in mind: You cover this cheesecake with blueberry sauce. Use that to your advantage.
If you see a crack, cover it with blueberries!
Tips for the Best Cheesecake
Here are a few final tips to keep in mind:
- Don’t overmix! I’ve said it once, but I’ll repeat it. Do not overmix your batter. That’s a surefire way to get your cheesecake to crack.
- Press the crust into the pan’s sides as well as the bottom. Adding the crust up an inch or two along the sides is a huge help in holding the cheesecake together.
- Add extra butter if needed. If the cheesecake crust is too dry, add more melted butter. Typically, an extra tablespoon should do the trick.
- Refrigerate the crust for extra firmness. This recipe features a no-bake crust. Unfortunately, that means it’s not as sturdy as it could be.
Pop the springform pan in the fridge for half an hour if needed to solidify the crust.
- Cool the cheesecake before chilling it. Don’t put it into the fridge while it’s still hot. It will crack if you do.
Finally, remember to start with room-temperature ingredients.
Working with cold ingredients is more difficult and forces you to mix longer. That can lead to overmixing and cracking.
