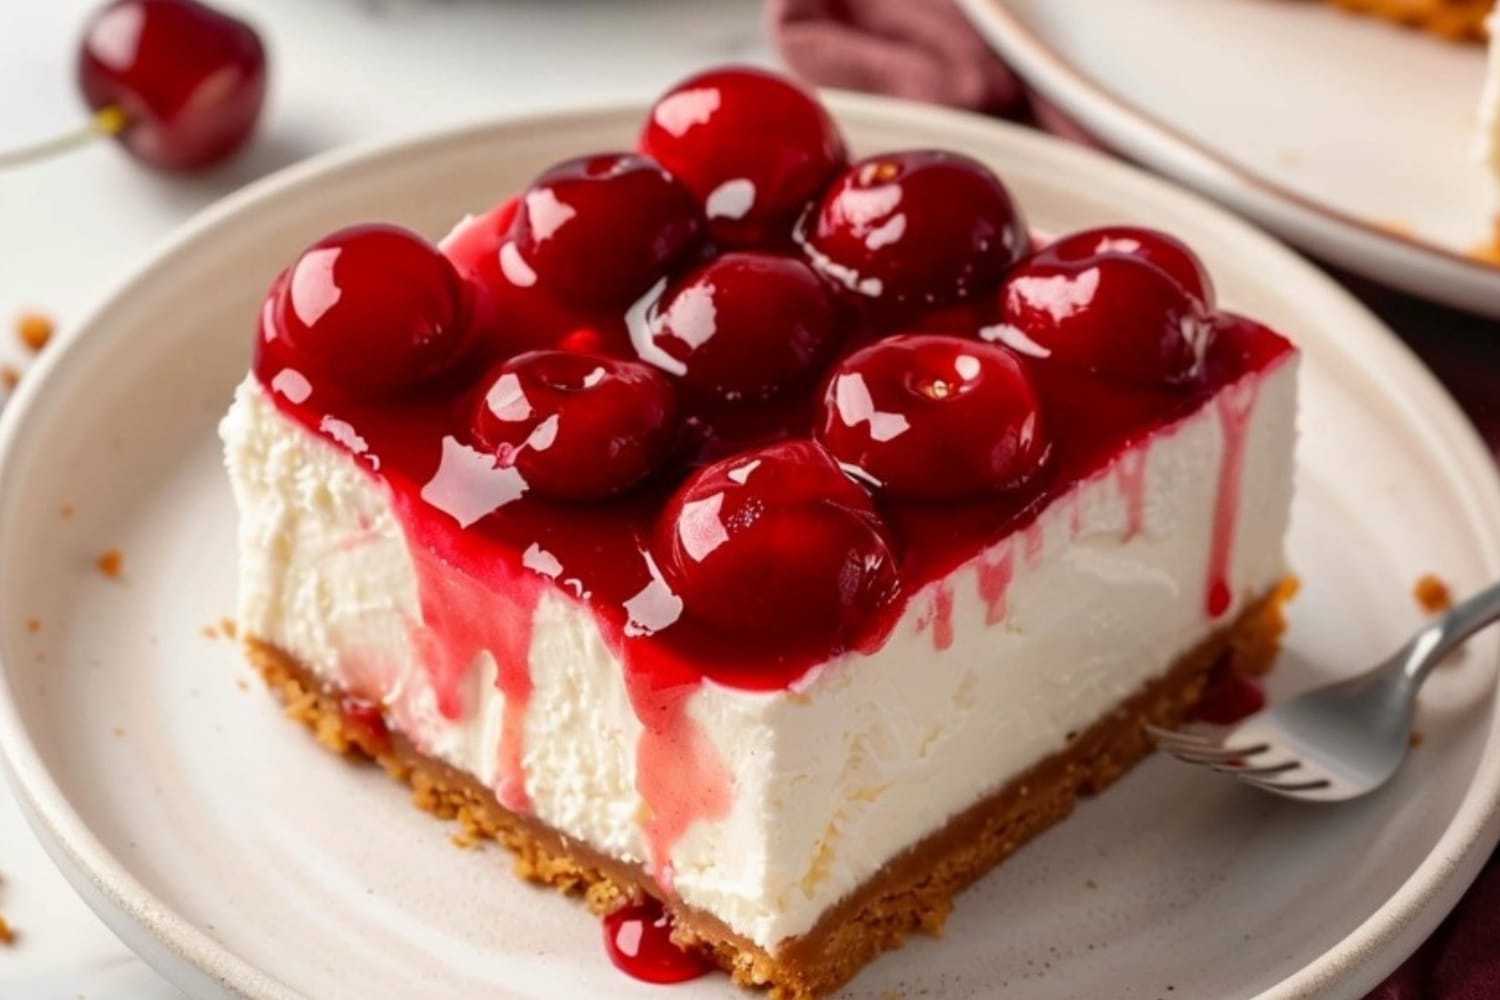
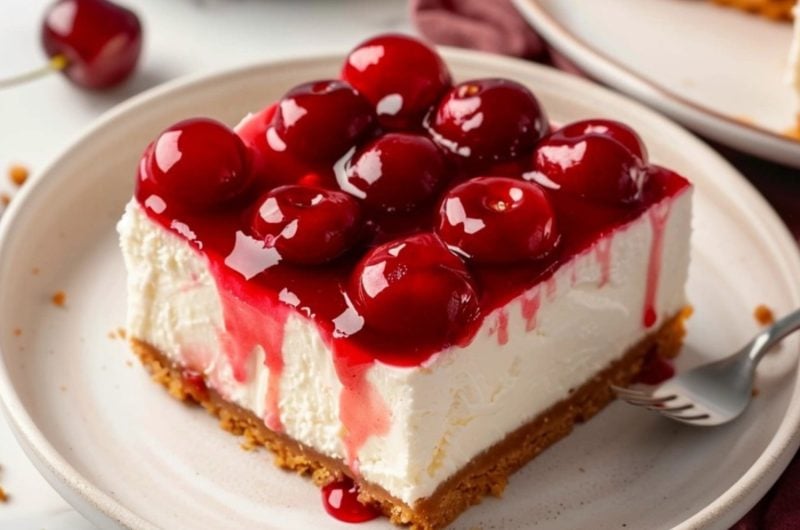
This dreamy cherry delight dessert needs just eight ingredients and comes together in no time.
You’ll love the creamy, fluffy layer of cream cheese and whipped topping nestled on a classic graham cracker crust.
And the cherry pie filling is just the right amount of tart, fruity goodness to balance it all out.
Quick to make, impressive to serve, and oh-so-delightful to eat, it’s a must-make any day of the week.
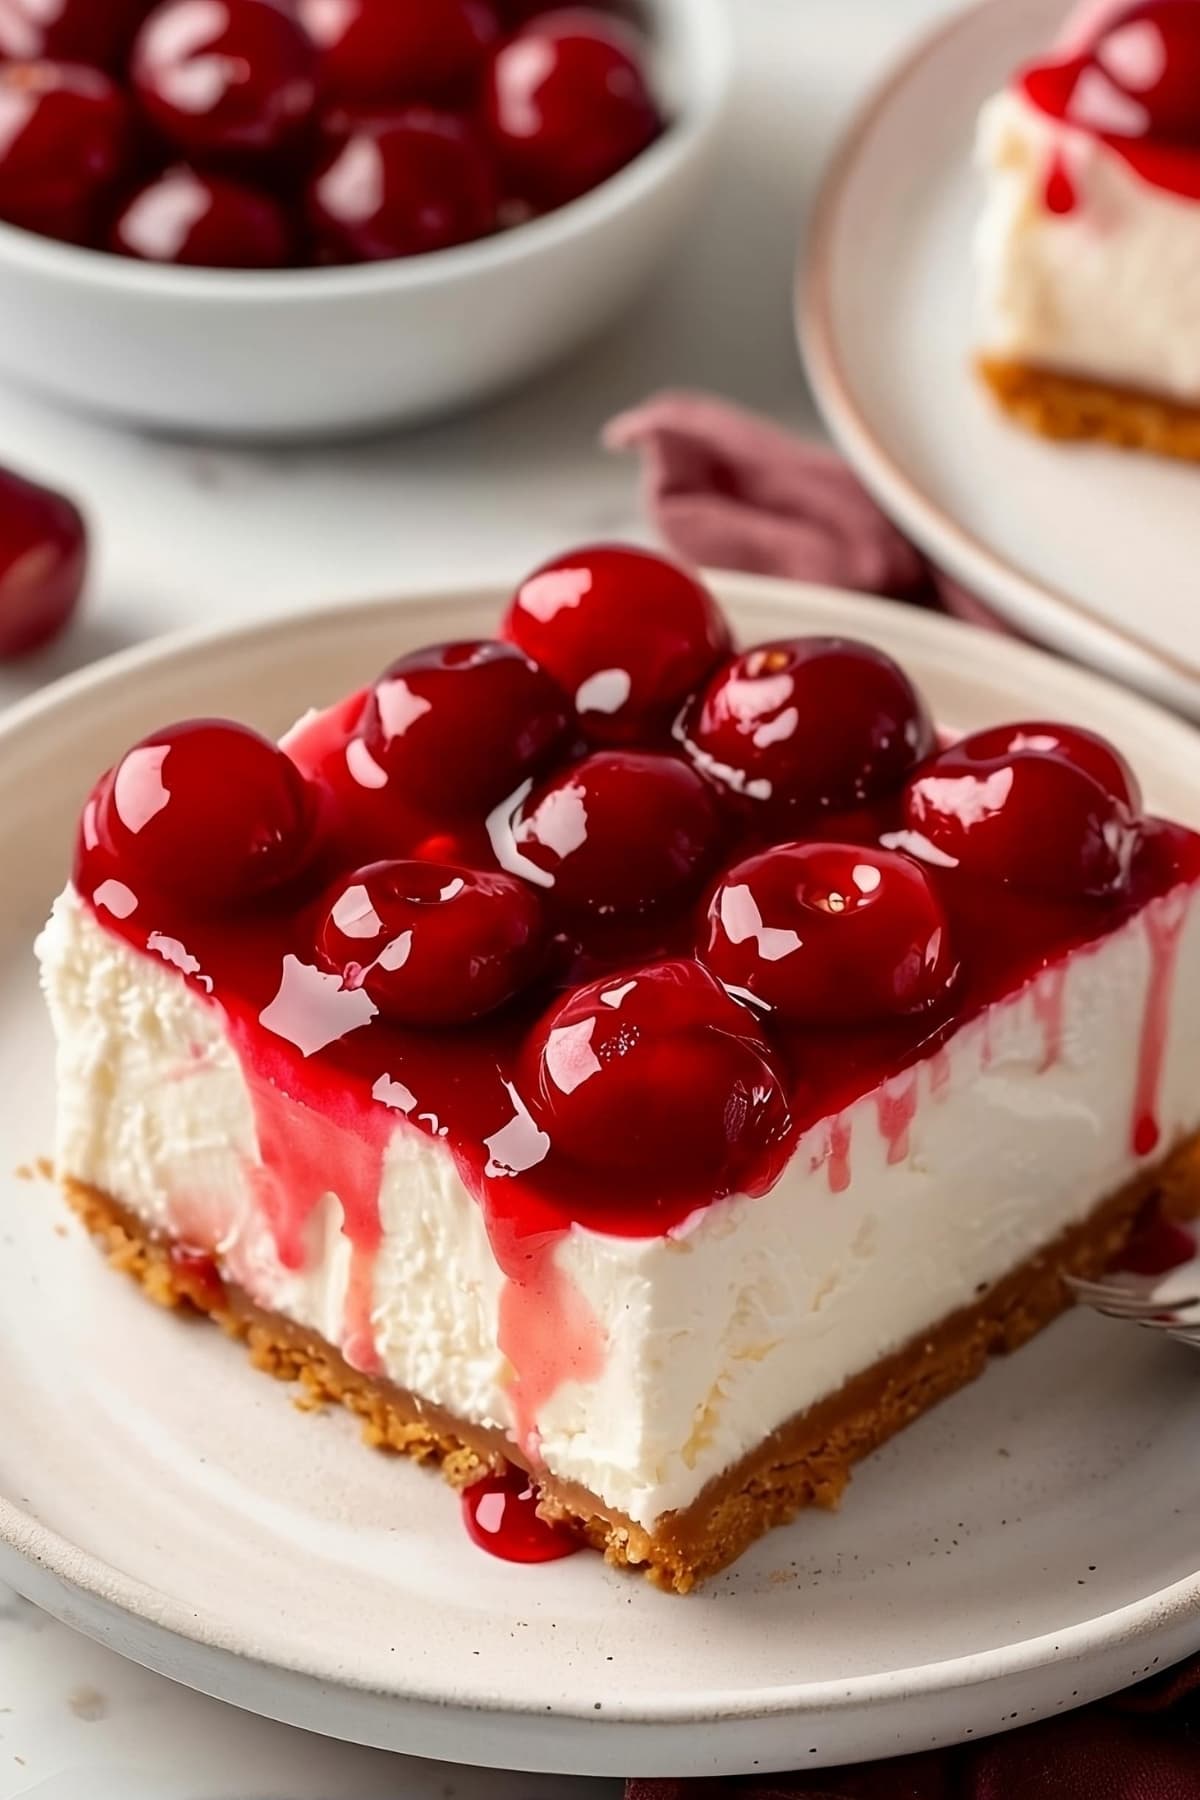
Easy Cherry Delight Dessert
If you aren’t familiar with cherry delight, don’t worry.
Despite having been around for ages, it isn’t one of the most well-known desserts out there.
Until now!
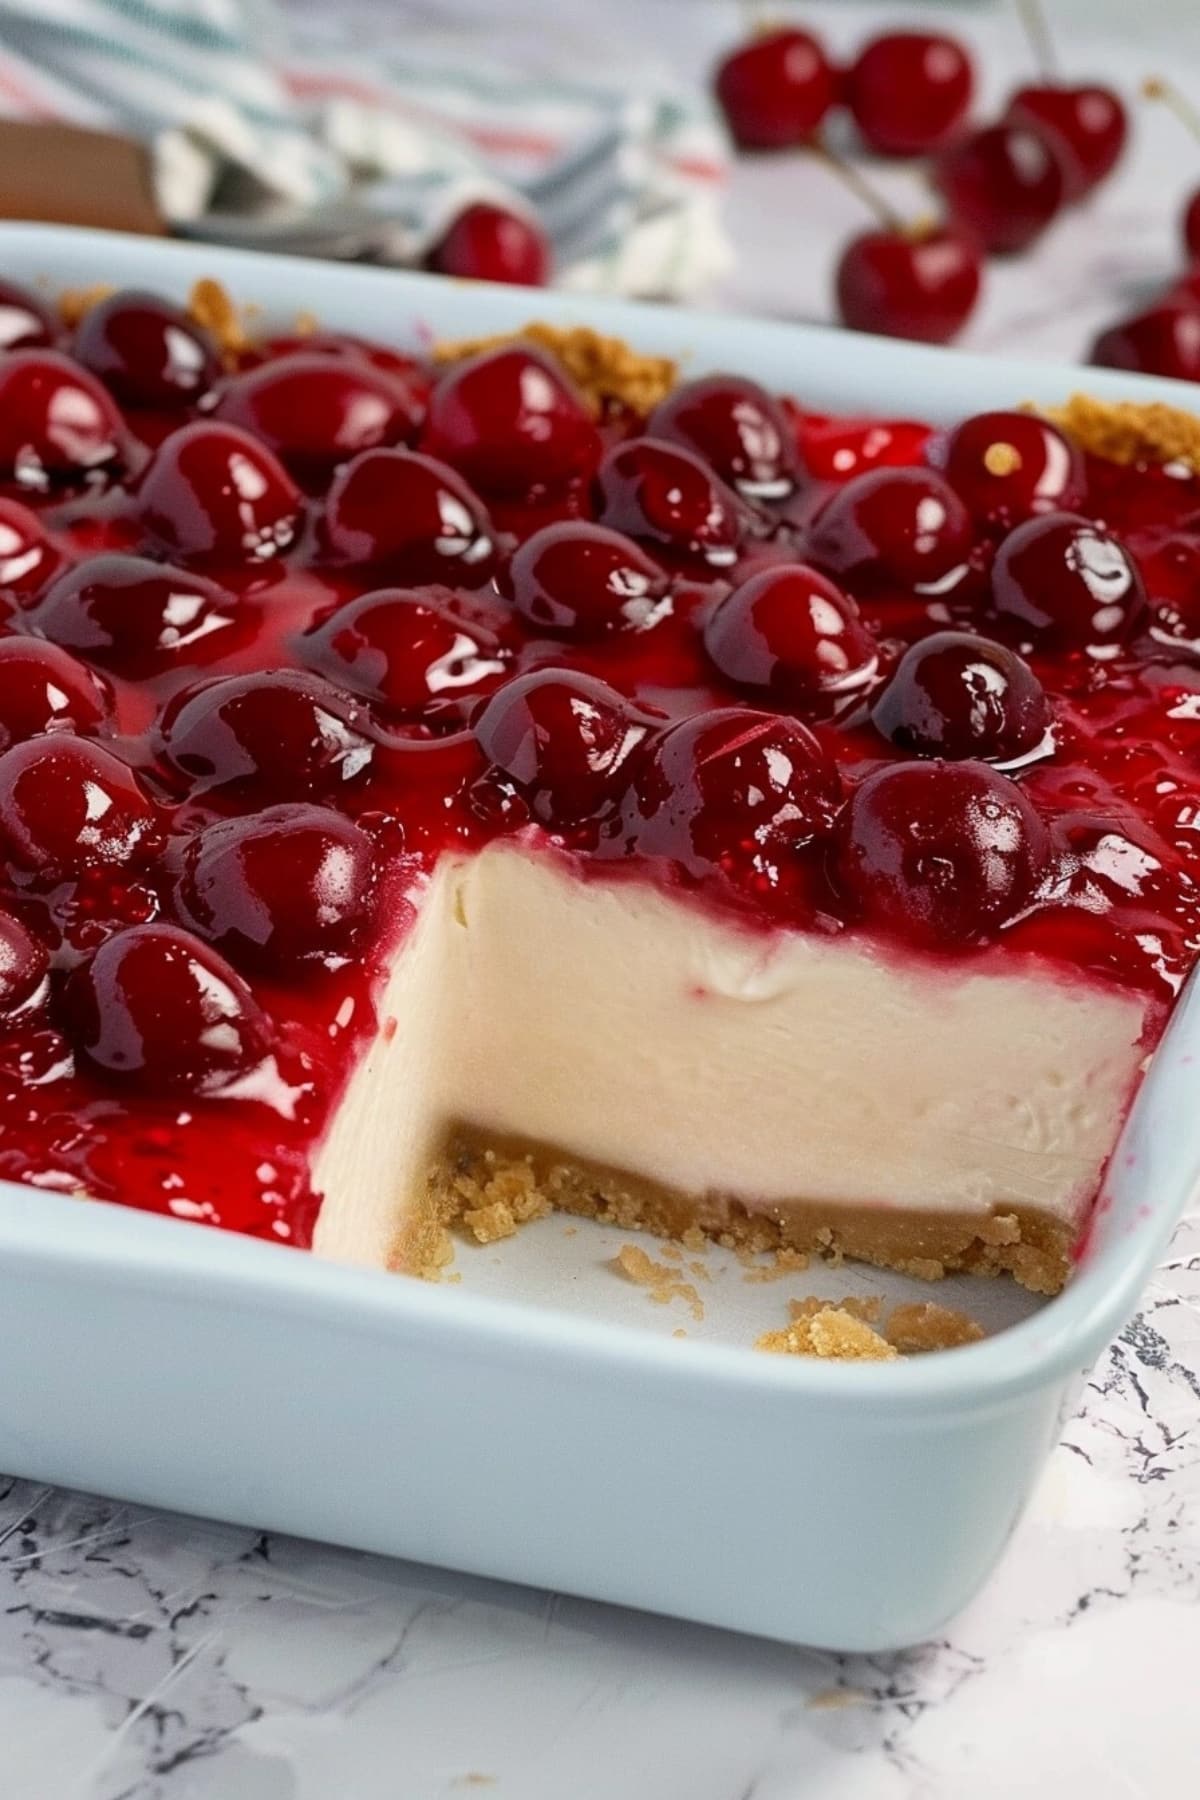
Cherry delight is basically a type of no-bake cheesecake. It features the signature graham cracker crust with a rich, smooth cream cheese filling.
That filling is lightened with Cool Whip and then topped off with vibrant cherry pie filling.
It has the perfect balance of sweetness and tang. And it’s super easy to make for a crowd.
Some people call it a “cherry cream ‘o cheese pie” instead. But whatever its name, this is the perfect no-bake summer dessert.
Ingredients
As promised, you’ll need just eight ingredients for this recipe. And if you’re an avid baker, I bet you already have them on hand!
- Graham Cracker Crust: Mix graham cracker crumbs with a bit of sugar and melted butter.
- Cream Cheese: A block of full-fat cream cheese, to be precise. If you get the spreadable kind, the filling won’t set as well.
- Powdered Sugar: To sweeten the cream cheese and cut through some of the tang.
- Vanilla Extract: To make it extra rich and sweet.
- Whipped Topping: You can use homemade whipped cream if you prefer, but Cool Whip is the best choice for stability, especially if you want to make this ahead.
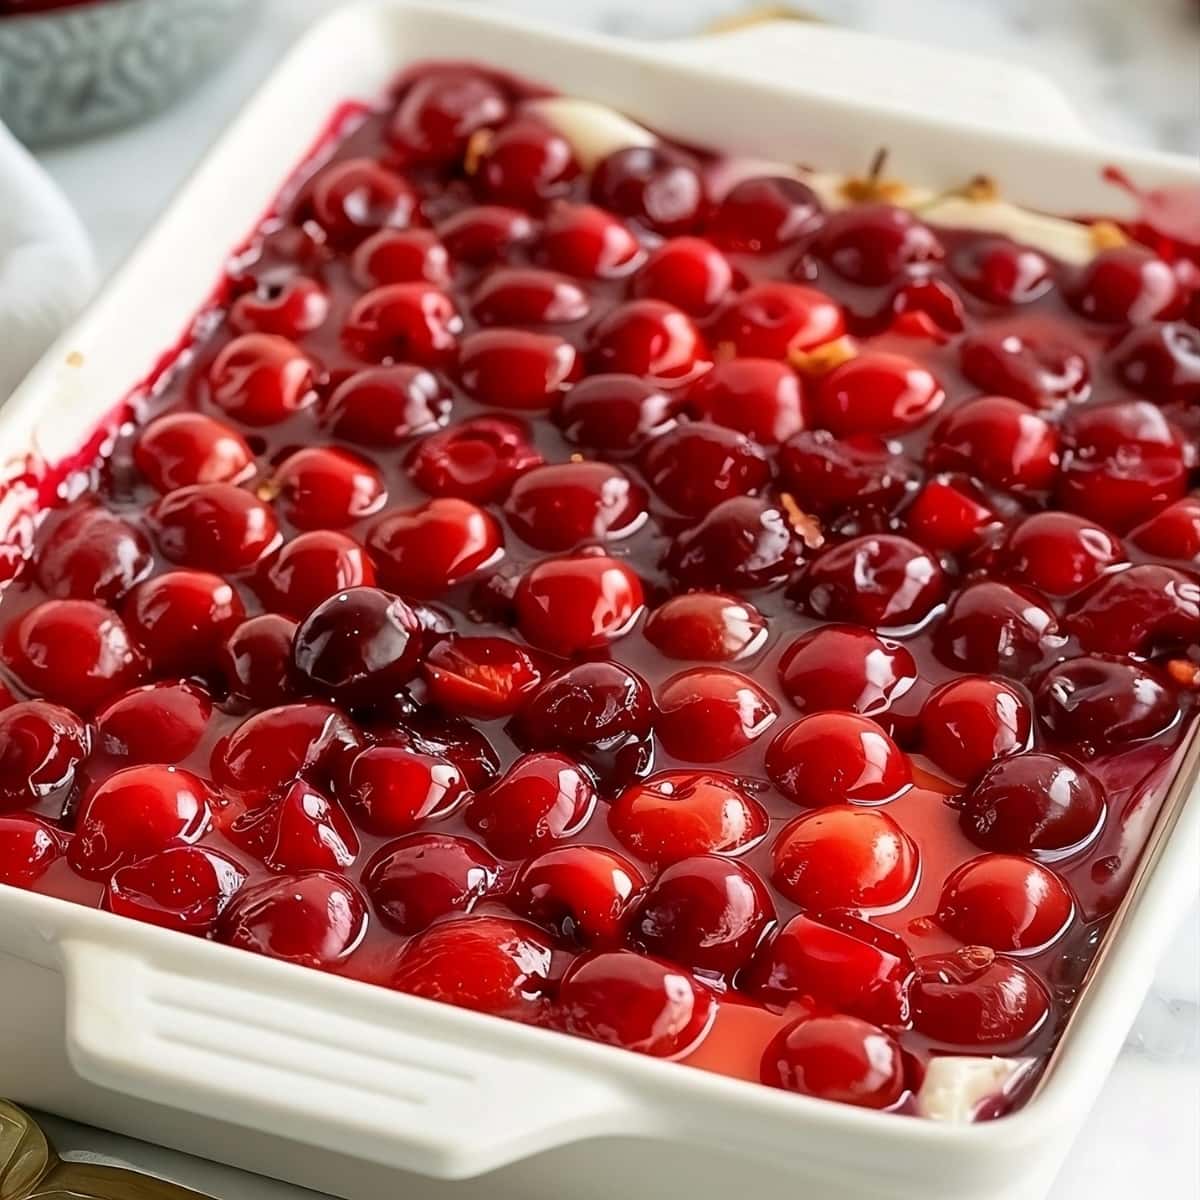
- Cherry Pie Filling: Select whatever brand you like best.
How to Make Cherry Delight
The complete, step-by-step method is on the recipe card below.
Really, though, there are only three major steps to making cherry delight:
1. CRUST. Mix the cracker crumbs with the sugar and butter, then press it into an 8 x 8-inch baking dish.
2. FILLING. Beat the cream cheese with the powdered sugar and vanilla. Then fold in the whipped topping and spread it evenly over the crust.
3. CHILL. Spread the cherry pie filling over the top and put the pan in the fridge for at least 2 hours. Then, slice, serve, and enjoy!
Tips for the Best Cherry Delight
Since this recipe is such a breeze, I only have a few tips to keep in mind:
- Use parchment paper. Lightly grease the bottom and sides of the dish with non-stick cooking spray. Then, add a layer of parchment with a slight overhang for easy removal (the spray helps the parchment stick to the dish).
- No food processor? Seal the graham crackers in a zip-top bag and crush them with a rolling pin.
- For clean slices. Use a sharp knife dipped in hot water. Dry it with paper towels between each slice. The heat ensures tidy cuts.
- For stable whipped cream. Sprinkle 1/2 teaspoon of unflavored gelatin over 1 tablespoon of cold water. After 5 minutes, microwave for 5 to 10 seconds, stir well, then let cool. Whisk this into 1 cup of cold whipping cream once it reaches soft-peak stage.
Recipe Variations
Variations to this recipe are simple and numerous!
- Swap the pie filling. You can use blueberry, strawberry, peach, or whatever flavor you like best.
- Use a store-bought crust. The filling will perfectly fill a 9-inch pie crust. Then, spoon as much cherry pie filling over the top as you like.
- Vary the crust. Skip the graham crackers and use an Oreo crust instead. The chocolate-cherry combo is absolutely divine.
- Make it nutty. Add some crushed pecans or walnuts to crust for added flavor.
- Add extra toppings. For more flavor (and a prettier aesthetic), add chocolate chips, shavings, or sprinkles. White chocolate looks lovely against the red of the cherries, too.
- Double the recipe. If you want to make a larger dessert, simply double everything. Make it in a 9 x 13-inch baking dish instead of an 8 x 8-inch one.
How to Make Ahead and Store
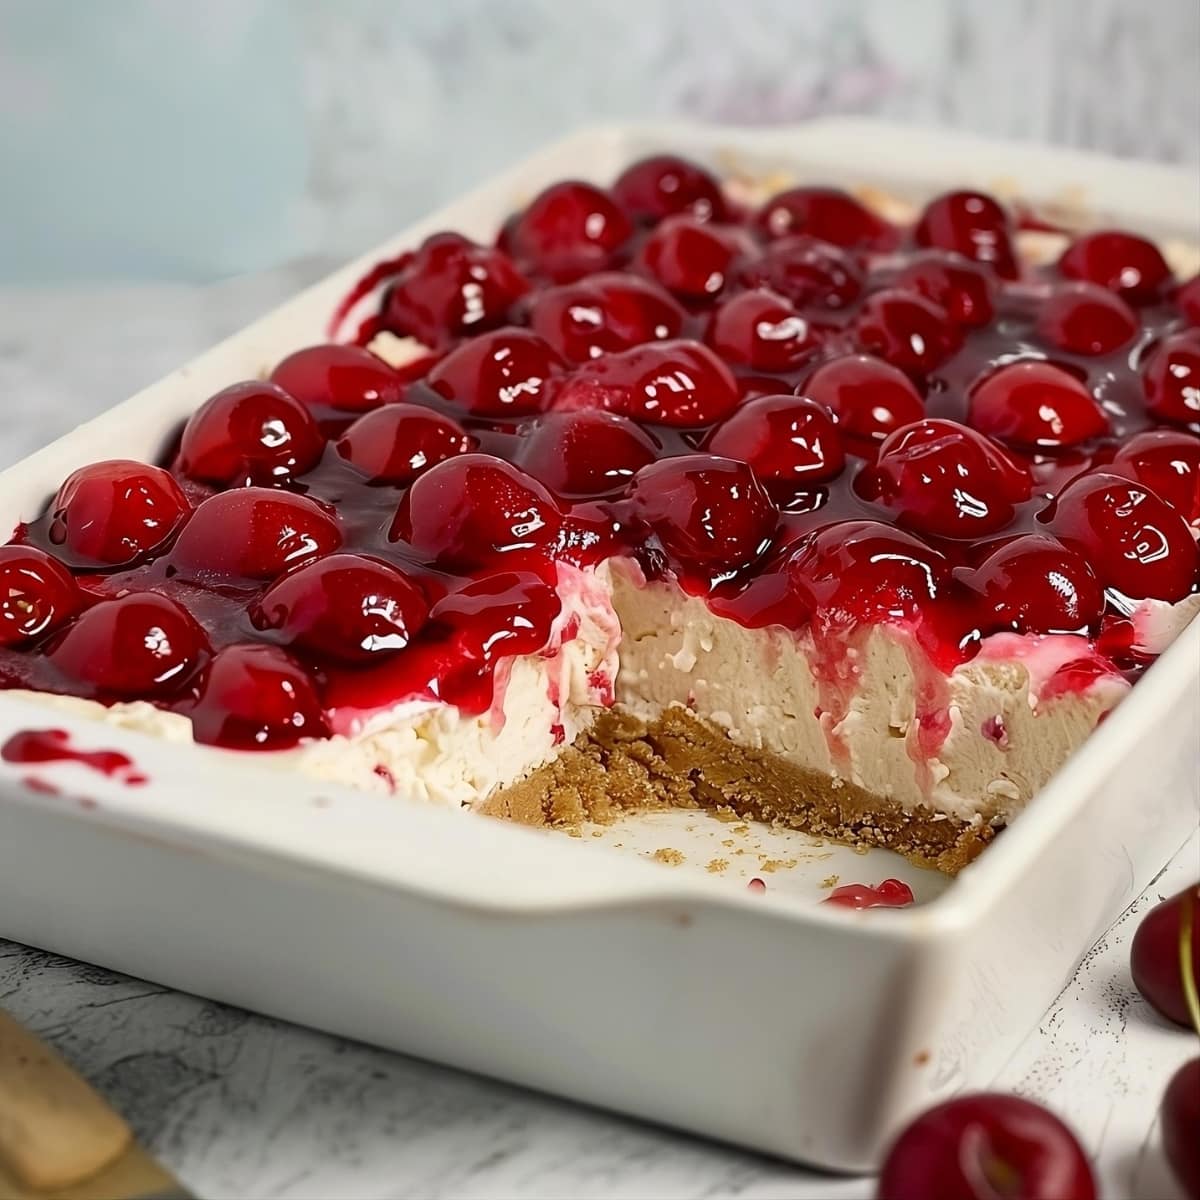
Because cherry delight is best served cold, it’s an excellent make-ahead dessert. It’s also easy to store the leftovers.
Here’s what you need to know:
To Make-Ahead: Bake the crust for 8-10 minutes at 350°F, cool completely, and then assemble the layers. Cover the dish and chill for up to 3 days before serving.
To Store: Cover and store leftovers in the refrigerator for 4 days.
Remember, the longer it sits, the softer the crust will get.
Also, if you made the dish ahead, the leftovers won’t have the same shelf life. In general, from the day it’s made, the dish is good for 4-5 days.
More No-Bake Dessert Recipes
No-Bake Peanut Butter Pie
No-Bake Cherry Cheesecake
No-Bake Cookies
No-Bake Oreo Cheesecake
No-Bake Kool Aid Pie
