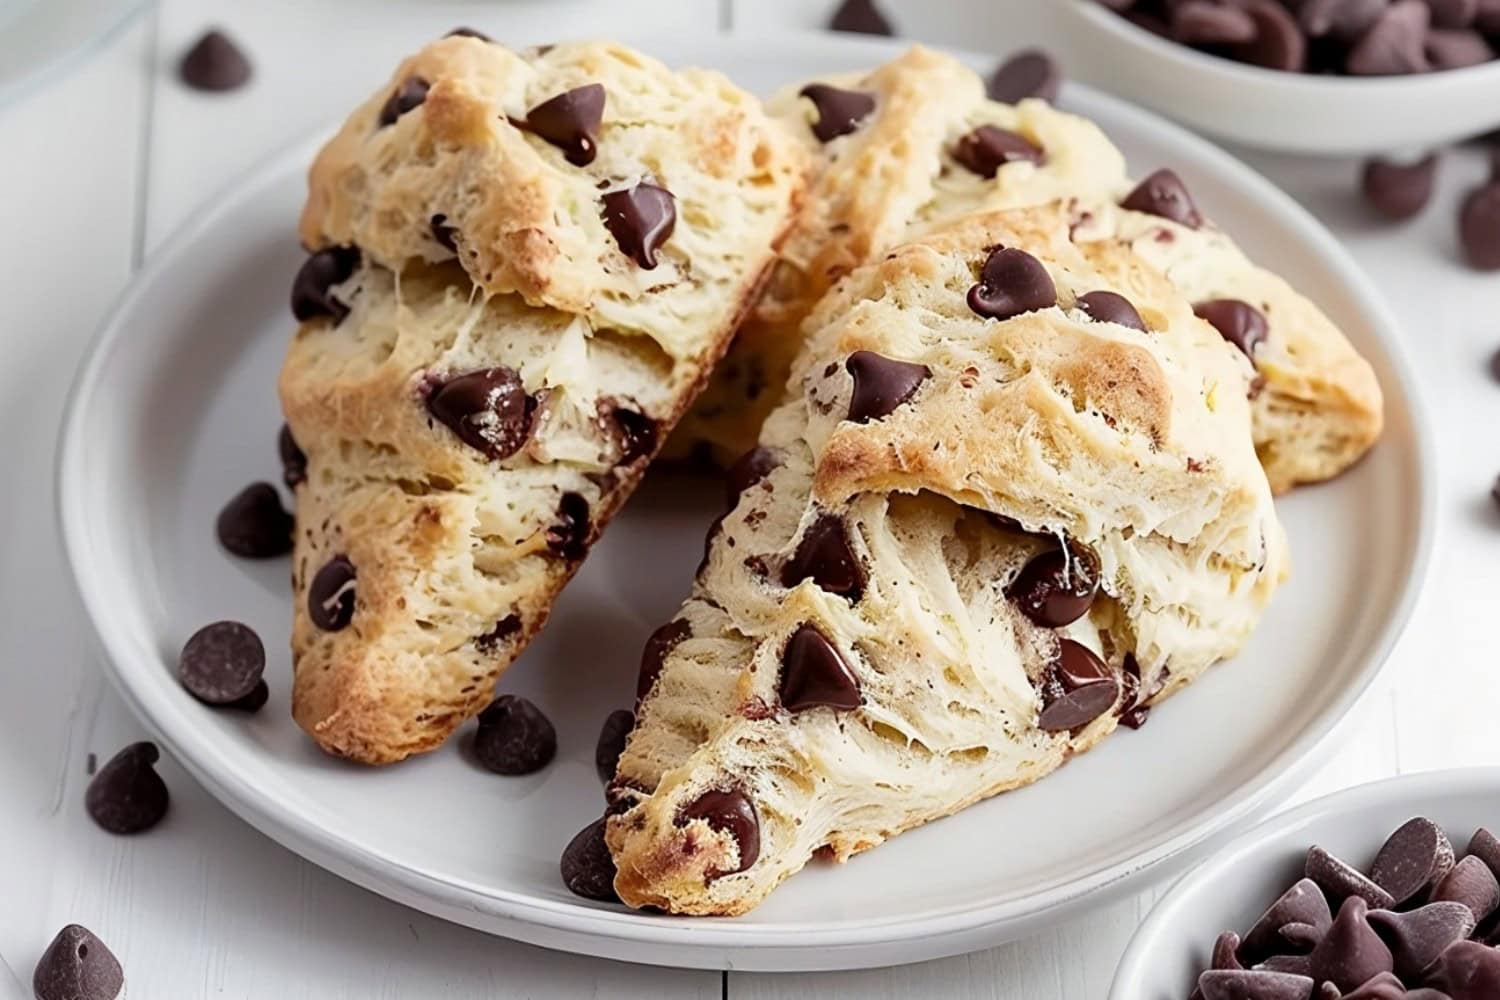

Believe it or not, you can have a batch of tender, fluffy, perfectly sweet chocolate chip scones on the table in just 30 minutes.
These little triangles of joy are like the lovechild of a buttery biscuit and a chocolate chip cookie.
They’re my go-to treat for lazy Sunday mornings or when I need a pick-me-up snack. And they’re the perfect excuse to eat dessert for breakfast (not that we need one, right?).
Why You’ll Love These Chocolate Chip Scones
Perfect for Any Occasion: Chocolate chip scones are quick, easy, and super versatile. Enjoy them for breakfast, brunch, or as a delightful afternoon snack. You can even bring them to parties and potlucks!
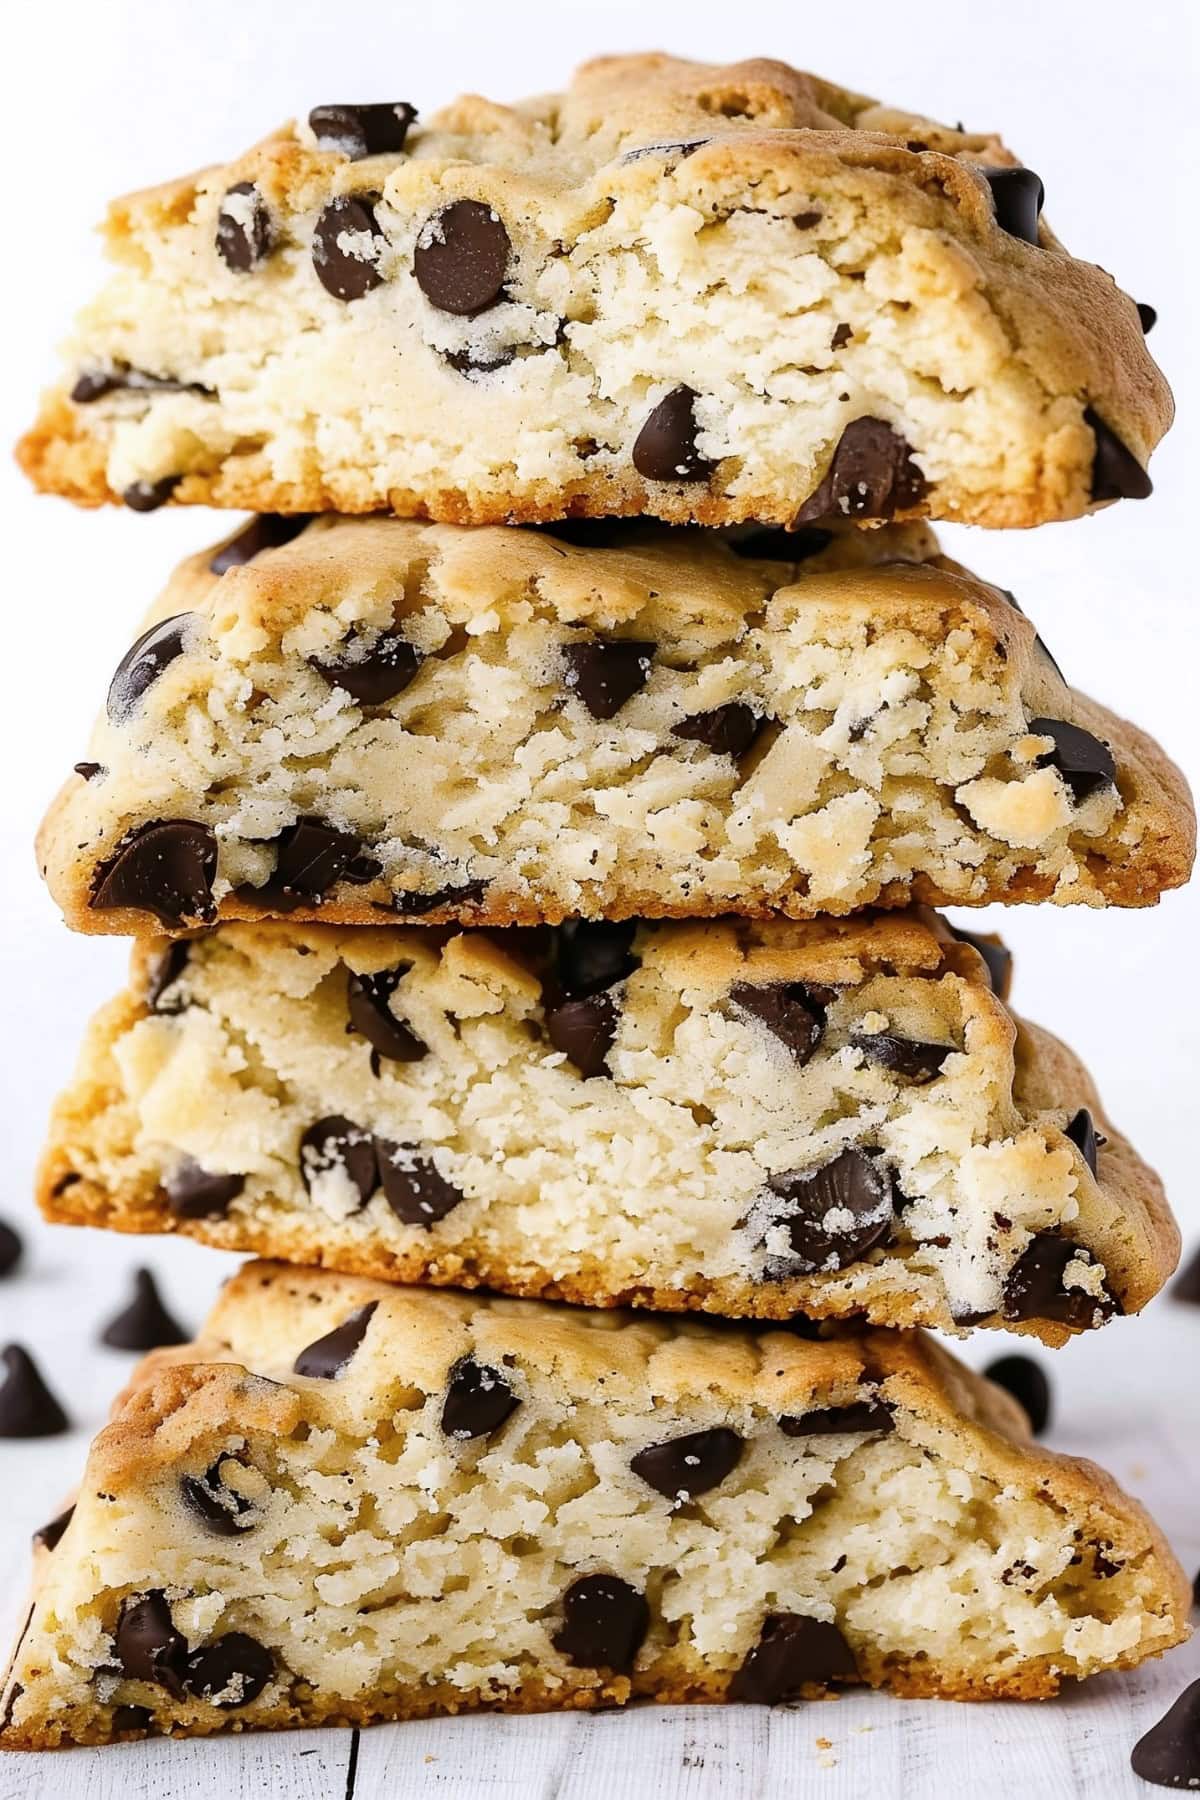
Rich Texture: The combination of frozen butter and mini chocolate chips creates a tender, flaky, satisfying, and indulgent texture.
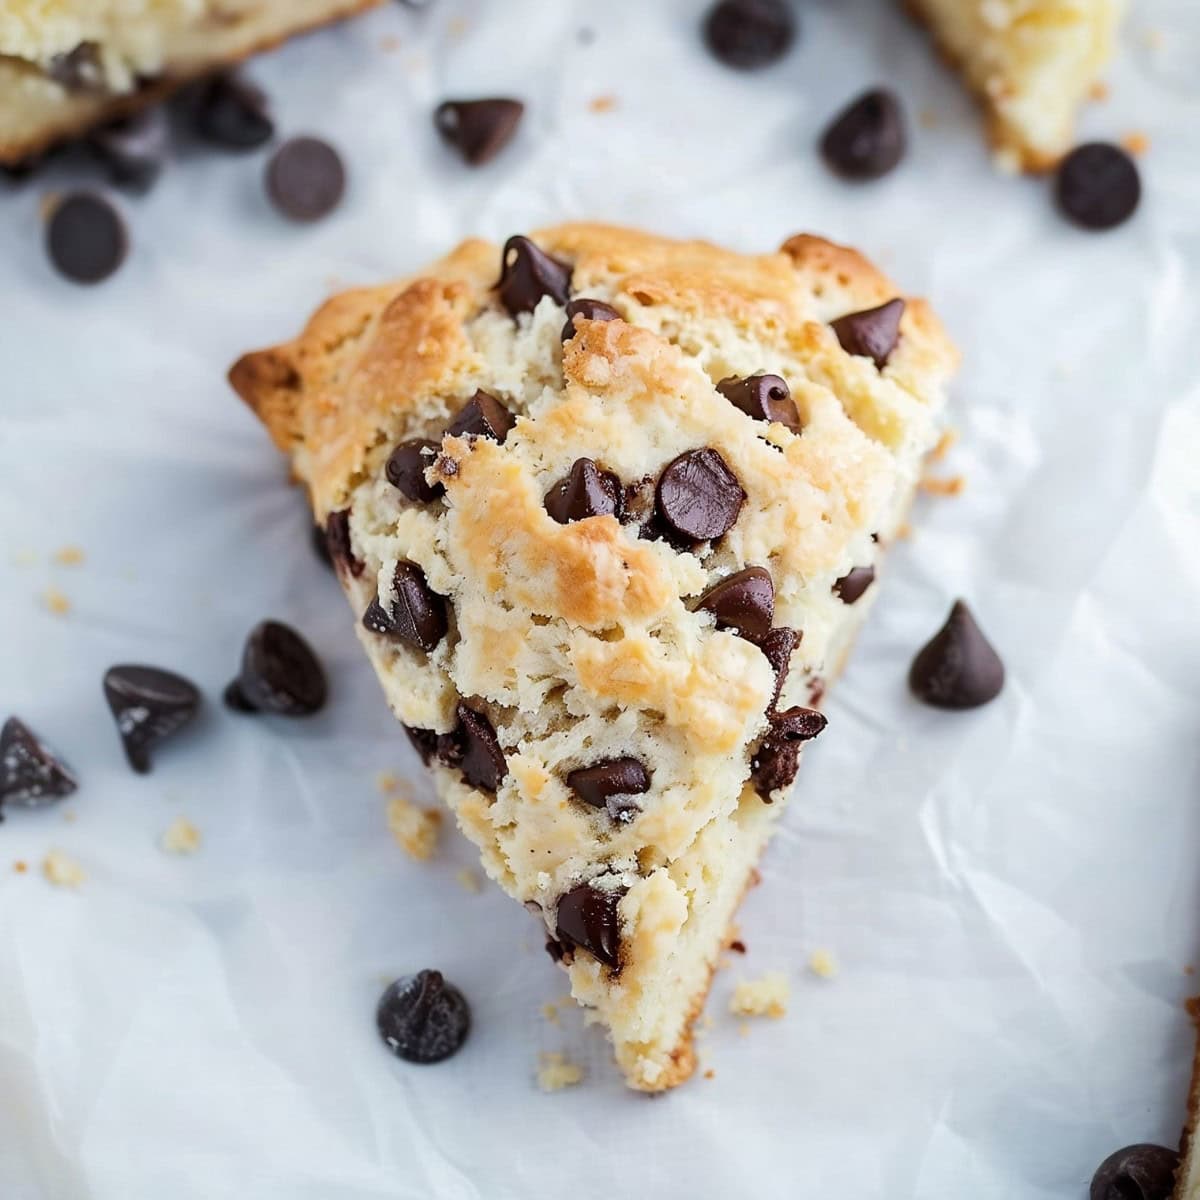
Impressive presentation: The golden-brown exterior and chocolate-studded interior make these scones a visually appealing treat that’s sure to impress.
Customizable recipe: The basic recipe can be easily adapted with different mix-ins or toppings, allowing for endless flavor variations to suit your mood.

Ingredients
- Bread Flour: The high-protein content gives these babies a real boost. But you can use all-purpose if that’s all you have.
- Baking Powder: It may seem like a lot, but you need a decent amount of leavening agent to help the scones rise and become light and fluffy.
- Granulated: For sweetness and to help create a golden crust.
- Frozen Butter: Ensures the most tender and flaky scones ever!
- Salt and Vanilla Extract: Enhance all the flavors in the scones.
- Eggs. To bind the ingredients and help with lift. You’ll also need some for brushing on top.
- Whole Milk: Infuses the scones with moisture and fat to keep them soft.
- Chocolate Chips: For a hit of decadence.
How to Make Chocolate Chip Scones
Picture this: you’re sipping your morning coffee, and instead of reaching for that boring slice of toast, you grab one of these bad boys.
The outside is slightly crisp, the inside is tender and flaky, and there are pockets of melty chocolate in every bite.
Better yet, you can even make them first thing and enjoy them warm with your morning coffee!
1. LINE two baking sheets with parchment paper.
2. WHISK the flour, sugar, baking powder, and salt in a large bowl.
3. GRATE the frozen butter and work it into the flour mixture until it resembles coarse crumbs.
4. MIX the eggs, milk, and vanilla until smooth, then gently stir into the flour. Stop halfway, add the chocolate chips, and finish mixing until just combined.
5. SHAPE, press, and fold the dough several times. Split in half, form each into a circle, and cut each into six wedges.
6. BRUSH the tops with beaten egg and chill for 20-30 minutes.
7. PREHEAT the oven to 400°F (205°C).
8. BRUSH the scones again with egg and sprinkle with coarse sugar if desired.
9. BAKE for 15-20 minutes until golden.
10. COOL on the trays for 5 minutes, then transfer to a wire rack to cool fully. Enjoy!

Tips For the Best Chocolate Chip Scones
If you haven’t tried making scones at home, give this recipe a go.
You’ll love how the chocolate melts just enough to be gooey but not too messy. Plus, they’re super easy to make.
Trust me, they’re foolproof – especially with these tips!
- Grate frozen butter. The colder the butter, the flakier the scones. So, while you can use cold butter, frozen is a fun hack that’ll save you time. It’ll mix into the dough evenly and create pockets of steam all over.
- Avoid overmixing. Mix the dough by hand until it’s just coming together but still slightly shaggy. Then, gently press and fold it a few times before cutting. It should not be smooth.
- Don’t skip the lamination. Fold the dough over itself a few times before shaping to create layers, which results in a flakier texture.
- Brush with cream. Before baking, brush the tops of the scones with heavy cream and sprinkle with coarse sugar for a golden, crunchy exterior.
- Use mini chocolate chips. Mini chocolate chips distribute more evenly throughout the scones, ensuring chocolate in every bite without overwhelming the texture.
- Chill the dough. After shaping the scones, place them in the fridge for 15 minutes before baking. If you used cold butter, pop them in the freezer instead.
- Optional add-ins. Try orange zest, chopped nuts, or different types of chocolate (milk, dark, or white).
- Topping ideas. These are incredible as they are, but a little vanilla glaze never hurt! Or they look super cute with a simple dusting of powdered sugar.

How to Store
Chocolate chip scones are the perfect way to elevate your breakfast game.
And while they’re best enjoyed the day they’re made, you can store them and even make them ahead, if needed.
To Store: Store cooled chocolate chip scones in an airtight container at room temperature for up to 2 days. For longer storage, refrigerate them in an airtight container for up to 5-6 days and serve at room temp.
To Freeze Before Baking: Make and cut the scones into triangles, place them on a baking sheet, and freeze until solid. Transfer the frozen scones to a freezer bag and store for up to 1 month. When ready to bake, place the frozen scones on a baking sheet and bake, adding a few extra minutes to the baking time.
To Freeze After Baking: To freeze baked scones, let them cool completely, then place them in a freezer-safe bag and freeze for up to 3 months.
For the best taste and texture, warm leftovers in the microwave for about 20-30 seconds or in a 300°F oven for 10 minutes.
More Scone Recipes You Have to Try
Glazed Lemon Blueberry Scones
Strawberry Scones
Buttermilk Scones
Basic Scone Recipe

Chocolate Chip Scones
12
servings15
minutes15
minutes326
kcalBelieve it or not, you can have a batch of tender and fluffy chocolate chip scones on the table in just 30 minutes. The hardest part is letting them cool!
Ingredients
3 1/2 cups bread flour (450 grams)
6 tablespoons granulated sugar
1 1/2 tablespoons baking powder
1/2 teaspoon salt
6 tablespoons butter, frozen
2 large eggs
1 cup whole milk or heavy cream
2 teaspoons vanilla extract
1 cup chocolate chips
2 beaten eggs or 2-4 tablespoons heavy cream, for brushing
Coarse sugar, for garnish, optional
Instructions
- Line two baking sheets with parchment paper.
- In a large bowl, whisk the flour, sugar, baking powder, and salt.
- Grate the frozen butter using a box grater and add it to the flour mixture. Use a pastry cutter or your fingers to work the butter into the dry ingredients until the mixture resembles coarse crumbs.
- In a separate bowl, whisk the eggs, milk, and vanilla until blended. Make a well in the center of the dry ingredients and pour the wet ingredients inside. Mix gently until about halfway combined. Add the chocolate chips, and mix again until the dough comes together in a shaggy ball.
- Turn the dough onto a lightly floured surface, press and fold it over a few times until it’s soft and mostly holding its shape.
- Cut the dough in half and pat each half into a 1 1/2 – 2 inch tall circle. Cut each circle into 6 wedges with a bench scraper or sharp knife. Transfer the scones to the baking sheets, giving them 2-3 inches of space. Brush the tops with the beaten egg or cream and place the trays in the fridge for 20-30 minutes to rest.
- Preheat the oven to 400°F (205°C).
- Remove the trays from the fridge and brush again with more beaten egg or cream. Sprinkle the coarse sugar over the top, if using.
- Bake for 15-20 minutes until golden brown and fluffy.
- Allow the scones to cool on the baking sheet for 5 minutes before transferring to a wire rack to cool completely. Serve and enjoy!
Notes
- For the flakiest texture, make sure the butter is frozen. It’s the key to the recipe!
- Don’t overmix the dough. Mix just until the ingredients are combined to ensure tender scones.