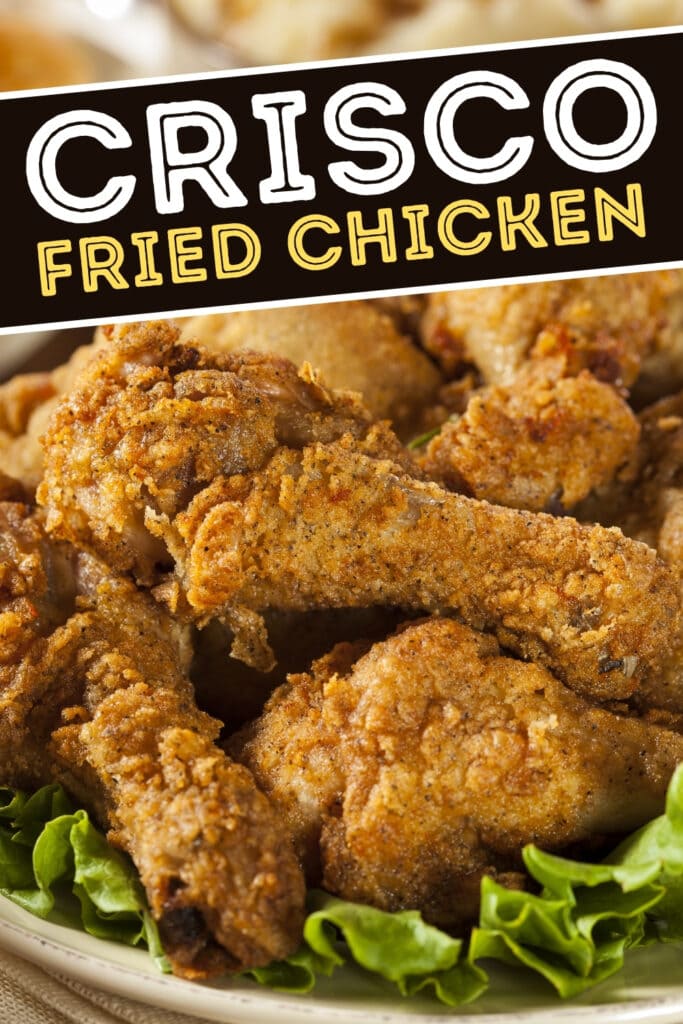
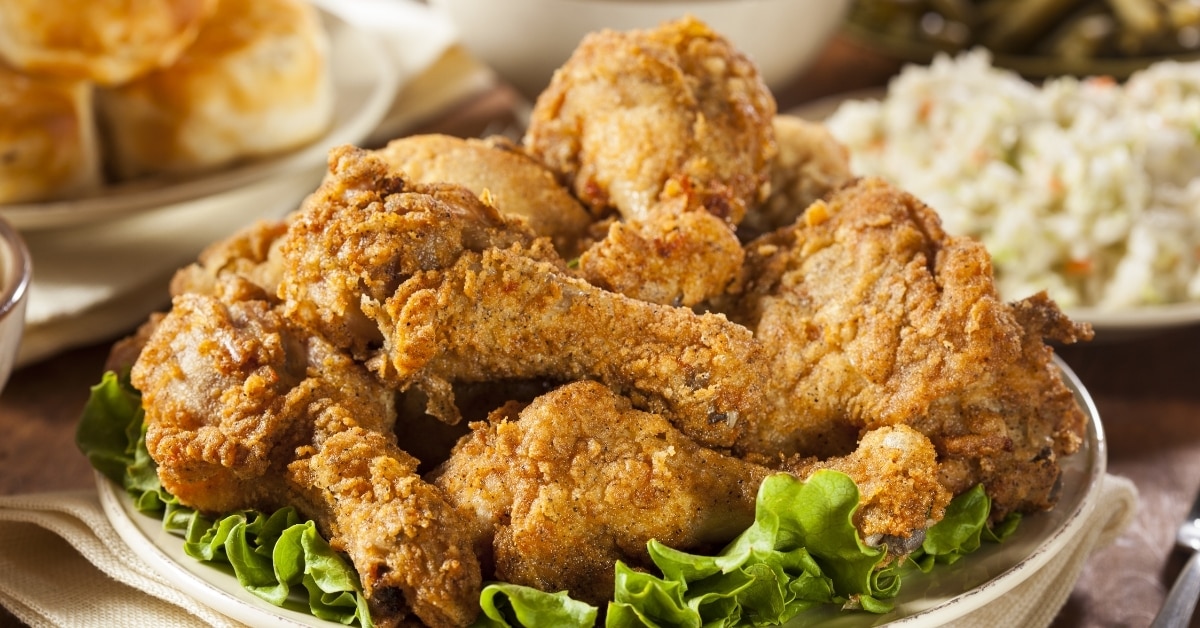
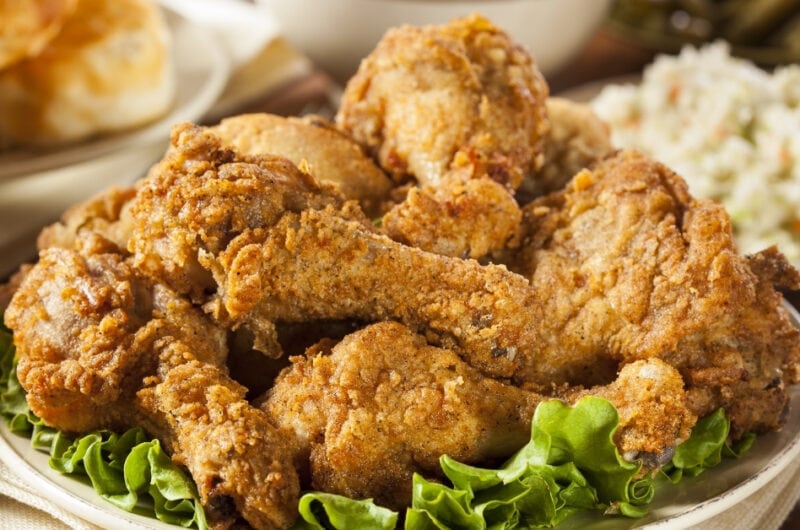
Who doesn’t love a piece of golden, crispy Crisco fried chicken?
This classic is as good as it gets. So make it tonight!
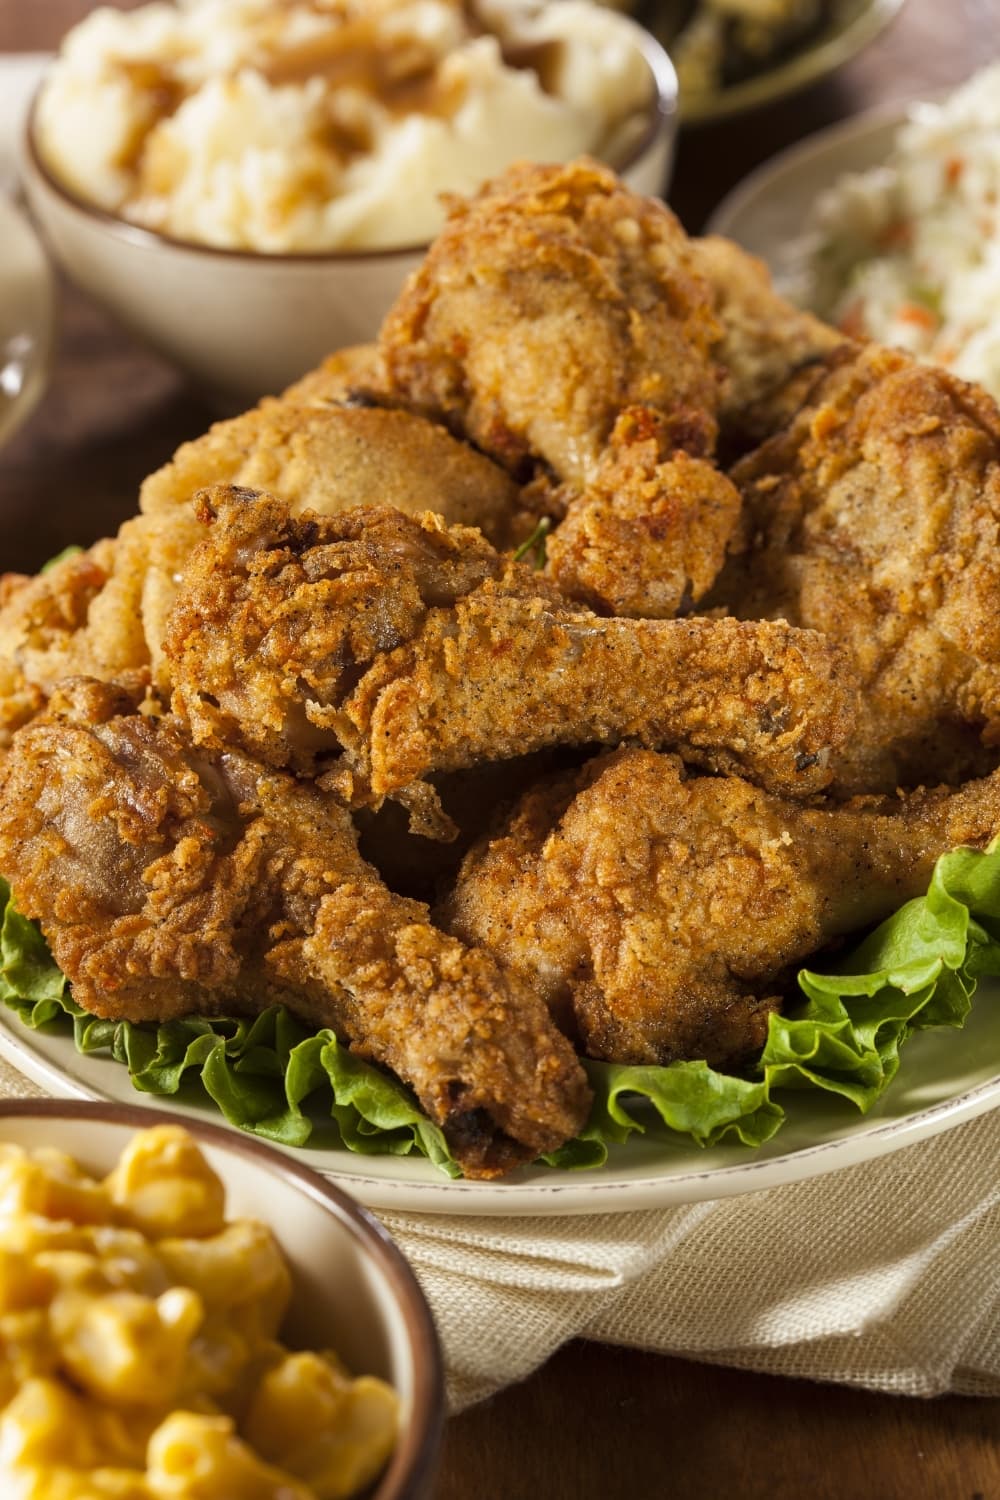
Are you ready to learn everything you need to know about making perfect fried chicken using Crisco shortening.
If you think it’s intimidating, think again! Frying chicken isn’t as difficult as you imagine it to be.
Plus, with all the tips I have for you below, everything will be a breeze.
Want some guaranteed fried chicken success? This Crisco fried chicken recipe is calling your name! Let’s eat!
Crisco Fried Chicken
I was always afraid of frying chicken. The thought of oil splattering and potentially burning or undercooking chicken would prevent me from even trying.
However, I knew it was only a matter of time until I finally gave it a go.
I’m so glad I did! The fried chicken turned out so well with this recipe.
It was crispy and crunchy on the outside, tender and juicy on the inside, and seasoned perfectly all the way.
I don’t know why I was so terrified. It was relatively easy, and worth the effort.
Just as long as you follow this recipe, and take note of the tips below, you’ll be all set.
Is It Better to Fry Chicken in Crisco or Oil?
I’m team Crisco all the way! I don’t know what it is, but it just yields tastier chicken for me.
You can also use oil, of course. Stick to ones with a high smoke point, such as canola and peanut oil.
Why Isn’t My Fried Chicken Crispy?
The heat is too low. That’s why it’s super important to use an instant-read kitchen thermometer to check the temperature of the shortening.
It should always be at 350 degrees Fahrenheit.
If it’s too cold, the chicken will take forever to fry. The skin will be all soggy and the meat overly greasy.
Also, don’t place the fried chicken on a paper towel-lined plate. Shocker, am I right?
I used to do this a lot before as well to get rid of excess oil.
But as it turns out, placing chicken over paper towels will create steam, which will, in turn, make the crispy skin soggy. Yikes!
Instead, just place the chicken on a wire rack with a sheet of parchment paper underneath to catch the grease.
How Do You Get the Batter to Stick to Chicken?
No matter how crunchy and tasty the coating is, it’s useless if it falls off the chicken. Here are some tips to ensure your batter sticks.
- Don’t go heavy on the batter. Shake off excess flour and excess egg mixture.
- Do not overcrowd the pan. If the chicken pieces keep bumping against each other, odds are, their breading will start to peel off.
Tips for the Best Chicken
- Get pre-cut chicken so you won’t have to do it all yourself. Check the wings, though, and be sure to cut off the tips at the last joint. This part is called the tip, and no one eats them.
- Be sure the chicken is at room temperature. Frying cold chicken will result in uneven cooking.
- For extra crispy skin, add a tablespoon of cornstarch to the flour. It doesn’t sound like a lot but it’ll help.
- Marinate the chicken in buttermilk. If you have the time, marinate them overnight.
- Do not overcrowd the skillet. Adding too many chicken pieces at once will reduce the heat of the shortening, which in turn will likely give you soggy skin and raw chicken.
- Use a real cast-iron skillet or Dutch oven, as they conduct heat better.
- Use a meat thermometer to check for doneness. According to the USDA, cooked chicken has an internal temperature of 165 degrees Fahrenheit.
How to bake the chicken for less oil and calories:
- Place the chicken on a parchment-lined baking sheet.
- Bake at 425 degrees Fahrenheit for 25 minutes.
- Flip the chicken over and bake for 25 minutes more.
- Turn on the broiler for 1 minute for extra crispy skin.
Store the fried chicken in an air-tight container and refrigerate for 3 to 4 days. It won’t be as crispy, but still tasty.
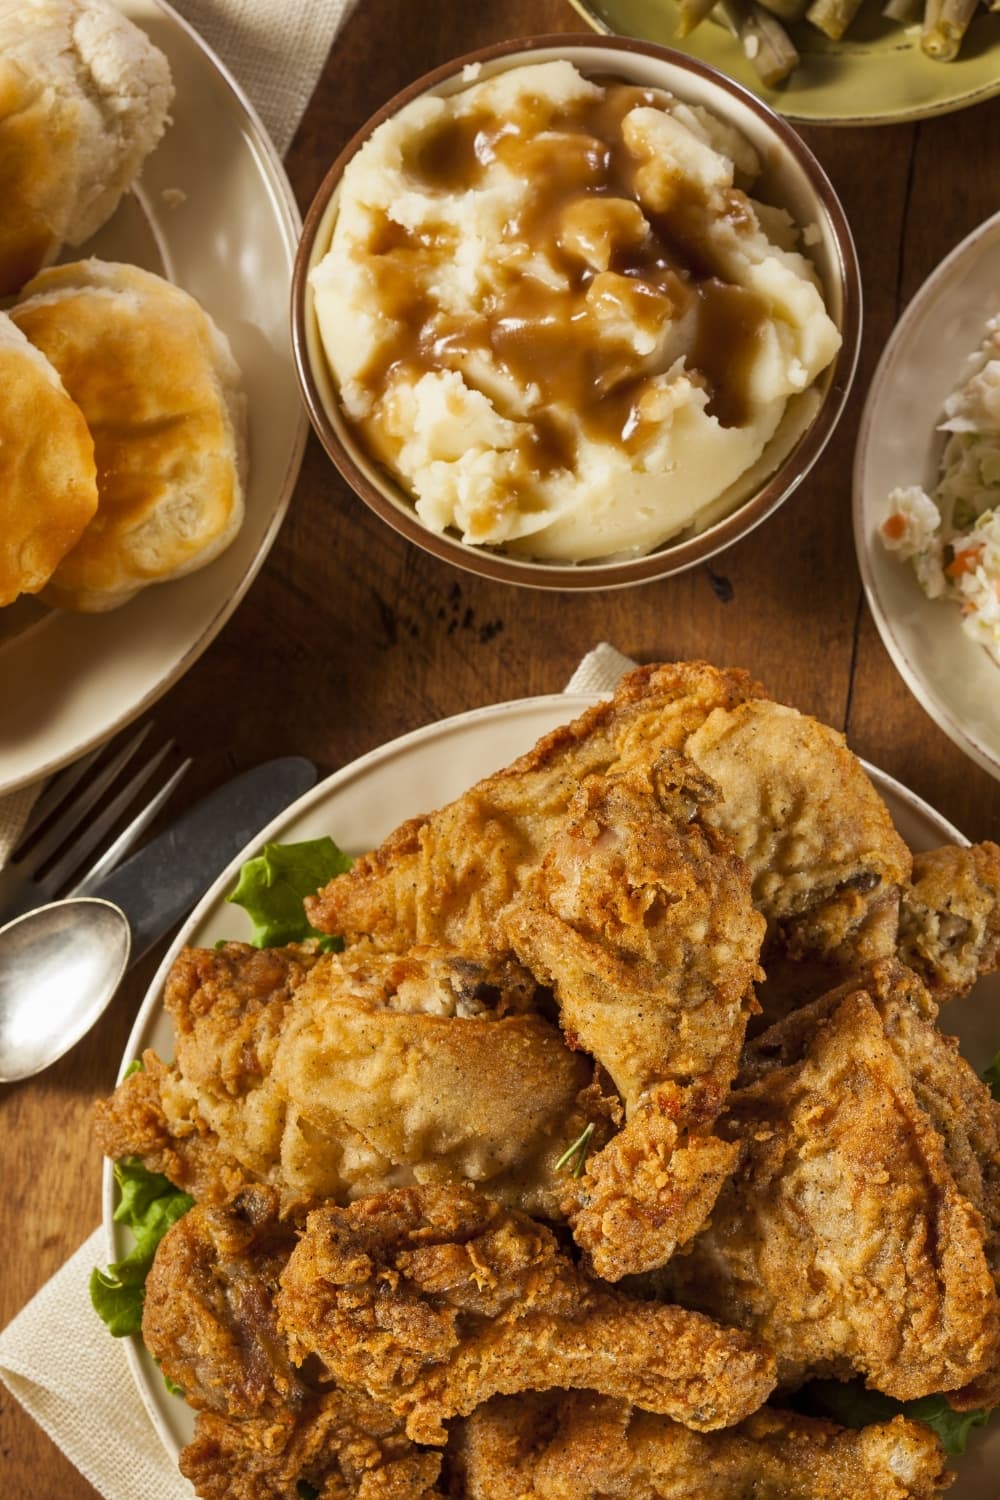
Serve fried chicken with buttermilk biscuits, coleslaw, or mashed potatoes. Comfort food at its best!
More Crispy Chicken Recipes You’ll Love
Chicken Milanese
Nashville Hot Chicken
Chicken Schnitzel
Shake and Bake Chicken


This was a great recipe !! Thank you for sharing !!
Side note : if you deep fry just make sure you have enough Crisco to cover the chicken.
Hi there, that’s such a great tip! Thanks so much for sharing. I’m glad you liked the chicken!
beautyeval,
These are tips I learned as a child from my father, (a professional chef in the 50’s and early 60’s in San Diego, California. I am 72 now).
Buttermilk with the seasonings in it, is a must for me! I soak it several hours or over night, but no longer. (Science shows the acids in the buttermilk can actually turn the meat to a mushy texture). It affects the proteins and makes it much more moist and tender.
To insure the breading, (coating), with more seasoning, stays on much better during frying; let the coated chicken rest on a rack for a few minutes, until it starts to look slightly dry in spots before frying. It has to do with stickiness, it gets gummy on the moist skin, gluing it to the chicken skin. It works even with the gluten-free flours I use, so it is not the gluten.
Then fry as usual, don’t crowd the pieces.
Except, I choose to reduce the cooking time by a few minutes.
Instead, increasing the heat to medium high or high, for the last few minutes of cooking time. I turn each piece once to just crisp the skin and have piping hot chicken. I find it really crisps the chicken much better, without over cooking, if I take it out before 165 degrees. The internal temperature continues cooking the chicken as it cools on the rack. But temperature check it to be safe.
I hope you like my family tips and you have chicken – with a tasty, crispy coating on your chicken, not in the pan!
Cheers,
Cindy
Hi Cindy, thanks so much for sharing these great tips! There’s nothing better than crunchy, perfect fried chicken, so I’ll be trying them for sure. I appreciate you sharing them with everyone!
I made it just like the instructions. I am 61, first real attempt frying chicken. 5 Stars!
Hi Robert. So happy you enjoyed the recipe! I was so nervous the first time I made fried chicken, but it’s pretty easy when you get the hang of it! Thanks for the 5 stars!!
No, thank you.