The Eagle Brand pumpkin pie is a must-have for Thanksgiving or any time of year for that matter!
After all, you deserve nothing but the best.
With its smooth, creamy, and custard-like filling, you won’t be able to stop at just one piece of this pie. (I’m thinking maybe three.)

Eagle Brand Pumpkin Pie
Eagle Brand pumpkin pie is always a staple of my holiday dinners. It tastes incredible and has the most perfect silky texture.
But what I love most about it is how insanely easy it is to make. The key is sweetened condensed milk.
That single ingredient makes this recipe so much simpler to make. It also creates a thicker, smoother, and creamier pumpkin pie.
You’ll also appreciate the warm, flaky crust and the perfect blend of cinnamon, ginger, and nutmeg.
If you already have an existing recipe, scratch that. When it comes to flavor and level of difficulty, Eagle Brand pumpkin pie is all you’ll need.
What is Sweetened Condensed Milk?
Sweetened condensed milk is concentrated cow’s milk sweetened with sugar. It’s thick, sticky, sweet, and creamy.
Because of its consistency, adding it to pumpkin pie filling will make it super thick and smooth.
Also, unlike when using evaporated or half-and-half, there’s no need to add sugar when you’re working with condensed milk.
That’s one less thing to measure.
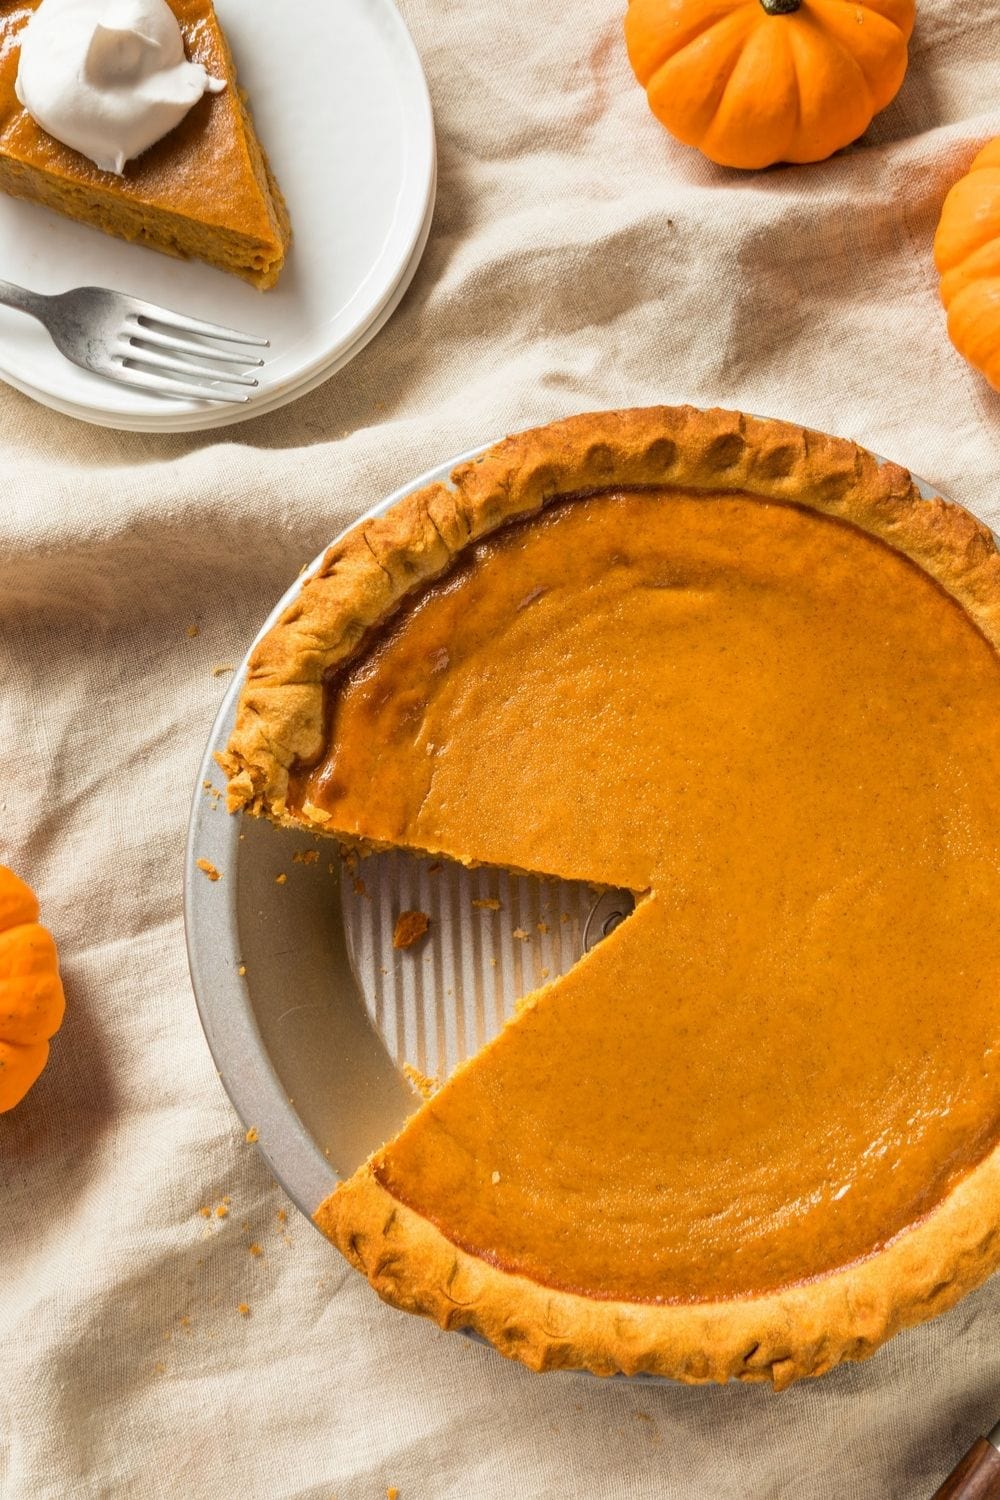
How to Make Pumpkin Pie
This is, without a doubt, the easiest pumpkin pie recipe I’ve ever tried, and it results in perfection every time.
Follow these simple steps to make it:
1. Preheat the oven to 425 degrees Fahrenheit.
2. Make the filling. Combine the pumpkin puree, condensed milk, eggs, spices, and salt. Beat until combined.
3. Bake. Pour the pie filling into the crust and bake the pie for 15 minutes. Then, reduce the temperature to 350 degrees and bake for another 35 to 40 minutes.
4. Cool and serve. Let the pie cool on a wire rack for about 2 hours. Then, slice, serve, and enjoy!
Can I Use Fresh Pumpkin Puree in This Recipe?
I normally opt for fresh ingredients when cooking or baking. But in the case of pumpkin pie, canned is the way to go.
Don’t get me wrong. You CAN use fresh pumpkin puree, but I wouldn’t recommend it.
Fresh pumpkin has a lot of water. If you don’t drain it well, your filling will be runny. You’ll also need to strain it adequately, or it’ll be gritty and grainy.
And most importantly, working with fresh pumpkins is just too much of a hassle.
Meanwhile, canned pumpkin is already strained, drained, and pureed for you. Just dump it into a bowl and it’s ready to go.
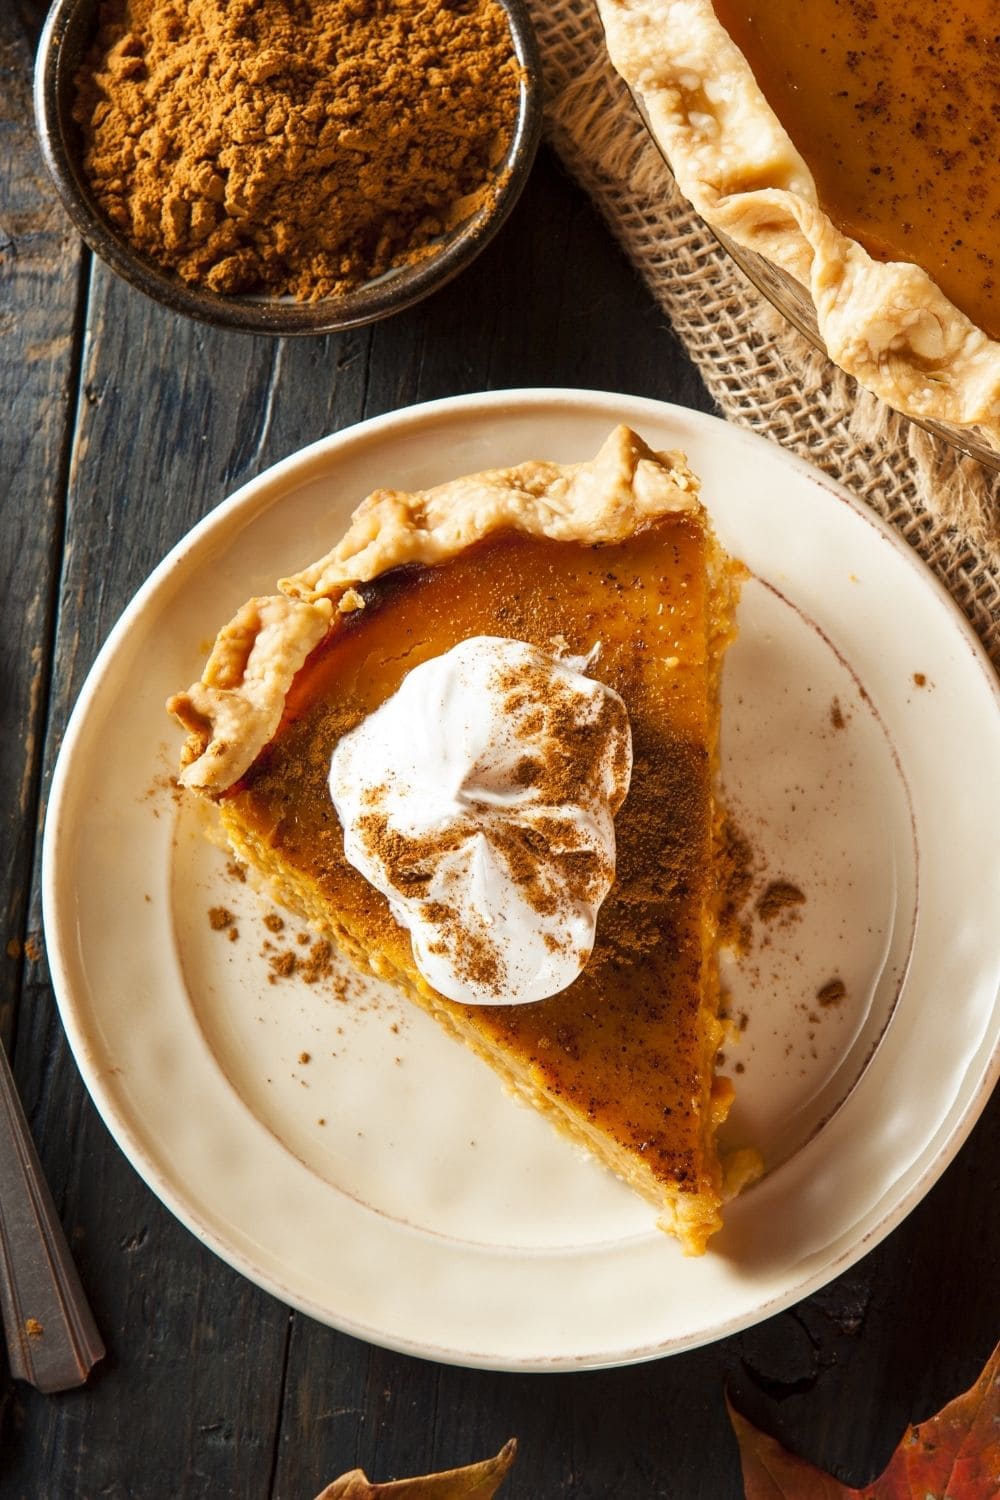
Tips for Making the Best Pie
Here are some of my all-time best pumpkin pie-making tips:
- Freeze the crust. Simply fit it into the pie plate and cover it with plastic wrap. Then, freeze it for about an hour. The colder the crust is beforehand, the flakier it’ll be after baking it.
- Blind-bake the crust after freezing. Blind-baking your crust will ensure it stays crisp and firm despite being filled with custard. Check out this article to learn how to blind bake a pie crust.
- Puree the pumpkin puree. Sounds silly, right? After all, canned pumpkin is already pureed! Popping it in the blender and pureeing it again will make it extra smooth and creamy, though.
- Cook the pumpkin puree. Cook the pumpkin puree for 3 to 5 minutes over low-medium heat. Stop once it starts bubbling. Cooking it briefly beforehand will give it a deeper, more pumpkiny flavor.
- For a richer taste. Add an extra egg yolk to the filling.
- Don’t overbeat the filling. Cracking is one of the main concerns when making pumpkin pie. And overbeating the filling is the main culprit. When whisking the ingredients together, stop as soon as they’re well-combined.
- Let the pie cool completely. I hate waiting, too, but it’s a must. The filling needs at least 2 hours to set. If you cut it too soon, you’ll get wet, runny slices.
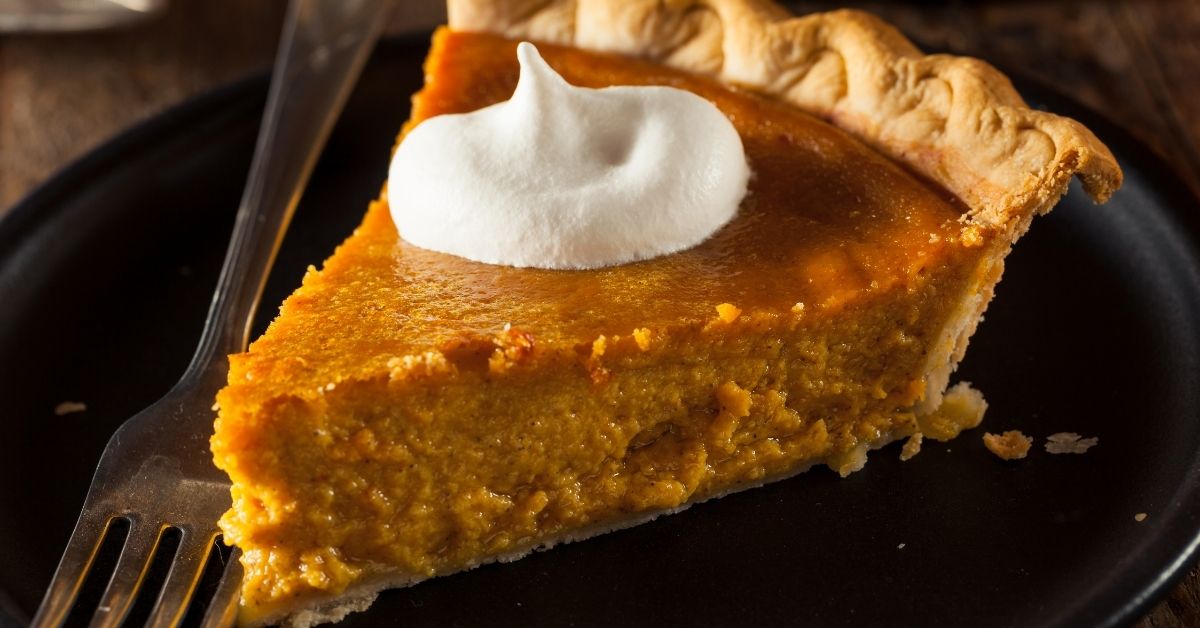
- Top with whipped cream. This pumpkin pie is delicious as it is. But why not level up with some homemade whipped cream? One dollop of billowy goodness makes a big difference.
How to Thicken Pumpkin Pie Filling
There are two primary methods for thickening pumpkin pie filling.
1. Use starch. You can use flour, cornstarch, or arrowroot. Add it to the filling and cook it over low heat, stirring continuously, until it reaches your desired consistency.
2. Add an extra egg yolk. Eggs will make the filling extra rich and give it that gorgeous, custard-like consistency. (That’s why this recipe calls for an extra yolk!)
How to Store
You can make pumpkin pie up to 2 days in advance. Simply follow the recipe to make it, pop it in the fridge, and then forget about it!
As for leftovers, you can keep those a few days, too.
To Store: Let the pie cool fully. Then, wrap it tightly with aluminum foil and refrigerate it for up to 4 days.
To Freeze: I don’t really recommend freezing pumpkin pie. The filling just isn’t the same after thawing out. However, you CAN freeze it. Simply wrap the pie tightly in aluminum foil and freeze in an upright position for up to 2 months.
To Reheat: Let frozen pie thaw in the fridge overnight. Enjoy the pie chilled, or reheat individual slices in the microwave in 20-second intervals.




Could I double and cook in 9×14 ?
Hi Pat, you can try it, but it actually might be easier to just double the recipe and use two 9″ pies.
I made Eagle brand Pumpkin pie I like it it’s easy to make and much better than the old fashion way. Thank you so much for your delicious recipes Shirley.
🧡🦃🎃Best and easiest pumpkin pie recipe ever. Been making this recipe since it 1 st came out. My kids and grands won’t eat any other pumpkin pie. greats awe now eating them. luv,Luv,LUV This recipe.🧡🦃🎃
I’m so happy you like it, Sandi! It’s one of my favorites too.