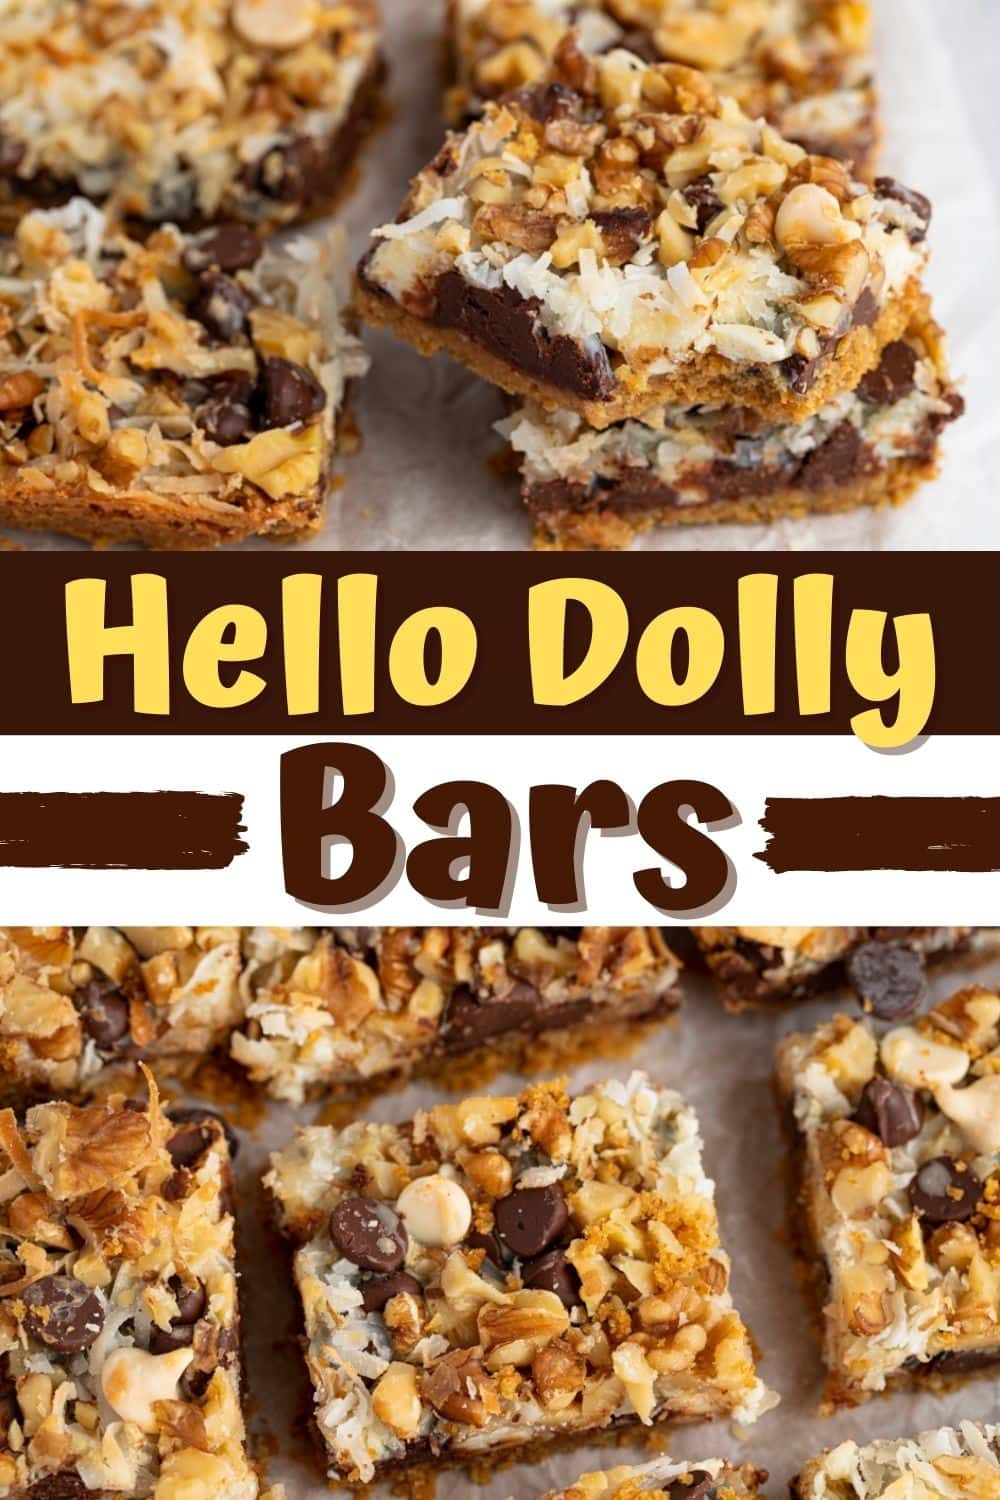
Hello Dolly bars are the ultimate indulgence. They’re every sweet tooth’s dream dessert!
With these bars, you don’t only get one or two layers, but a whopping seven.
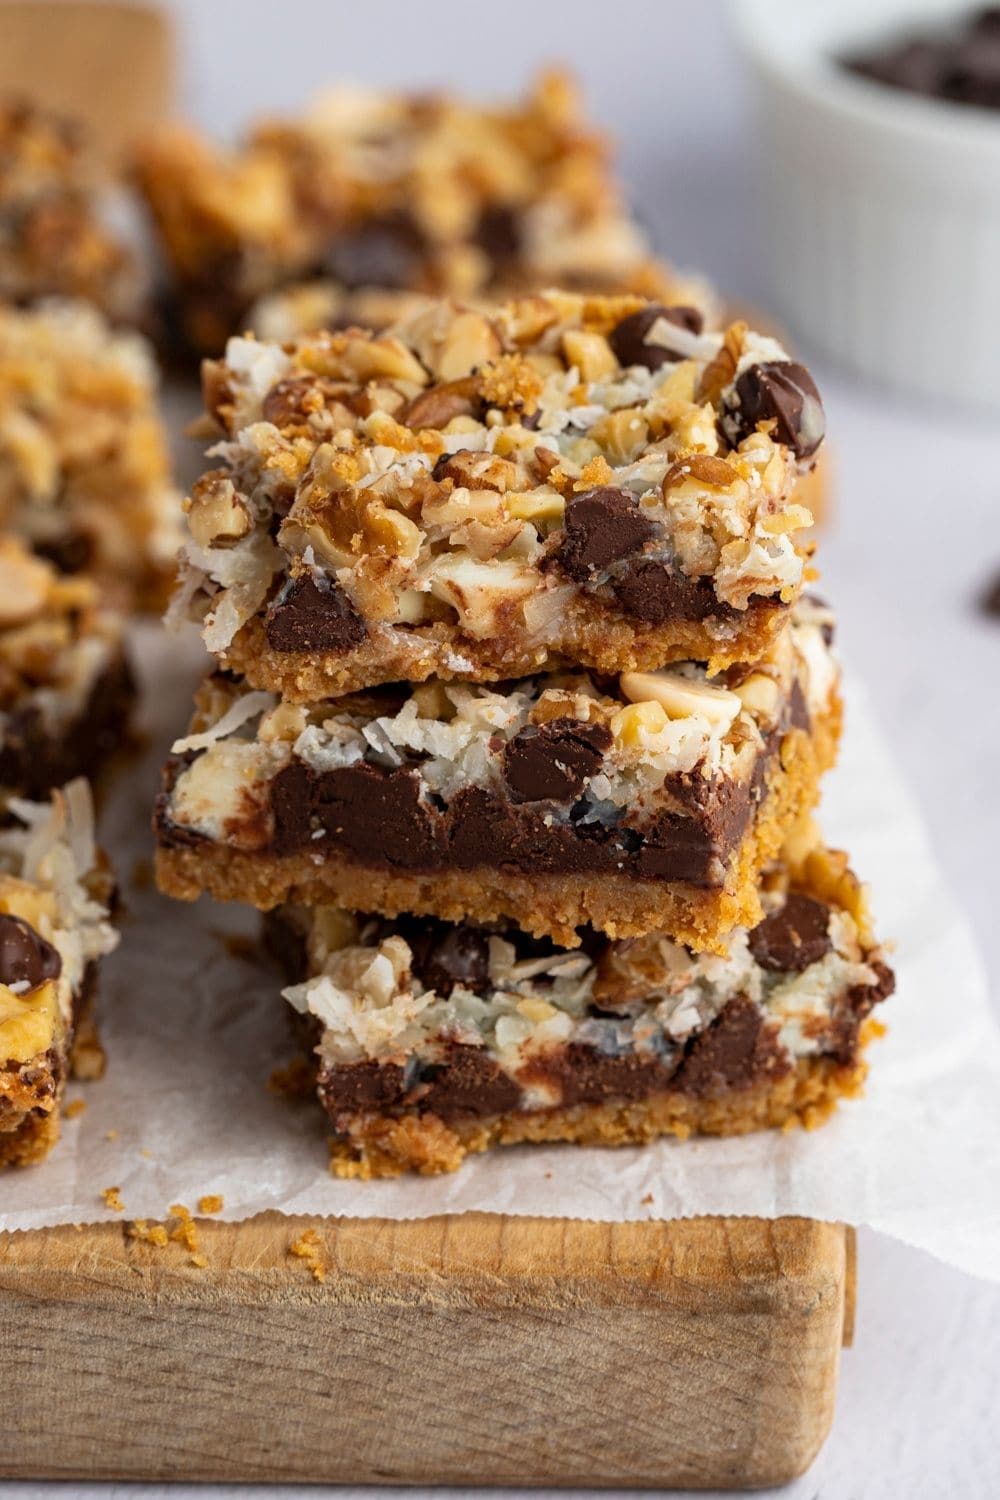
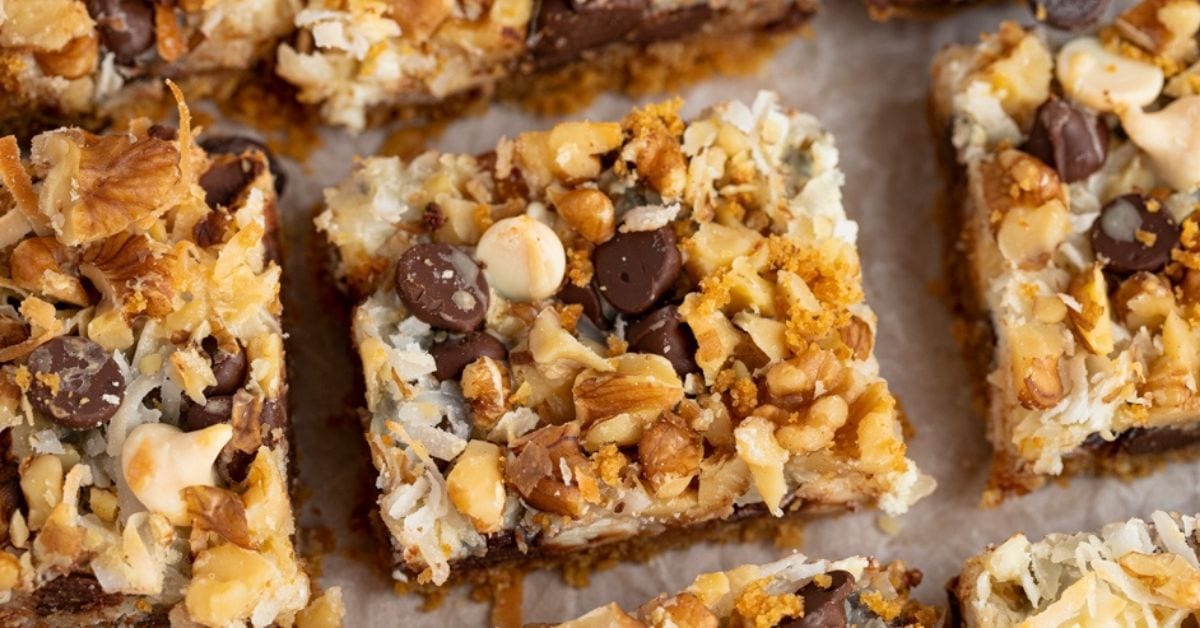
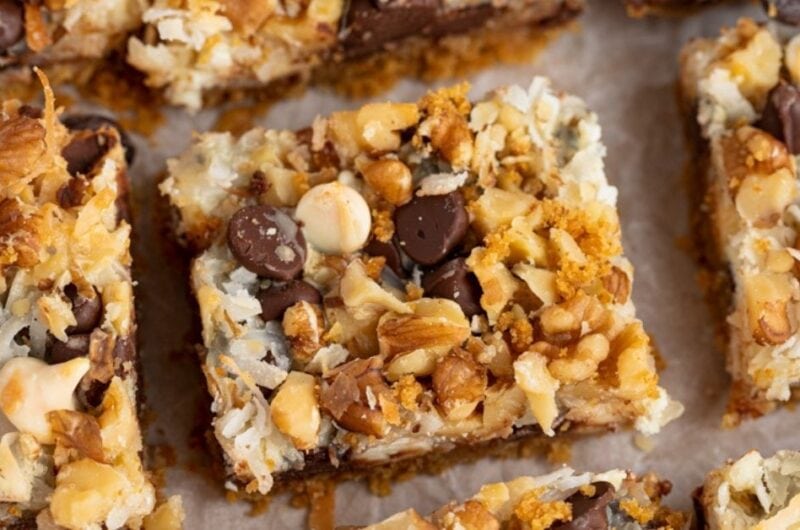
I’m talking chocolate chips, nuts, coconut – the works! There are so many different layers, but they all work with each other to create the perfect balance.
You can also expect a crumbly and buttery crust at the bottom and a secret ingredient that makes the bars ridiculously chewy and ooey gooey.
Are you ready for dessert deliciousness overload? Let’s get the show started.
Hello Dolly Bars
Also called 7-layer bars and magic bars, Hello Dolly start with a standard (but scrumptious) crumbly crust.
Over that, you’ll add a bunch of sweet toppings bound together by sweetened condensed. milk.
Seriously, the word decadent is an understatement.
They’re so exquisite, you’ll think they’ll require great baking skills, but the opposite is true.
There might be at least seven layers, but these bars are super easy to make. Thirty minutes, and you’re done! The hardest part is waiting as they cool.
Why Are They Called Hello Dolly Bars?
Hello Dollies first came to be in the 1960s, when the recipe was featured in the original foodie, Clementine Paddleford’s column in the magazine, The Week.
It wasn’t Paddleford’s own recipe, though. Rather, 11-year-old Dallas native Alecia Couch submitted it to Paddleford in 1965.
The Broadway musical, Hello Dolly, was all the rage during that time, hence the name. Other monikers include 7-layer bars, magic bars, magic cookie bars, and coconut dream bars.
Alecia’s recipe featured a graham cracker crust, chocolate chips, chopped nuts, flaked coconut, and condensed milk for the toppings.
Some also believe that Alecia’s recipe was derived from an 1856 cookie recipe made by Gail Borden, the inventor of sweetened condensed milk.
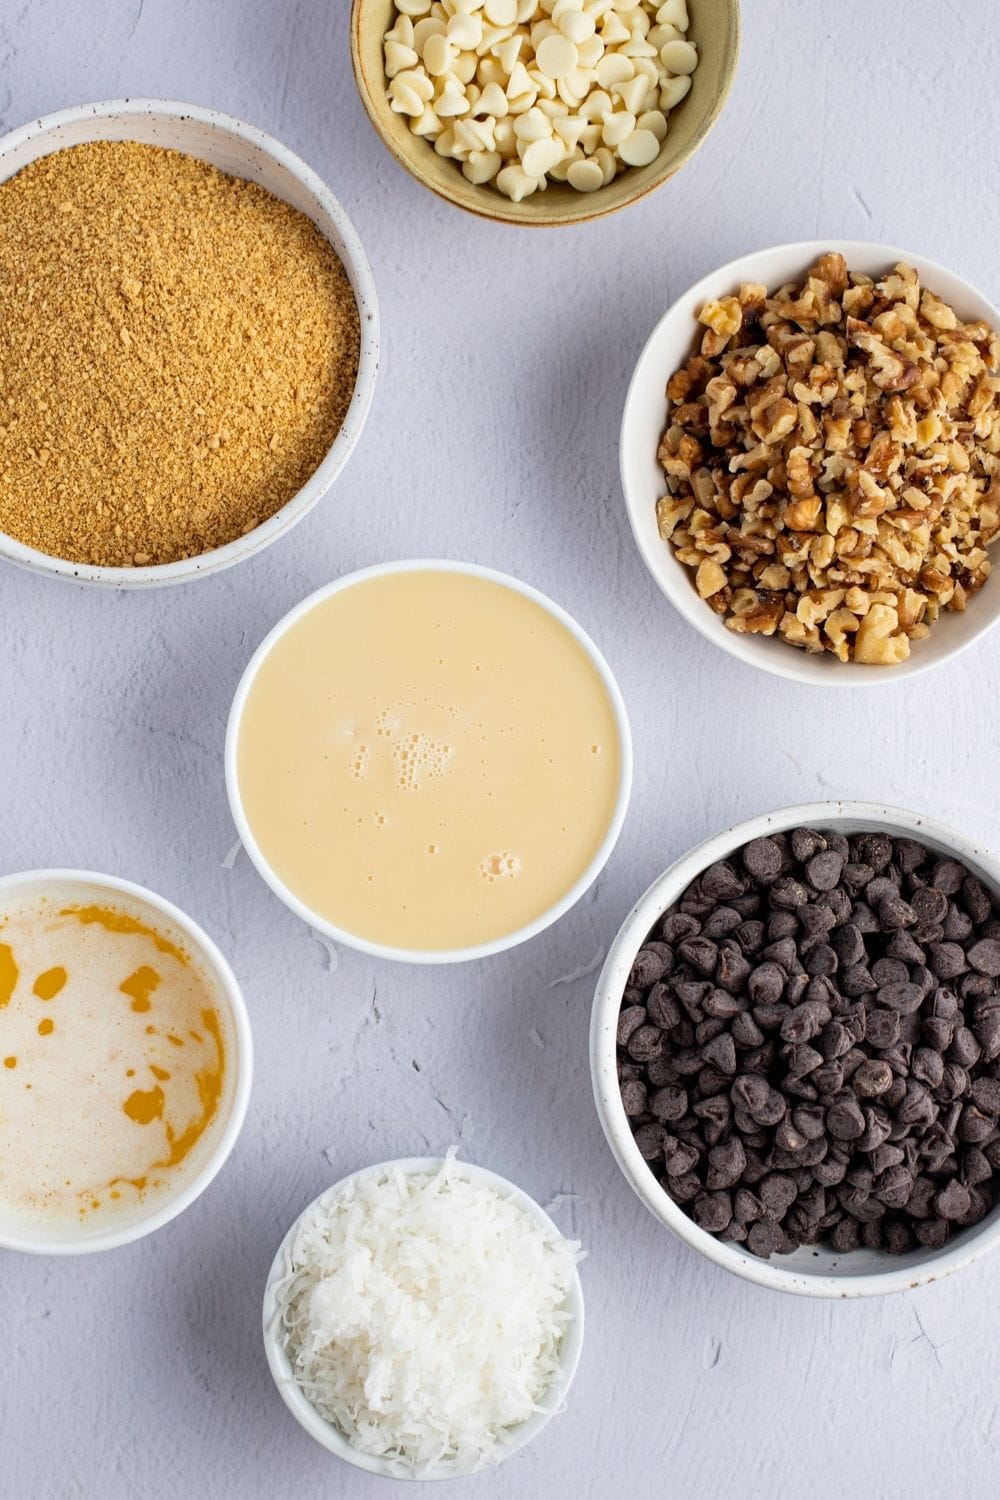
What Layers are In 7-Layer Bars?
- The crust – A thick layer of buttered crushed graham crackers at the bottom that carries the rest of the toppings. It’s crumbly, buttery, and delicious.
- Sweetened condensed milk – The secret ingredient that binds all the toppings together. It’s what makes these bars wonderfully sweet, sticky, and chewy.
- Chocolate chips – Because chocolate makes everything better! This recipe uses a combination of semi-sweet and white chocolate chips (or butterscotch chips).
- Walnuts – For nuttiness and crunch. Toast the walnuts for several minutes beforehand for maximum flavor.
- Shredded Coconut – Its unique crunchy texture and nutty, toasty flavor pair beautifully with chocolate chips and walnuts. Since the other ingredients are already sweet, use unsweetened coconut flakes to balance things out.
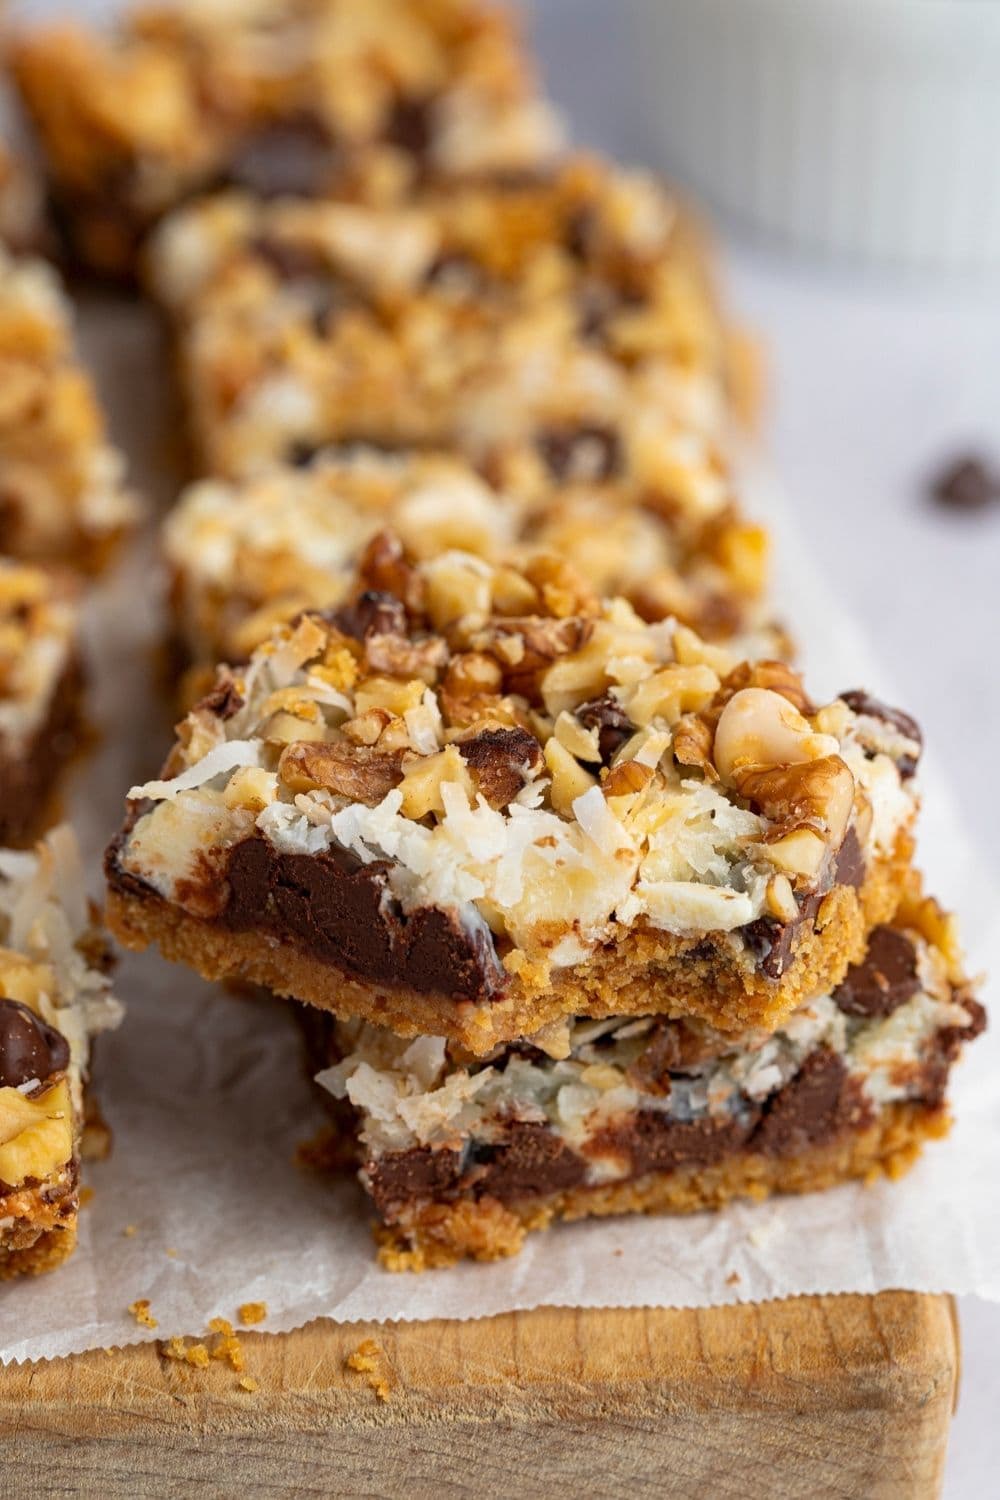
What Can You Substitute for Coconut in 7-Layer Bars?
No coconut on hand? That’s okay, you can use quick-cooking oats instead.
Or, just skip it entirely! The bars won’t have that toasted nutty flavor, but still be delicious just the same.
Tips for the Best Hello Dolly Bars
- Use pre-crushed graham crackers for convenience. But if all you have are actual graham crackers, crush them with a food processor or a rolling pin.
- Melt the butter in the preheating oven. Place the butter in the baking dish and melt it in the oven as it preheats. That way, you have less stuff to clean.
- Grease the pan well. This will keep the crust from sticking to the bottom. Or, line the pan with parchment paper for easier clean-up. Leave overhangs on the sides so you can lift the bars right out.
- Press the crust like a pro: Use a large measuring cup to press the crust evenly into the pan.
- If you want toasty coconut flakes, add them last. Everything else can go on in any order.
- Cool the bars before serving. I know it’s tempting, but patience is key. The bars need time to set, otherwise, they’ll be way too sticky to eat.
- Chill the baking dish to speed things up. To help the bars set faster, refrigerate them once they’ve cooled to room temperature.
- Slice the bars with a sharp knife. Run the knife under warm water and dry it with a kitchen towel in between slices. These bars are super rich, so consider slicing them small.
How to Store
Place the leftover bars in an airtight container, with a sheet of wax paper in between each bar.
Store them at room temperature for up to 4 to 5 days or in the fridge for up to 1 week.
Freezing instructions: Place the bars in a freezer-safe bag, squeeze out as much excess air as you can, and seal. They’ll keep well for up to 3 months.
Thaw them in the fridge or at room temperature until soft.
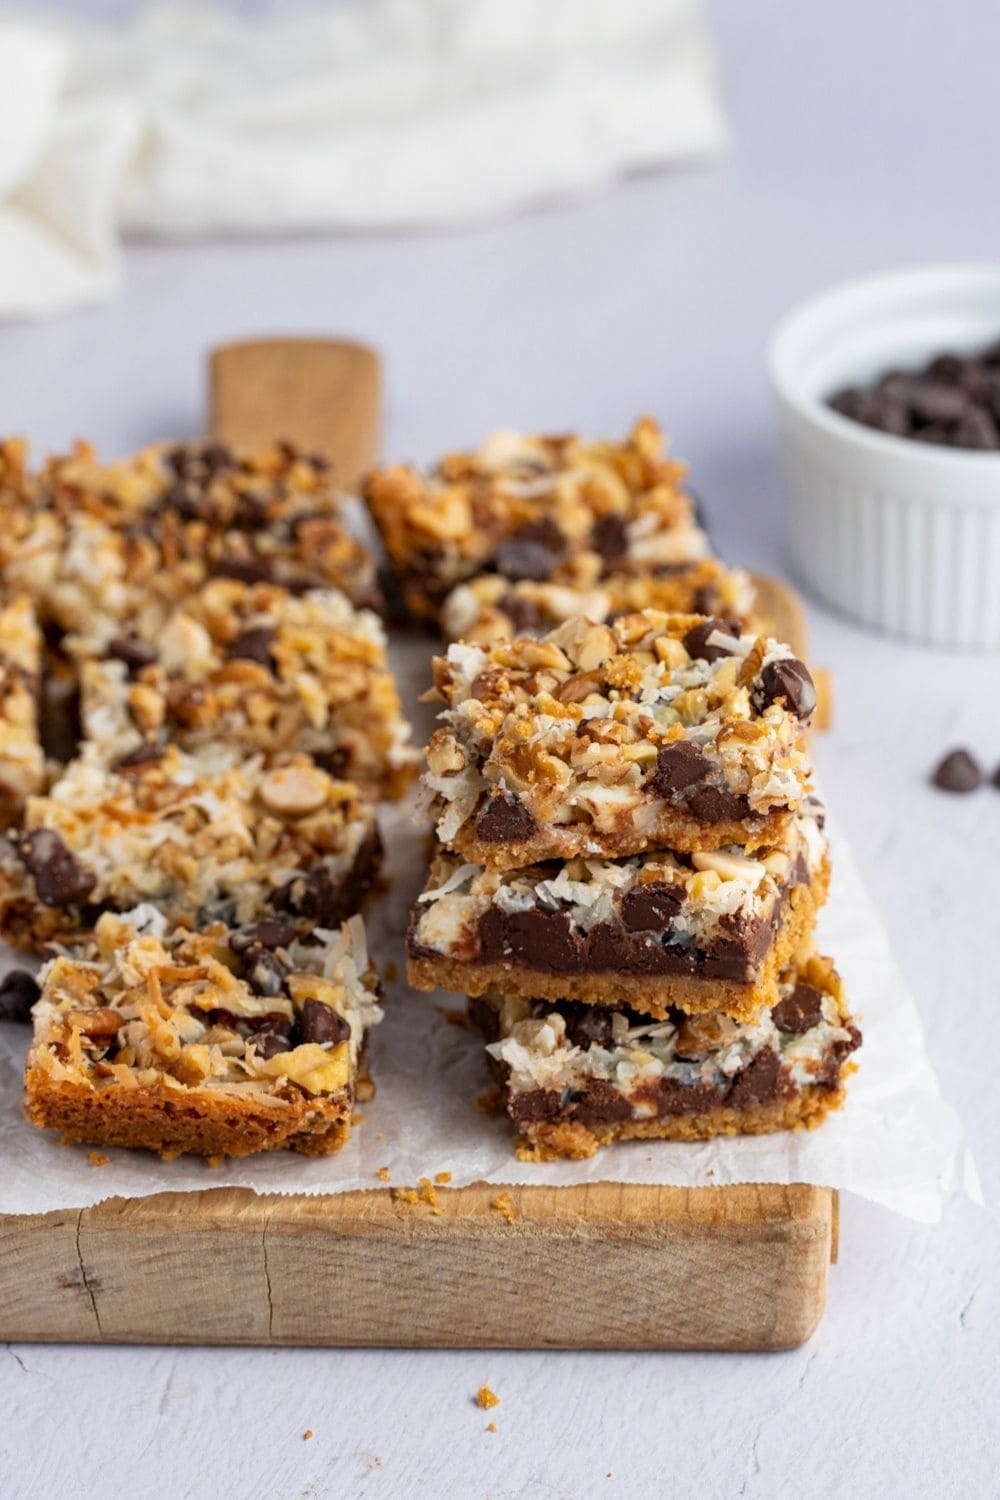
Add-ins
Think of this recipe as a mere guide. Taste is subjective, so you won’t need to follow it to a tee!
The beauty in this recipe is it’s forgiving and super easy to customize, so don’t feel like you need to limit your layers to just seven.
Here are some topping ideas you can add to your bars. Feel free to mix and match:
- Peanut butter chips. Also, butterscotch chips, crushed peanut butter cups, and Reese’s pieces. These are great if you want that sweet and salty contrast of flavors.
- Nuts. Pecans, cashews, hazelnuts, almonds, macadamias – whatever your favorite nut is. Toast them for several minutes to bring out their flavor even more.
- Nilla wafers. They’re a great alternative to graham crackers.
- Dried fruit. Raisins, craisins, chopped dried mangoes, apricots, you name it.
More Dessert Recipes You’ll Love
- Best Ever Chewy Fudge Brownies
- Cheesecake Brownies
- Buckeye Brownies
- Millionaire’s Shortbread
- Slutty Brownies



Where does the condensed milk get divided?
Hi Rose!
Sorry, that’s a typo. The milk goes over the crust and filling 🙂
I’m baking them now. Have made these for years. But did pick up some helpful hints. Thank you so much.
Hi Nadiene, I’m so happy to hear you got some good tips for making them! I just love these bars.
I used a rolling pin to crush the graham crackers in a ziploc bag. Then after melting the butter in a glass measuring cup, I made a well in the middle of the graham cracker crumbs in the ziplock bag and poured the butter in the well. Then I closed the bag and mixed the butter into the crumbs by rolling the bag and kneading it. From there I just dumped the crumbs into the baking dish.
I also changed it up a bit layering dark chocolate morsels, followed by peanut butter morsels, then semi-sweet morsels, chopped pecans, coconut, then butterscotch morsels, sweetened condensed milk, then put it in the oven. In the last few minutes of baking time I added more coconut to brown it.
Hi Corinne, it sounds like you made some great adjustments! I’ll have to keep those in mind the next time I make these bars. Thanks for sharing!
Do you use sweetened coconut or unsweetened? Thanks
Hi Amanda!
Since the other ingredients are quite sweet, I use unsweetened coconut flakes to balance things out.
But feel free to use sweetened if you prefer 🙂
I’m addicted. Accidentally found this recipe and now it’s the bane of my existence! Haha. I use a combination of 5 nuts. If I may, I recommend puncturing the lid of the condensed milk with your bottle opener, or removing the lid, and then put the can in a pan with a bit of water in it and heat on low for 15 to 30 minutes (depending on how cool your home is). This makes the milk much easier to pour/drizzle over the top. Great recipe, and if you can get the ingredients on sale is a great value as well. Regardless of the amount of sugar, there are some healthier ingredients that certainly help balance things out. Thanks!
Sounds like a really happy accident to me, Rob! :-p
And thanks for the tip on the condensed milk. What a great idea.