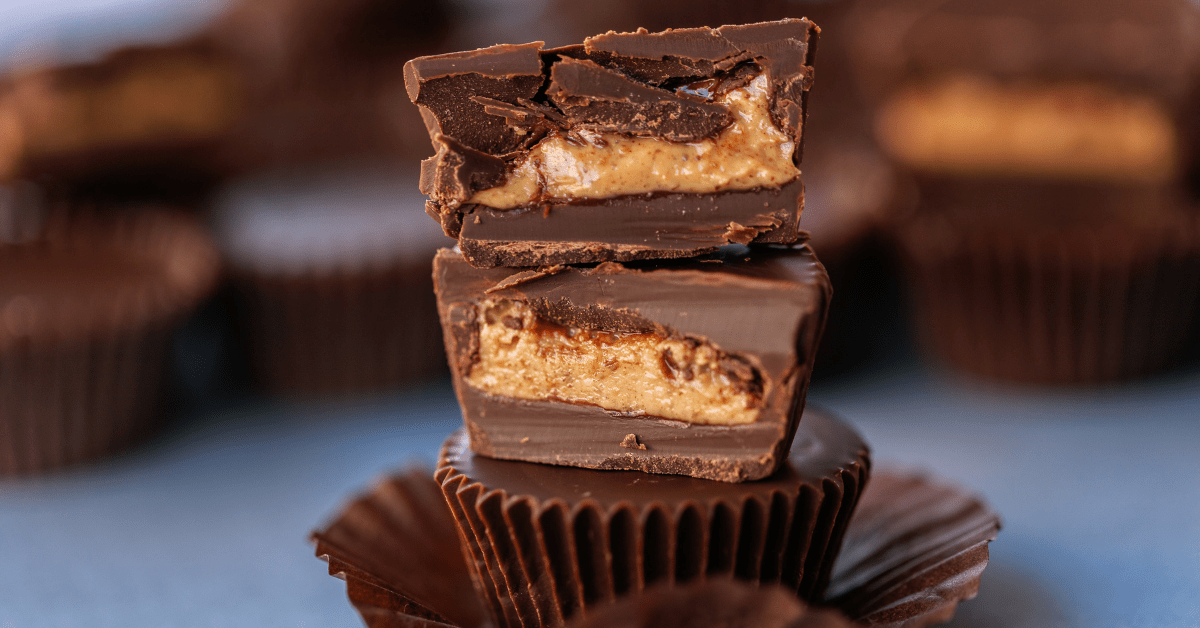
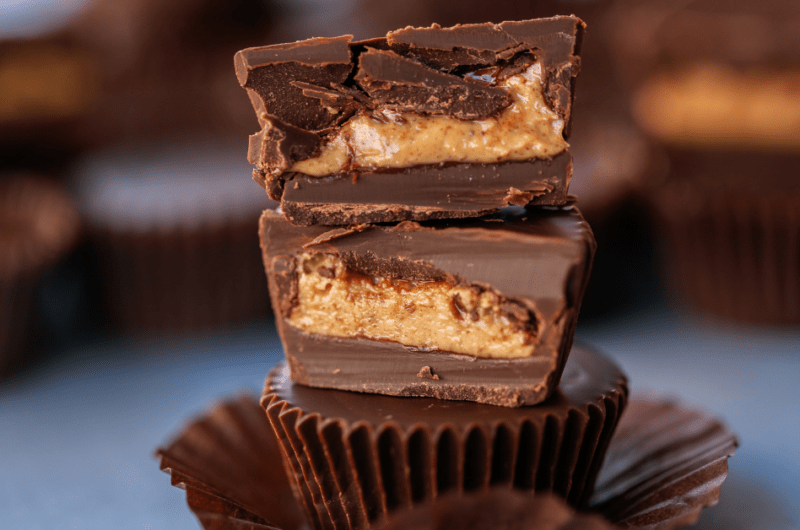
If you’re a fan of Reese’s candies, you’ll fall head over heels in love with this homemade peanut butter cups recipe.
After all, nothing beats the combination of smooth, rich chocolate and sweet and salty peanut butter!
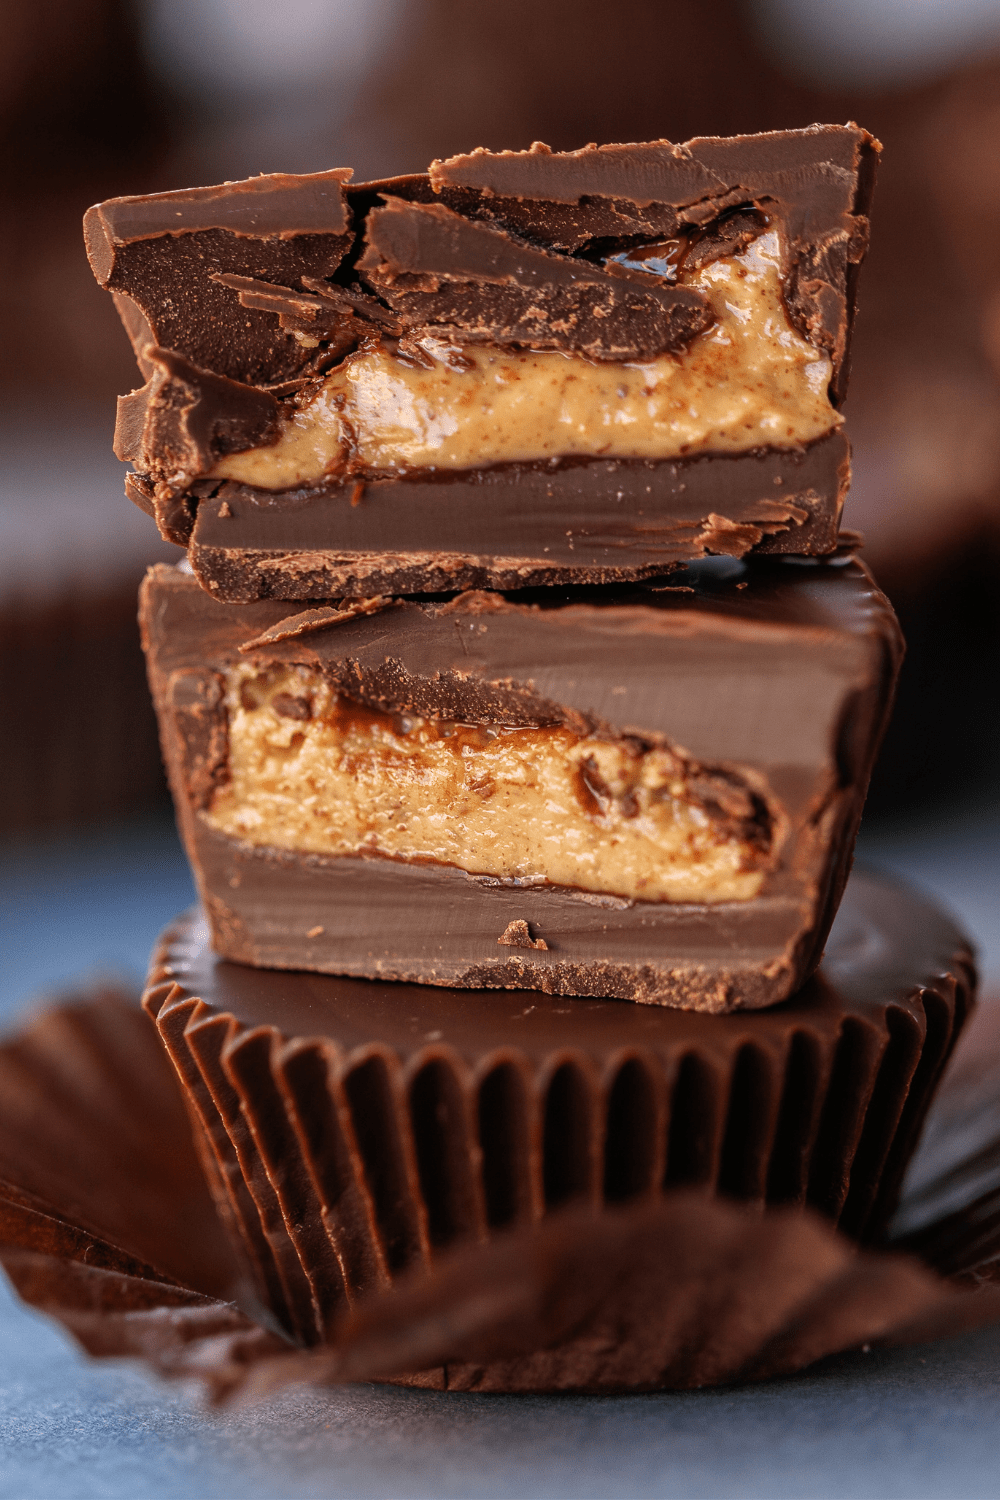
4-Ingredient Peanut Butter Cups
Of all the candy out there, Reese’s Peanut Butter Cups are, hands down, my favorite. There’s really nothing like chocolate and peanut butter together.
And this copycat recipe makes the most drool-worthy and decadent peanut butter cups around!
The best part is, they are extremely easy to make! You only need 4 basic ingredients and 20-30 minutes.
Ingredients
- Milk chocolate chips. Or dark or white. Any kind of chocolate will do, but of course, you’ll want to stick to one of high quality.
- Peanut butter. You can use any brand of creamy or chunky peanut butter. Avoid natural peanut butter, though. It’s too runny for this recipe.
- Salt. To enhance the flavor of peanut butter, and to balance out the sweetness from the powdered sugar.
- Powdered sugar. Apart from the sweetness, it will also help thicken your peanut butter.
Tips for Making the Best Peanut Butter Cups
- Make the chocolate silkier. Add some melted coconut oil or butter to the chocolate to enhance its texture. Vegetable and shortening work as well.
- Cut down on the sugar. The recipe calls for 1/2 a cup of powdered sugar. If your peanut butter is already sweet, you may want to cut the amount in half.
- Thicken the peanut butter. You can use honey crushed graham crackers to help thicken the peanut butter.
- Sift the powdered sugar. Doing so will prevent lumps.
- Add a teaspoon of vanilla extract. Mix it with the peanut butter to enhance its flavor.
- Chill before cutting. Shape the peanut butter mixture into a log. Then, wrap it in parchment paper and refrigerate for 30 minutes. Slice thin rounds to make the filling. This method is much easier than spooning over the peanut butter into the cups.
- No muffin liners? No problem! Use a muffin tin, instead. As long as you grease it with oil, the cups will pop right out.
- The thinner the chocolate wall, the better. You don’t want to put too much, otherwise, it will be too tough to eat.
- Level the chocolate’s top with a flat spatula. This will make the cups nice and flat.
- Use the freezer to make the chocolate set much faster. Chocolate will harden as fast as 5 minutes in the freezer.
Fun Flavor Variations
Once you have learned the basics of making peanut butter cups, you can try different variations to suit every occasion! Here are some fun ways to switch things up:
- PB&J cups. Fill the cups with your favorite jam or jelly to make PB&J chocolate cups.
- Chocolate banana cups. Instead of peanut butter, place a slice of banana in the center, and voila! You’ll have some chocolate banana cups.
- Inside-out peanut butter cups. Use the peanut butter as the base* and the chocolate as the filling.
- Nutella cups. Use Nutella instead of chocolate for the filling. You’ll get a sweeter, more hazelnutty flavor.
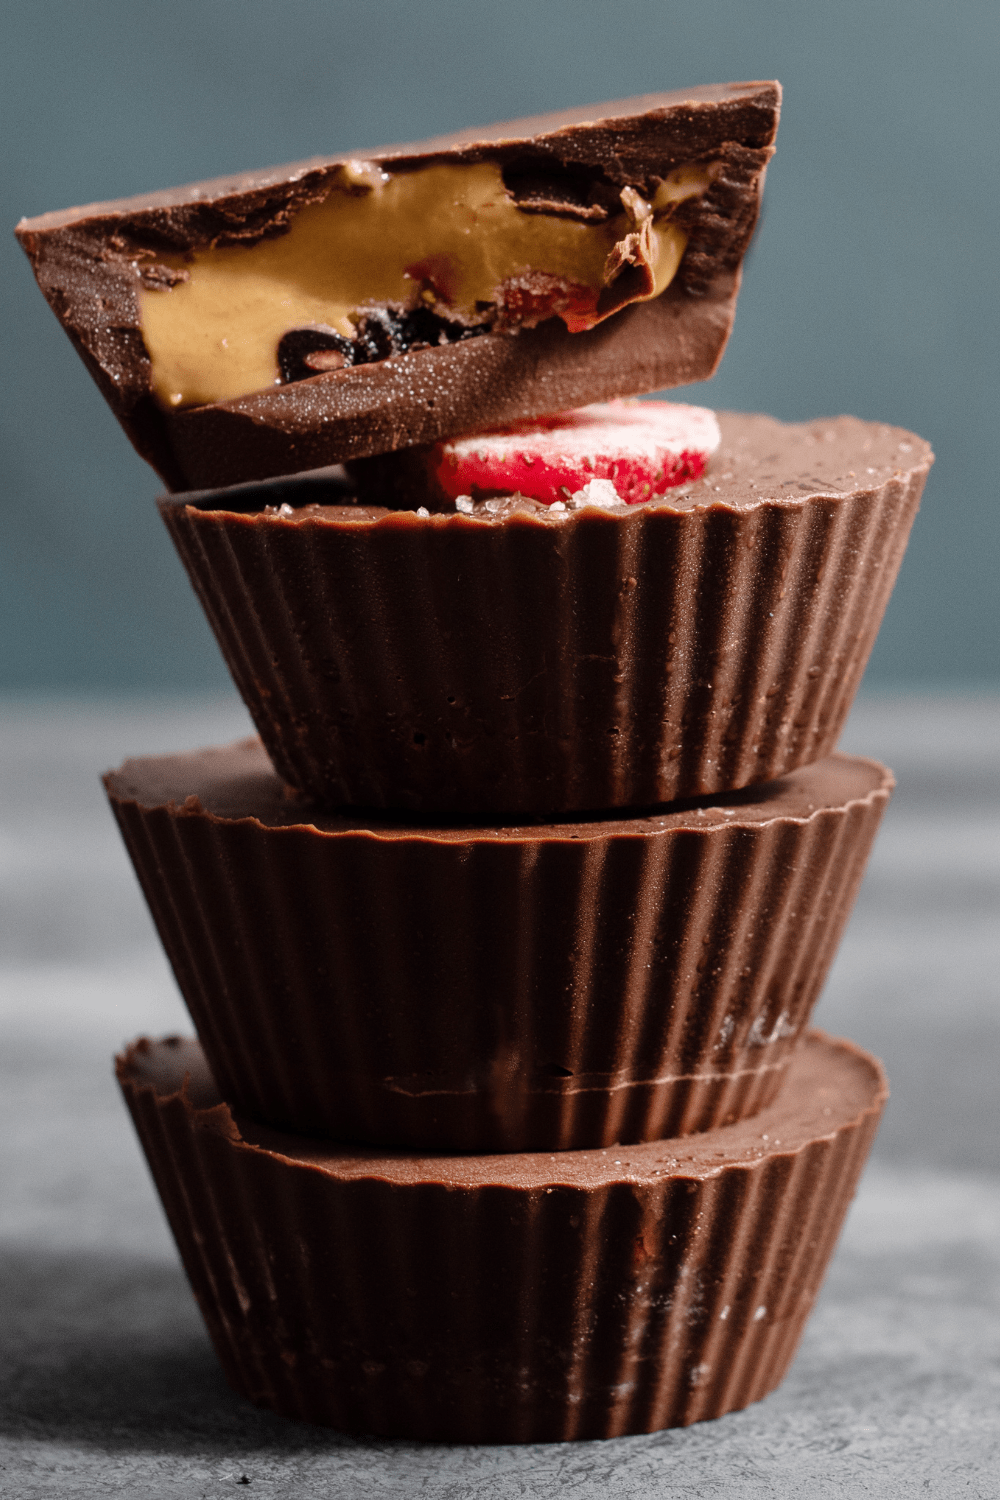
- Trifle-like cups. Fill the cups with raspberry jam.
- Swap out the peanut butter. Instead of peanut butter, use your nut butter of choice. Almond, cashew, macadamia, and sunflower butter all work!
- Make them crunchy. Simply use crunchy peanut butter! You can also add crushed nuts or pretzels to the melted chocolate.
- Make them fruity. Give your cups a fruity flair by adding chopped dried cherries or cranberries.
- Experiment with the chocolate. Use whatever kind of chocolate you want! Dark, milk, or semi-sweet – take your pick! You can even use white chocolate combined with food coloring to make different-colored cups.
*Note for Inside-Out Peanut Butter Cups: To make the peanut butter base, combine ½ cup of powdered peanut butter, ¼ cup coconut oil, and 4 teaspoons of maple syrup.
How to Melt the Chocolate
I always melt my chocolate in the microwave because it’s quick and efficient. For this method, simply place the chips in a microwave-safe bowl.
Then, melt them for 1 minute on high power. Stir, then return them to the microwave for another minute. They should be melted after 2 minutes.
If not, continue melting them in 20-second intervals, stirring between each round.
You can also melt the chocolate in a slow cooker, if you prefer. Here’s how:
- Transfer the chocolate chips to uncovered heat-safe jars.
- Place the jars in the slow cooker.
- Fill the slow cooker with water until it reaches halfway up the jars.
- Set the slow cooker to High.
- Heat uncovered for 30 minutes.
How to Store Homemade Peanut Butter Cups
Store peanut butter cups in a sealable container and refrigerate for up to 7 days. Let them sit at room temperature for 20 to 30 minutes before serving. Otherwise, they’ll be too tough to eat.
If you want to keep them around much longer, store them in the freezer. Wrap individual cups in parchment paper and place in a freezer-safe bag.
Squeeze out as much excess air as you can. Then seal, label, and freeze.
You can also freeze the peanut butter cups in a muffin tin. Place a sheet of parchment paper over the muffin tin and wrap it with plastic wrap.
This will prevent them from absorbing the odors of other items in the freezer.
Label accordingly and freeze. Frozen peanut butter cups will keep well for up to 3 months.
