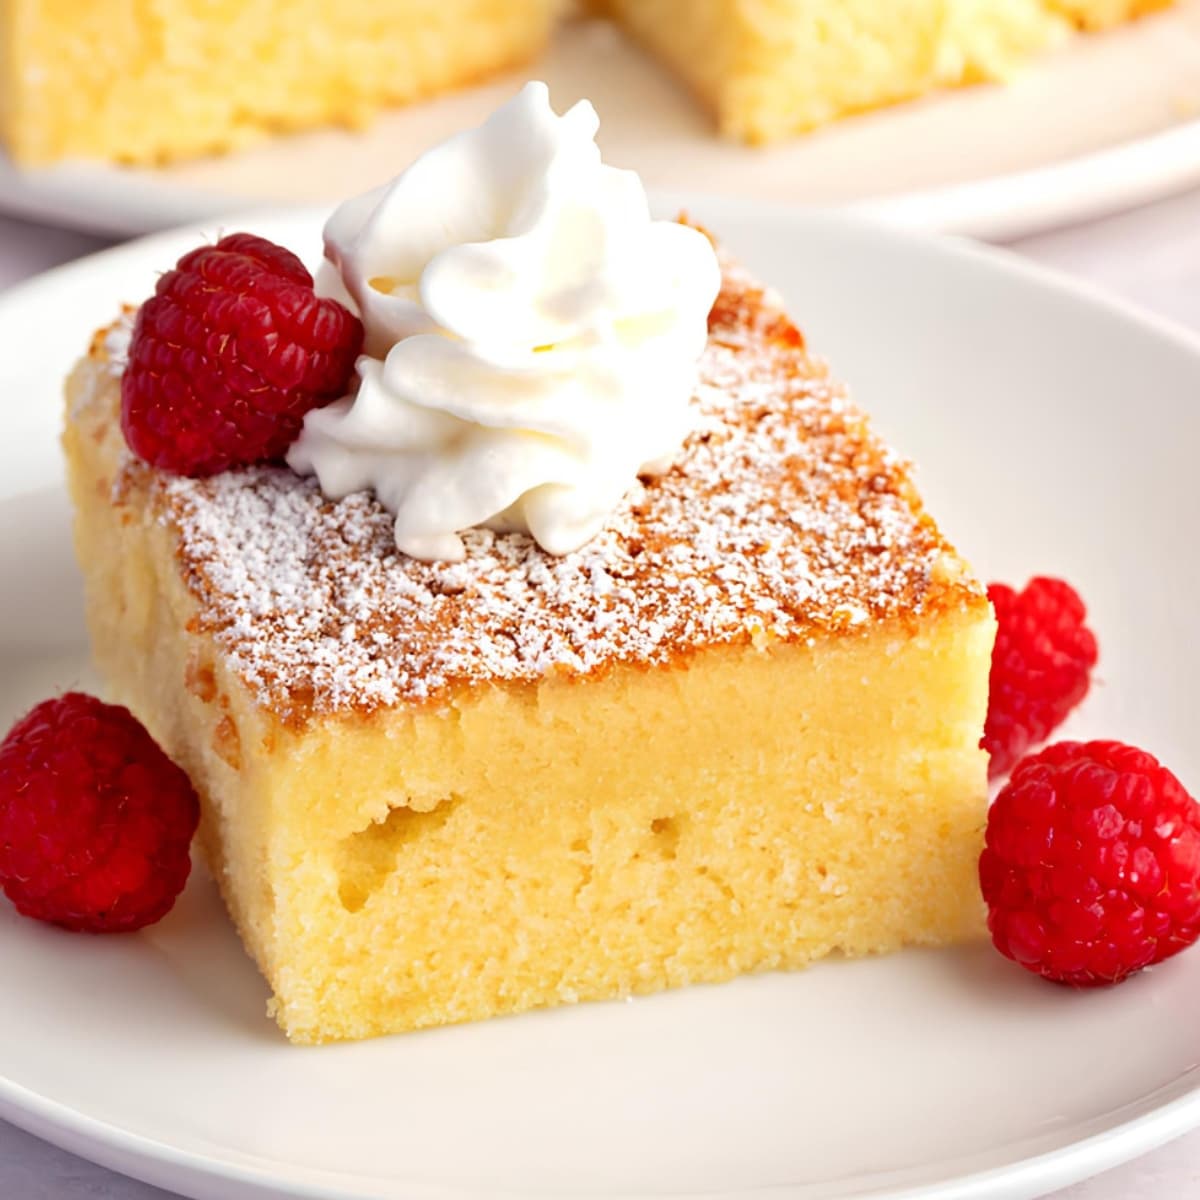
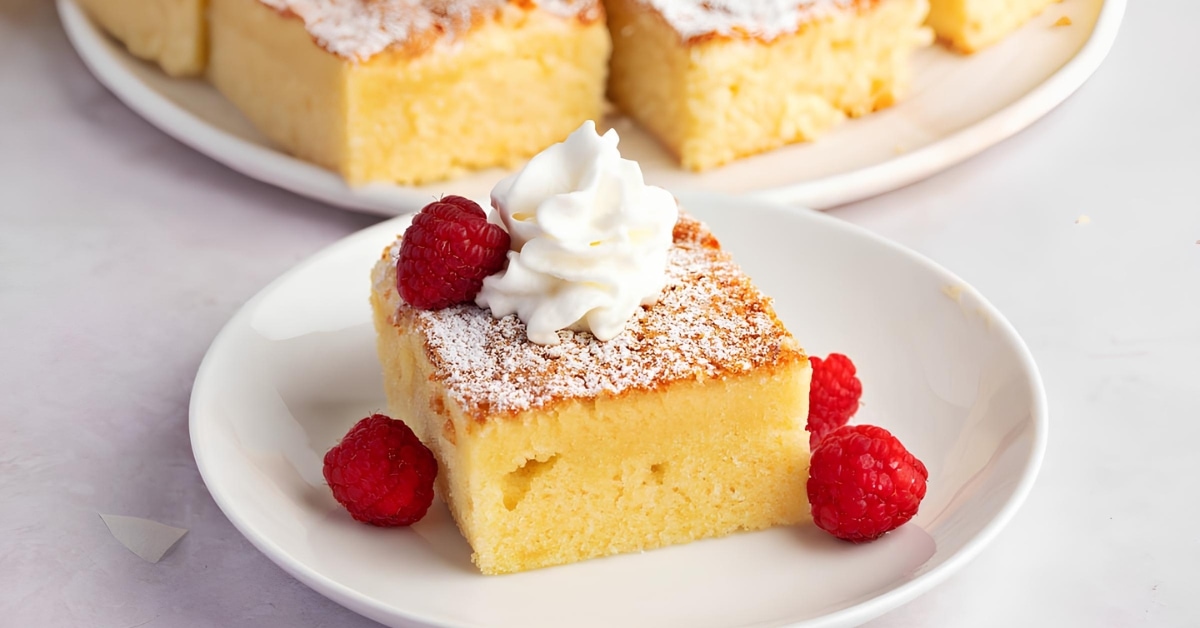
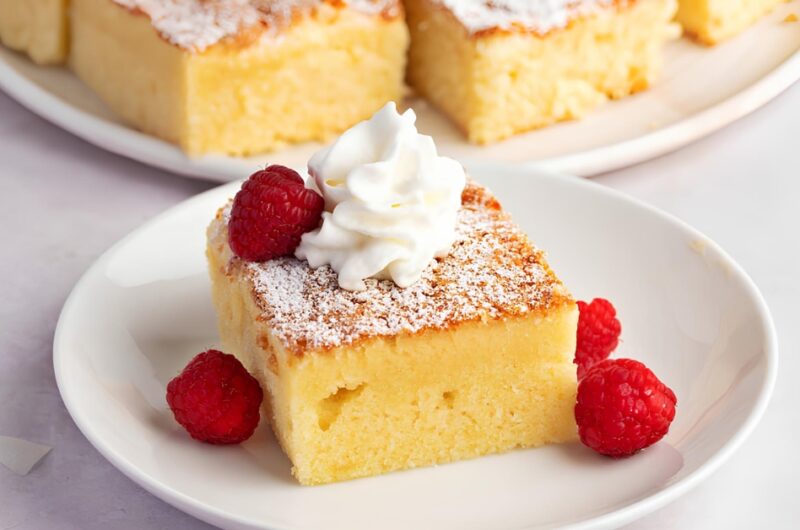
This Old-fashioned hot milk cake is just like grandma used to make.
The “not so secret” ingredient is hot milk and butter, which makes this cake extra moist and fluffy. For a cozy sweet treat, top it off with a bit of whipped cream.
One bite of this hot milk sponge cake, and I know you’ll fall in love.
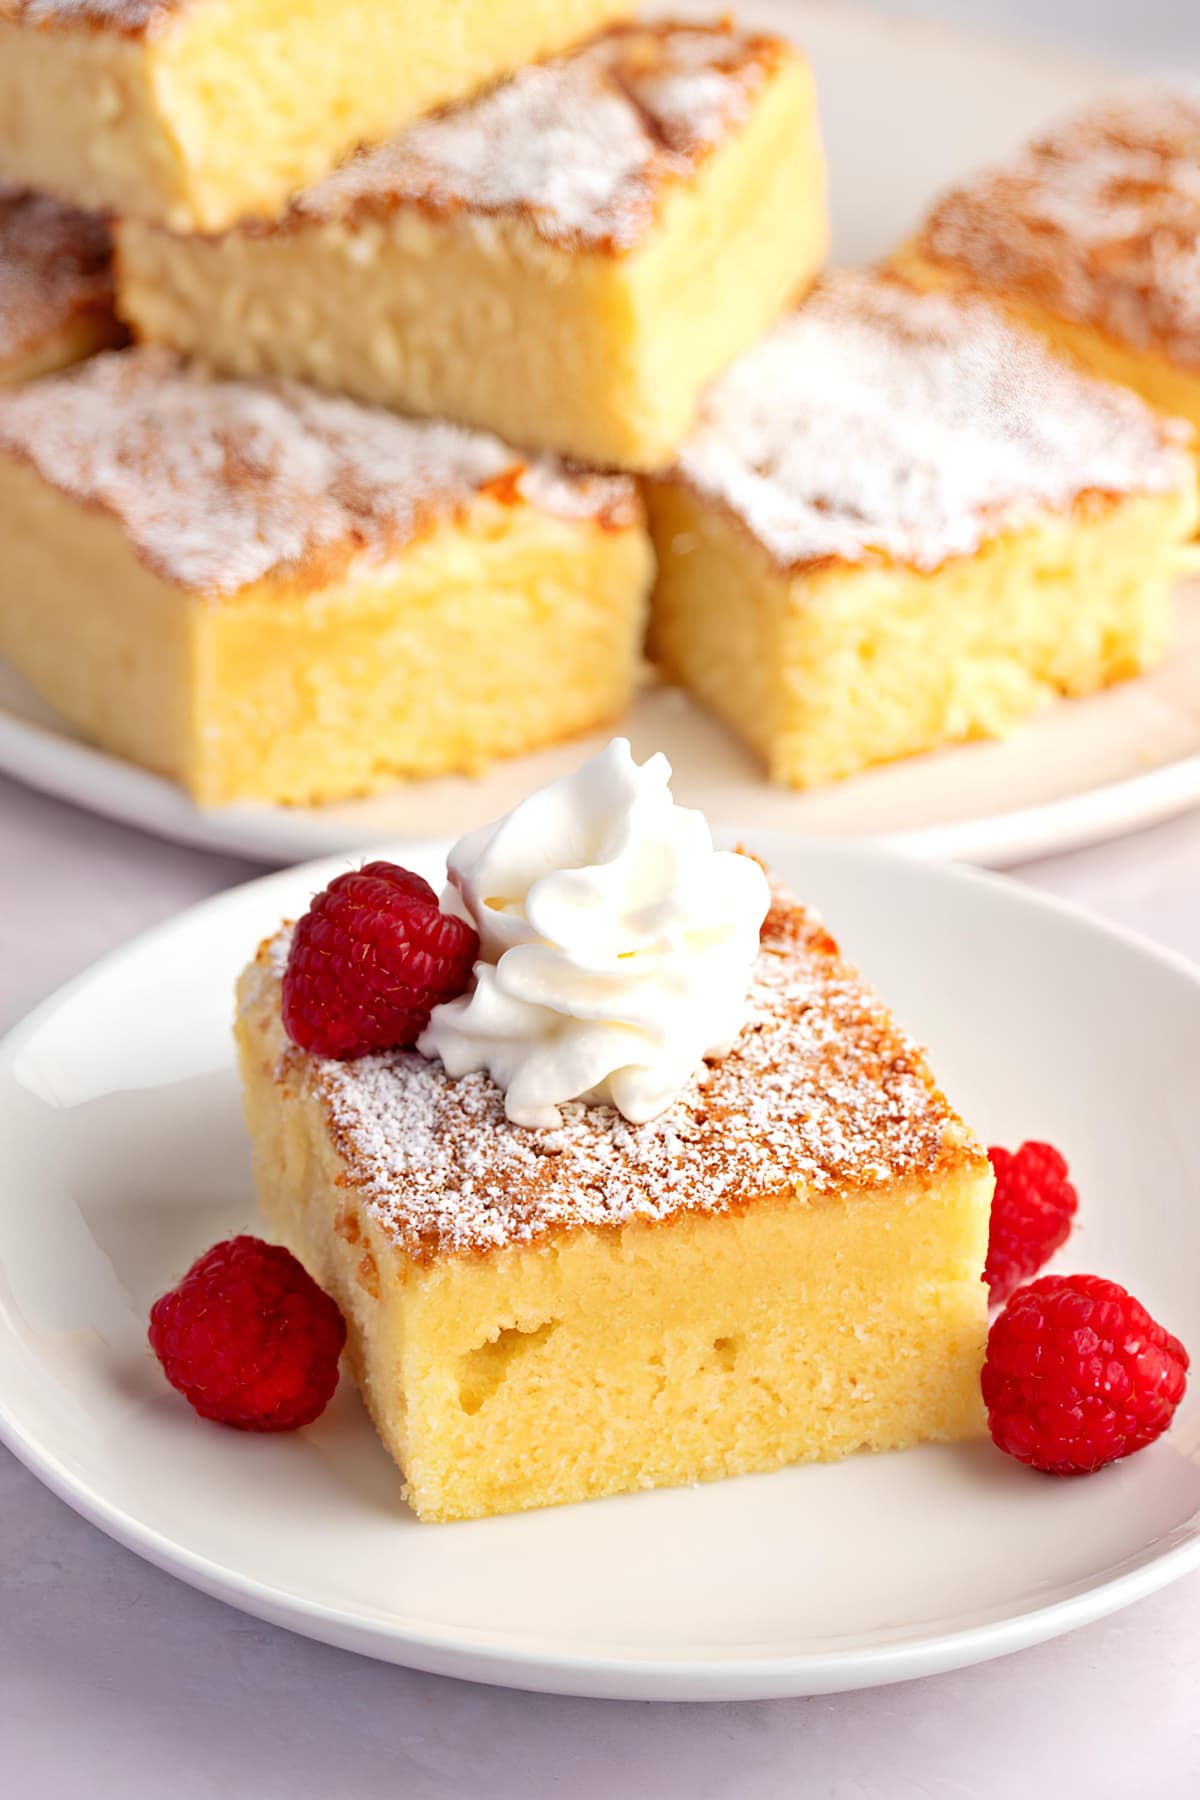
Old-Fashioned Hot Milk Cake
Vintage hot milk cake is one of my favorite Depression-era recipes.
It calls for pantry staples along with a unique preparation method.
Pair it with your favorite icing, or just serve it with whipped cream. Either way, it won’t last long.
Heck, you could even leave the topping off. It’s so moist, it doesn’t need anything but a fork.
Here’s the low-down on what hot milk does for this sponge:
- It adds texture and flavor, creating a delectable and satisfying dessert.
- Adding hot milk to leavening agents jumpstarts the rise before it hits the oven.
- It also helps the cake stay nice and moist.
- Finally, it draws out the flavors of vanilla and sugar for a delicious cake.
Ready to get baking? Let’s dive in!
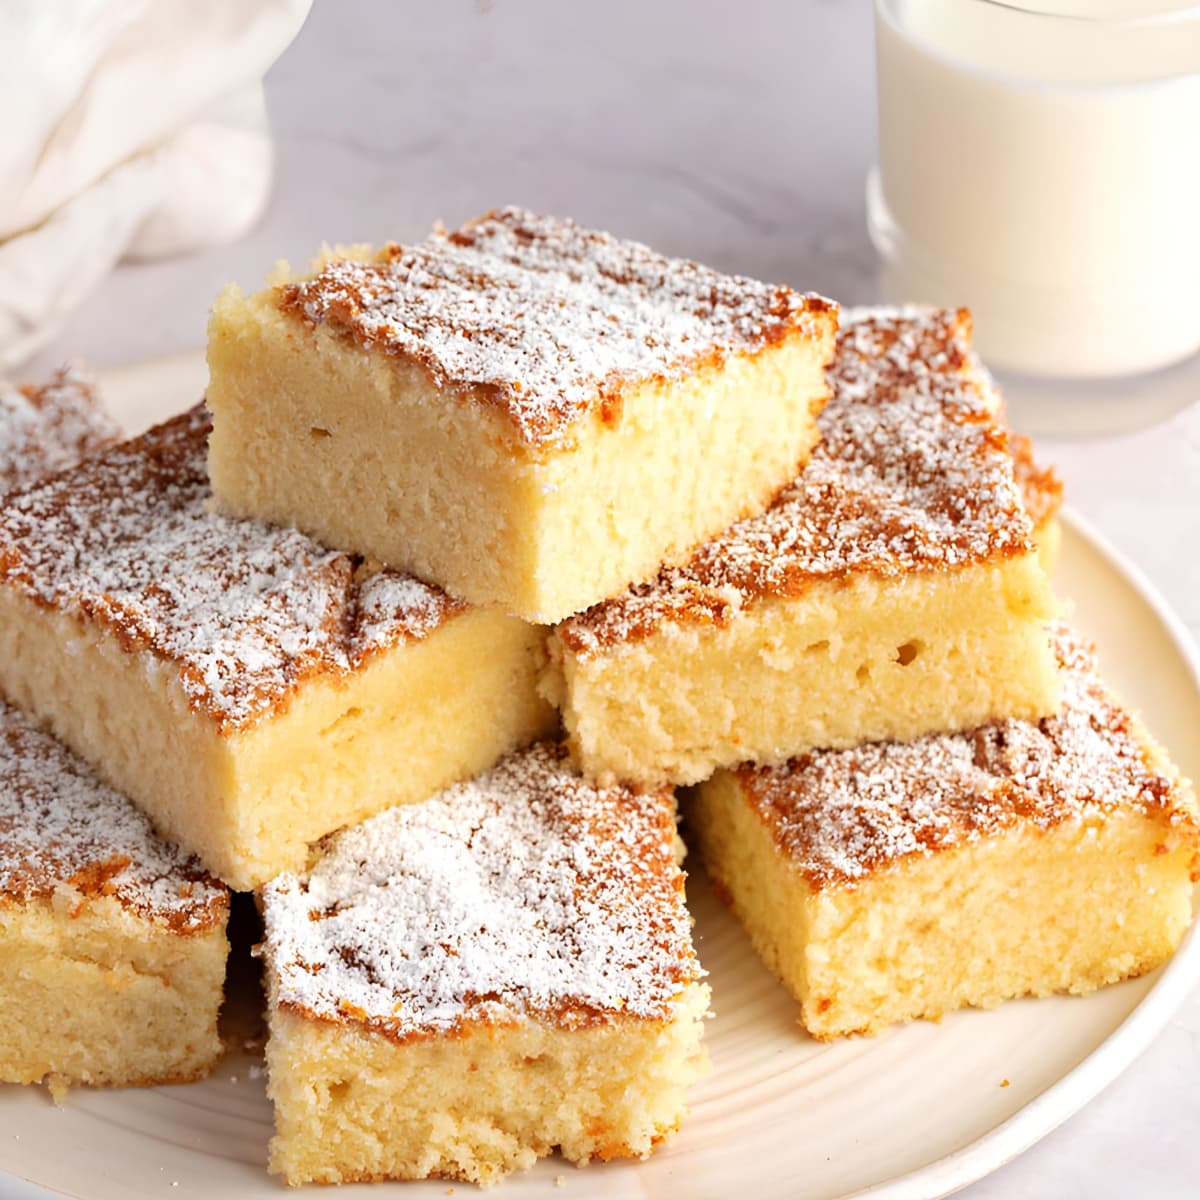
Ingredients
As mentioned, this hot milk cake recipe calls for pantry staples. So you don’t need to run to the store or look online for anything fancy.
Here’s what you’ll need:
- Eggs – Use room temperature eggs, and be sure to give them a good whip. That’s how you get an airy sponge.
- Sugar – Granulated sugar gives this cake fantastic sweetness.
- Vanilla Extract – Use good quality extract or vanilla paste. Don’t use vanilla essence or imitation vanilla, which have a synthetic finish.
- All-Purpose Flour – Any flour works, but all-purpose is best (and likely what you have on hand).
- Baking Powder – Add hot milk to baking powder, and the cake will come out wonderfully light and fluffy.
- 2% Milk – Since the milk takes center stage in this recipe, use fatty milk like 2% or whole milk.
- Butter – You can grab this right out of the fridge as it’ll melt with the milk.
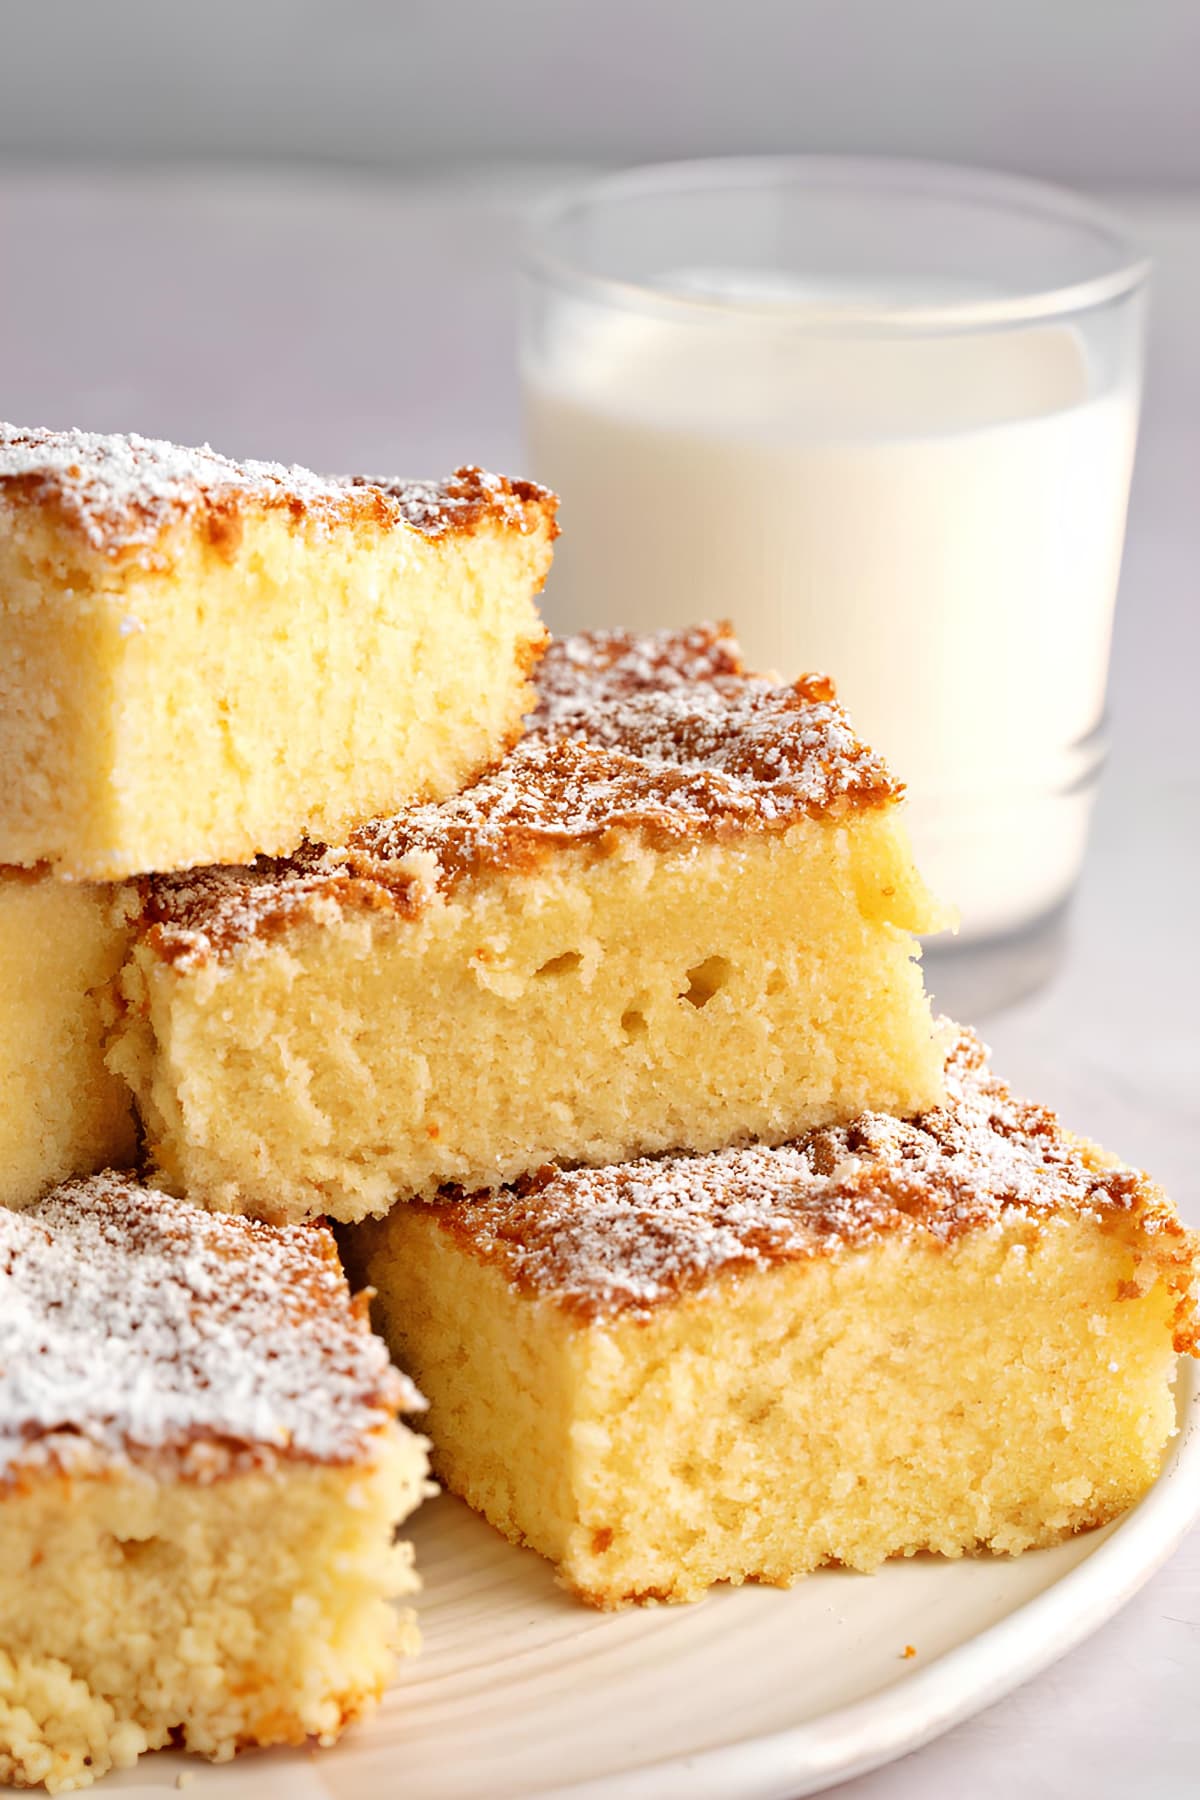
How to Make Hot Milk Cake
Old-fashioned hot milk cake is perfect for kitchen newbies. It’s so simple even the kids can help (though you’ll need to supervise the hot milk part).
You’ll find more details at the bottom of the post. For now, here’s a quick overview of the method:
1. Preheat the oven and prepare a baking dish. This cake bakes at 350 degrees Fahrenheit and needs a well-greased 13×9 baking pan.
2. Whip the eggs. They need to go for about 3-5 minutes, so this is best done in a stand mixer. Stop whipping when they’re pale yellow and thick.
3. Heat the milk and butter. Do this while the eggs whip, over low-medium heat, so it’s ready at the same time.
4. Slowly add the cake ingredients. When the eggs have doubled in size, slowly add the sugar, vanilla, flour, and baking powder. Mix until well combined.
5. Carefully add the hot milk. Stream the milk into the mixer while it’s still whipping on low-medium speed.
6. Bake, cool, and enjoy. Pour the batter into the baking dish and bake for about 30-35 minutes. Then, let it cool and serve.
Tips for the Best Hot Milk Cake
If scalding milk sounds intimidating, read these tips and tricks. I promise the recipe is way easier than you think!
- Whip the eggs very well. They should be thick and very pale yellow, which can take 3-5 minutes. Use a stand mixer or electric mixer for the best results.
- Scald the milk, but don’t boil it. Scalding milk is when you see bubbles on the surface and around the edges (180-185°F). You don’t want it in a rolling boil, like you see water in a kettle.
- Sift the dry ingredients. This will ensure the baking powder is properly distributed. Also, it will give you the smoothest cake batter.
- Get creative with frosting. Try whipped cream, chocolate frosting, caramel, or Cool Whip. There are no wrong answers here!
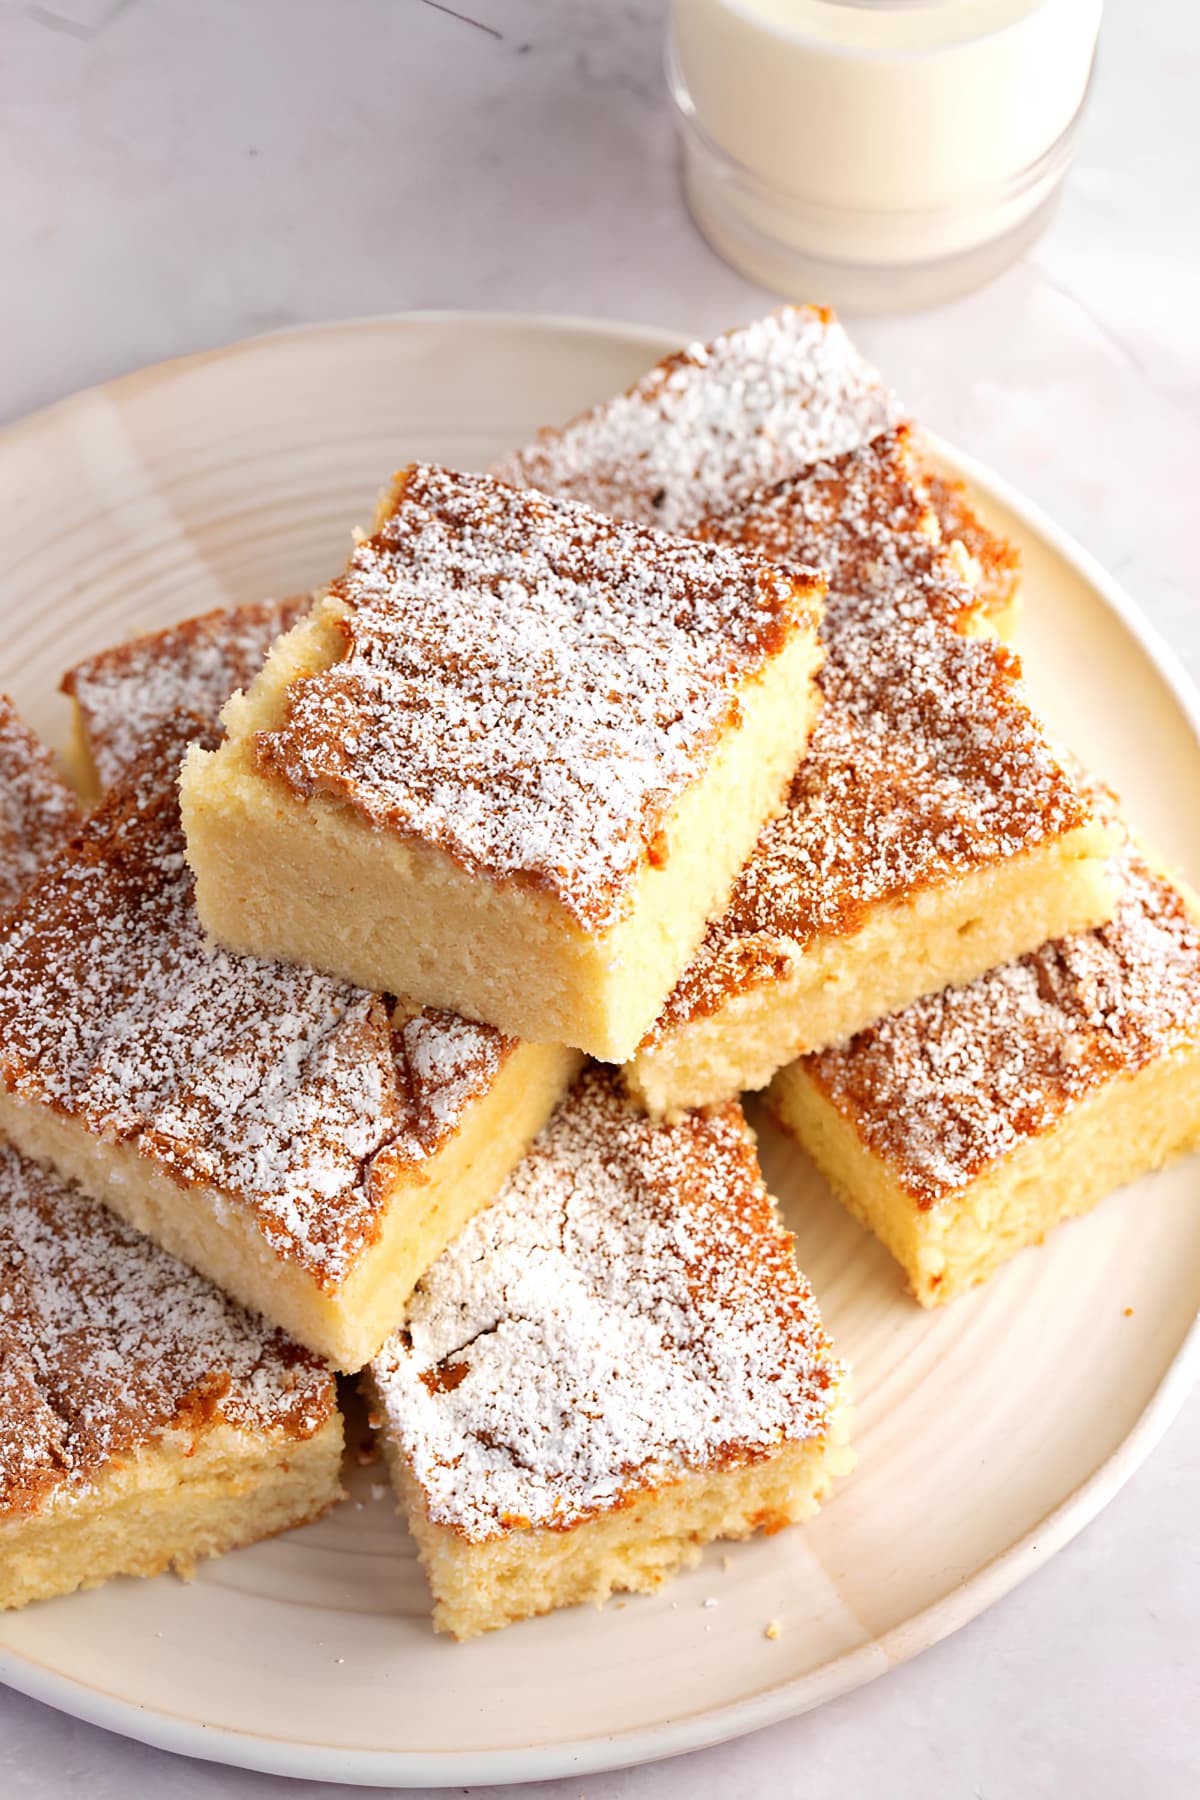
Recipe Variations
This recipe is just the starting line. There are tons of variations to make this cake your own.
Such as:
- Give it a tropical twist. Love coconut flavors? Swap out 2% milk for coconut milk. Then, add toasted coconut and whipped coconut cream on top.
- Get a little nutty. Add chopped nuts to the cake batter to give it a subtle nutty flavor and texture.
- Hot chocolate, anyone? Add 1/4 cup of cocoa powder to the flour mixture to make this cake super chocolatey.
- Go big with the chocolate. If you want to take it over the chocolate edge, use chocolate milk and add chocolate chips right before baking
How to Store & Freeze
There are always leftovers with this hot milk cake recipe because it makes so much cake.
But that’s not bad because the leftovers will stay fresh longer than you think!
To Store at Room Temperature: Wrap the baking dish and let it sit on the counter for up to three days.
To Store in the Fridge: Wrap the dish in plastic or transfer leftovers to an airtight container. Store in the fridge for up to a week.
To Freeze: Wrap it tightly in plastic and foil, and store it in the freezer for up to six months. Place frozen cake in the fridge to slowly thaw overnight.
More Old Fashioned Recipes You’ll Love
Whoopie Pies
Buttermilk Pie
Chocolate Depression Cake
Moon Pies



I have been making this cake for 58 years. I use it for Strawberry Shortcake. I have my mother’s cookbook that has this recipe. I’m going to try the other variations mentioned. Thanks
Hi Linda, it’s one of my favorites! It always makes me feel nostalgic.
OMG, just the NAME, the PHOTO, and reading the recipe (even w/o reading it, hahahaha) and I’m CRAZED FOR THIS!!! LOL this looks & sounds SO GREAT that I can hardly wait to actually make it!
THANK YOU for posting this FABULOUS cake!
Hi Gabi, I think you’ll really love it! It’s one of my very favorite dessert recipes!
I’d make Ovaltine chocolate malt whipped cream. It’s kind of wonderful.
Hi Lauren, that sounds delicious! I’ve never thought of using Ovaltine to make whipped cream. I’ll have to try it.
I can’t try the recipe at this time because my 1940 Chambers stove needs the pilot light fixed. But I had to write to say thank you for the recipe. You see, my mom always made her strawberry “shortcake” cake with buttercream icing on a hot milk cake. By the time I asked her for the recipe, she couldn’t remember it. FYI: The strawberries soak up the sugar from the icing. So I suggest refrigerating the iced cake without strawberries on top, until 10 minutes before ready to serve.
Hi Phyllis, that’s such a great tip! I’ll keep it in mind and try refrigerating the cake without the strawberries next time for sure. Thanks for sharing!
We always had this in the summer as the cake part of strawberry shortcake. It is delicious! Thank you for bringing back wonderful memories.
Hi Karen, I have fond memories of strawberry shortcake from my childhood summers too! This recipe always takes me back.
If you use a Bundt pan, how long should it bake? And would the oven temp be the same?
Hi Michelle!
Yes, you can bake this in a bundt if you prefer.
You’ll need a 12-cup bundt pan and it bakes at 325°F for about an hour (check it after 50 minutes).
Cool it in the pan for 10 minutes, then invert onto a wire rack to cool fully 🙂