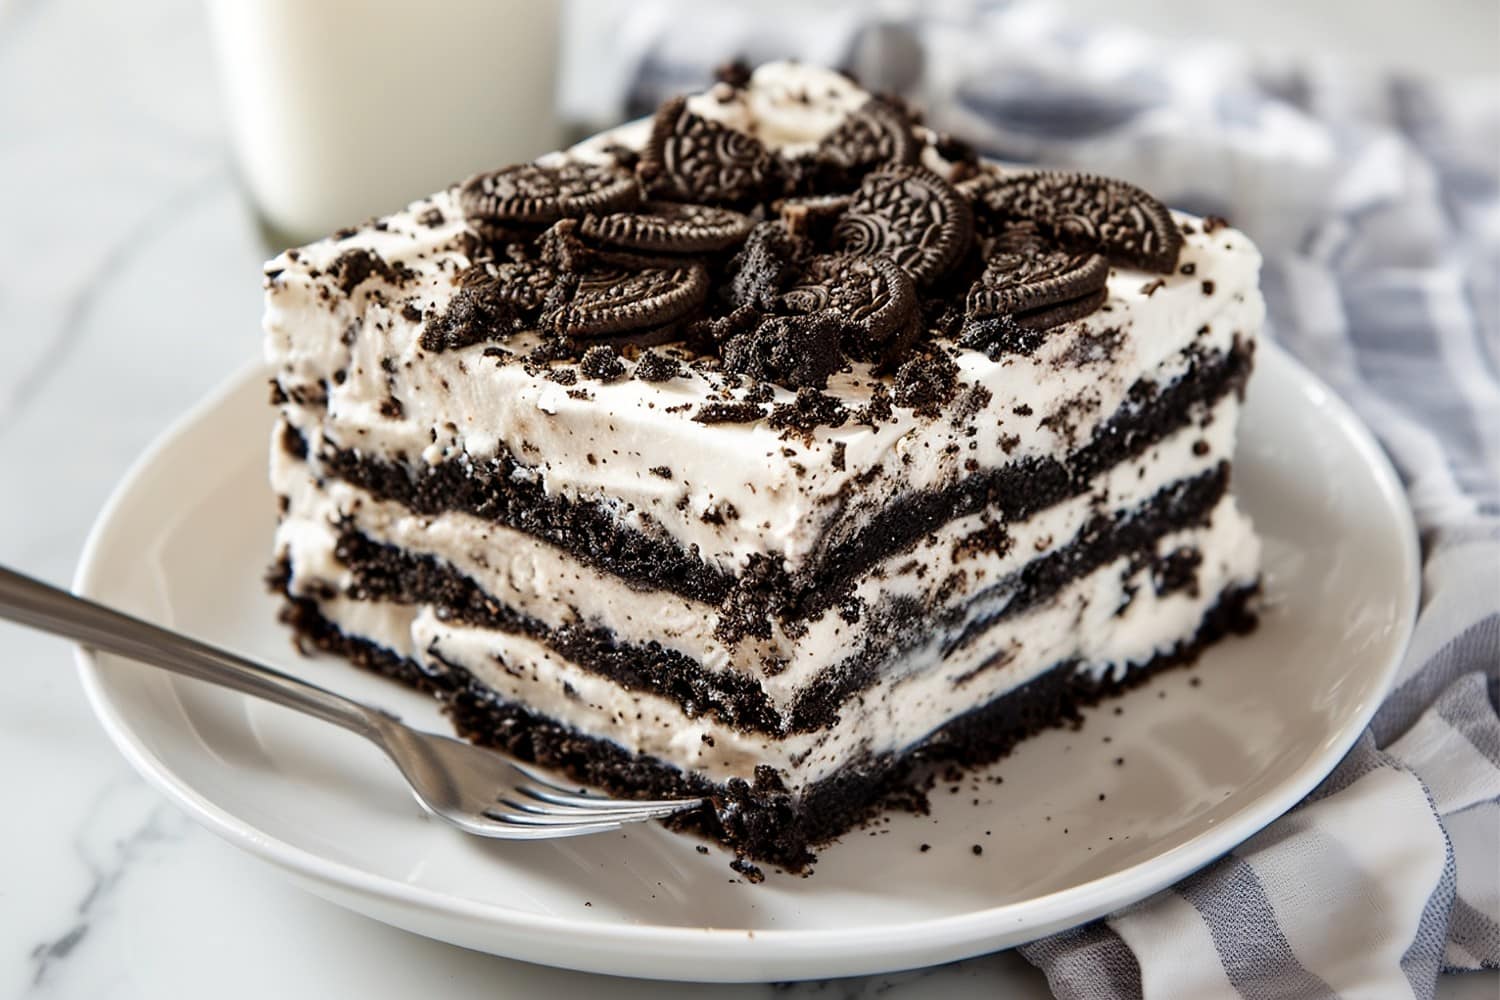

This no-bake 3-ingredient Oreo icebox cake is impossibly easy to make. It’s creamy, chocolatey, and insanely good with hot fudge sauce!
It takes just 5 minutes of prep and a few hours to set it up. After that, you can dive right in with a spoon.
Bring it to your next potluck, and it’ll disappear in seconds.
Why You’ll Love This Oreo Icebox Cake
Creamy, dreamy, and oh-so-easy, this Oreo icebox cake is the perfect no-bake dessert for any occasion.
Here’s why:
No Baking Required: Yes, really. There’s not even a crust! Just layer and chill.
Make-Ahead Wonder: Oreo icebox cake is best made the day before, so it’s an ideal make-ahead dessert for parties.
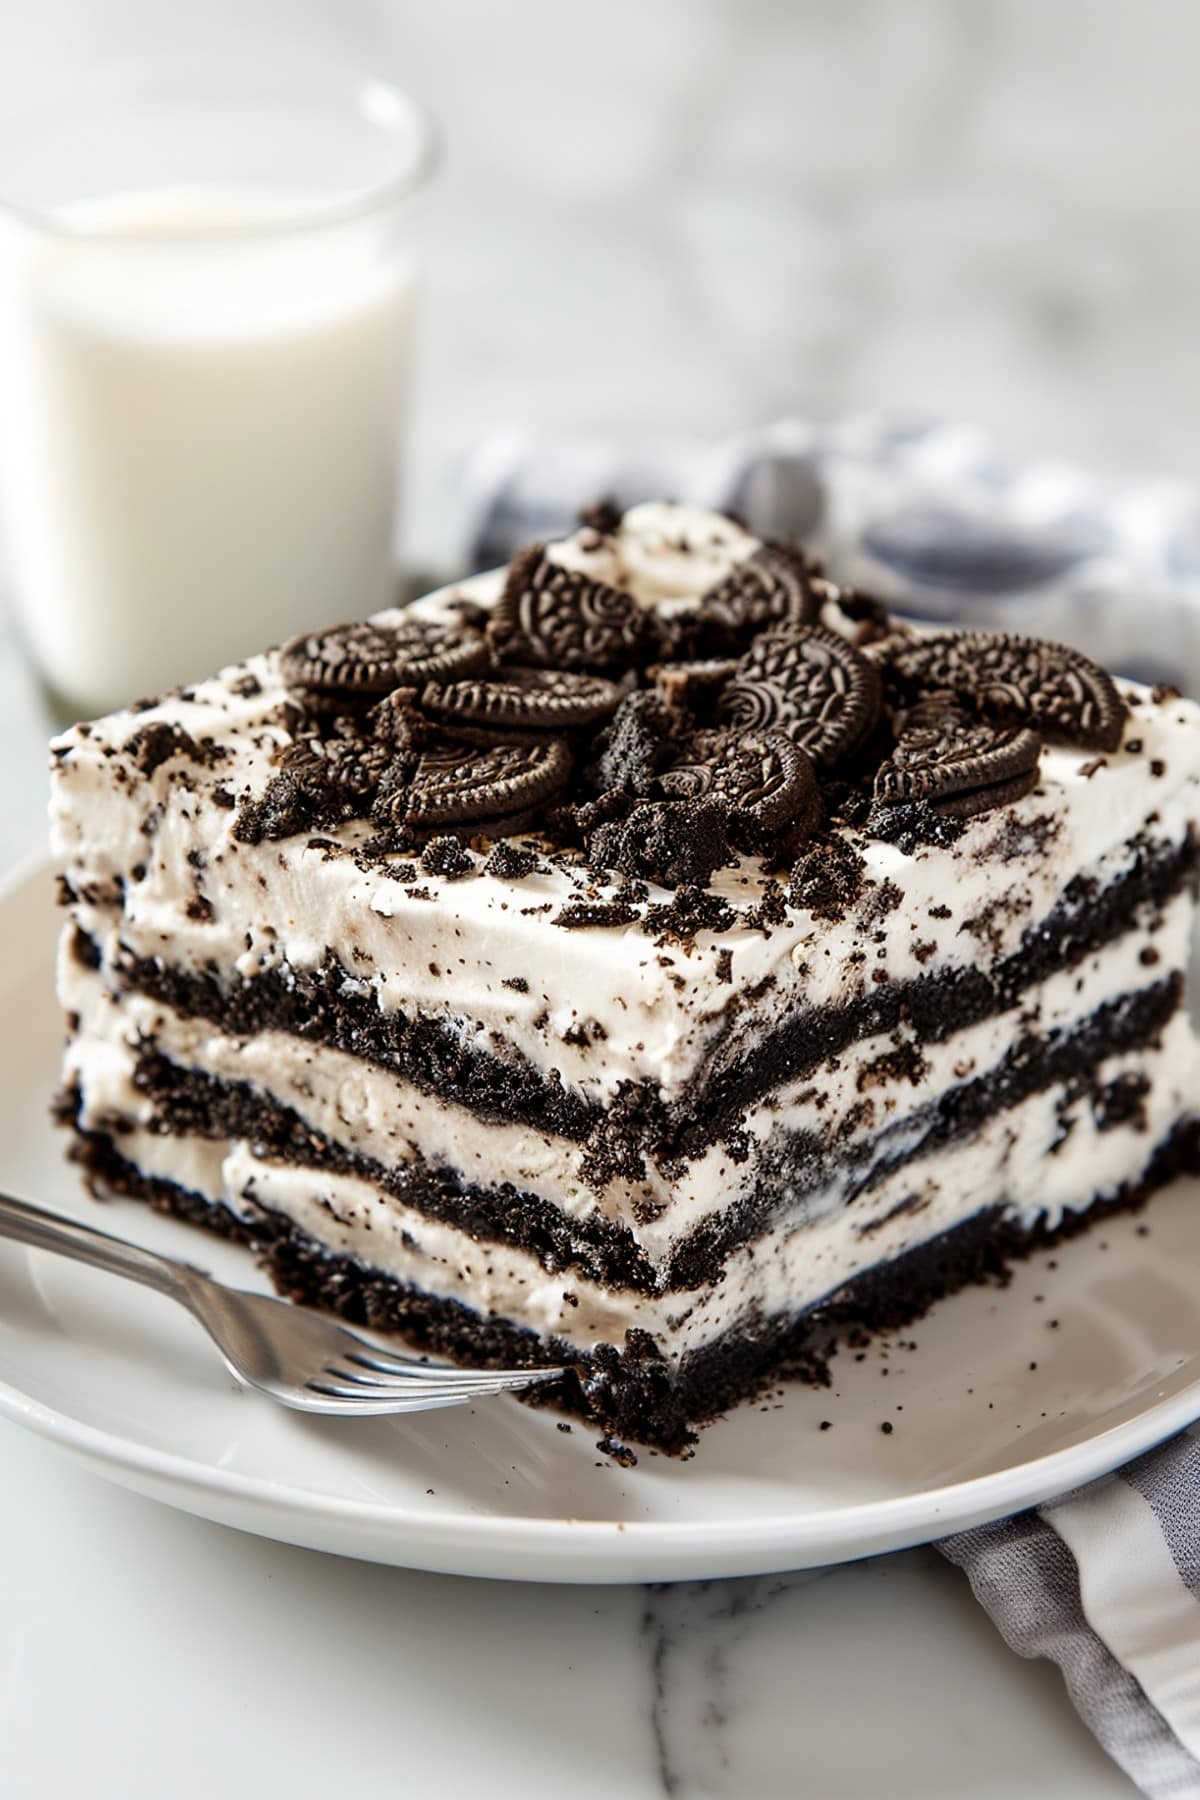
Amazing Texture: After some time in the fridge, the Oreo cookies transform into a soft, cake-like texture. It’s (no)baking magic!
Endless Variations: Don’t stop at regular Oreos. Use golden, peanut butter, or Double-Stuf! You can also add fun extras, like chocolate chips or caramel.
Ingredients
I’m not cheating, I swear! This really is a no-bake, 3-ingredients dish.
The vanilla is totally optional. But as an avid baker, I had to include it!
Here’s what you’ll need:
- Oreo Cookies: They provide the structure and most of the texture. Use whatever kind you like best.
- Heavy Whipping Cream: The rich, fluffy glue that holds it all together.
- Powdered Sugar: For a hint of sweetness in the cream layers.
- Vanilla Extract: An optional flavor enhancer.
How to Make Oreo Icebox Cake
The hardest part of this whole recipe is waiting for it to chill in the fridge! Unfortunately, it needs a few hours for the Oreos to soften.
But the good news is, the hands-on time is minimal. Here are the steps:
1. WHIP. Whisk the cream, sugar, and vanilla (if using) until stiff peaks form.
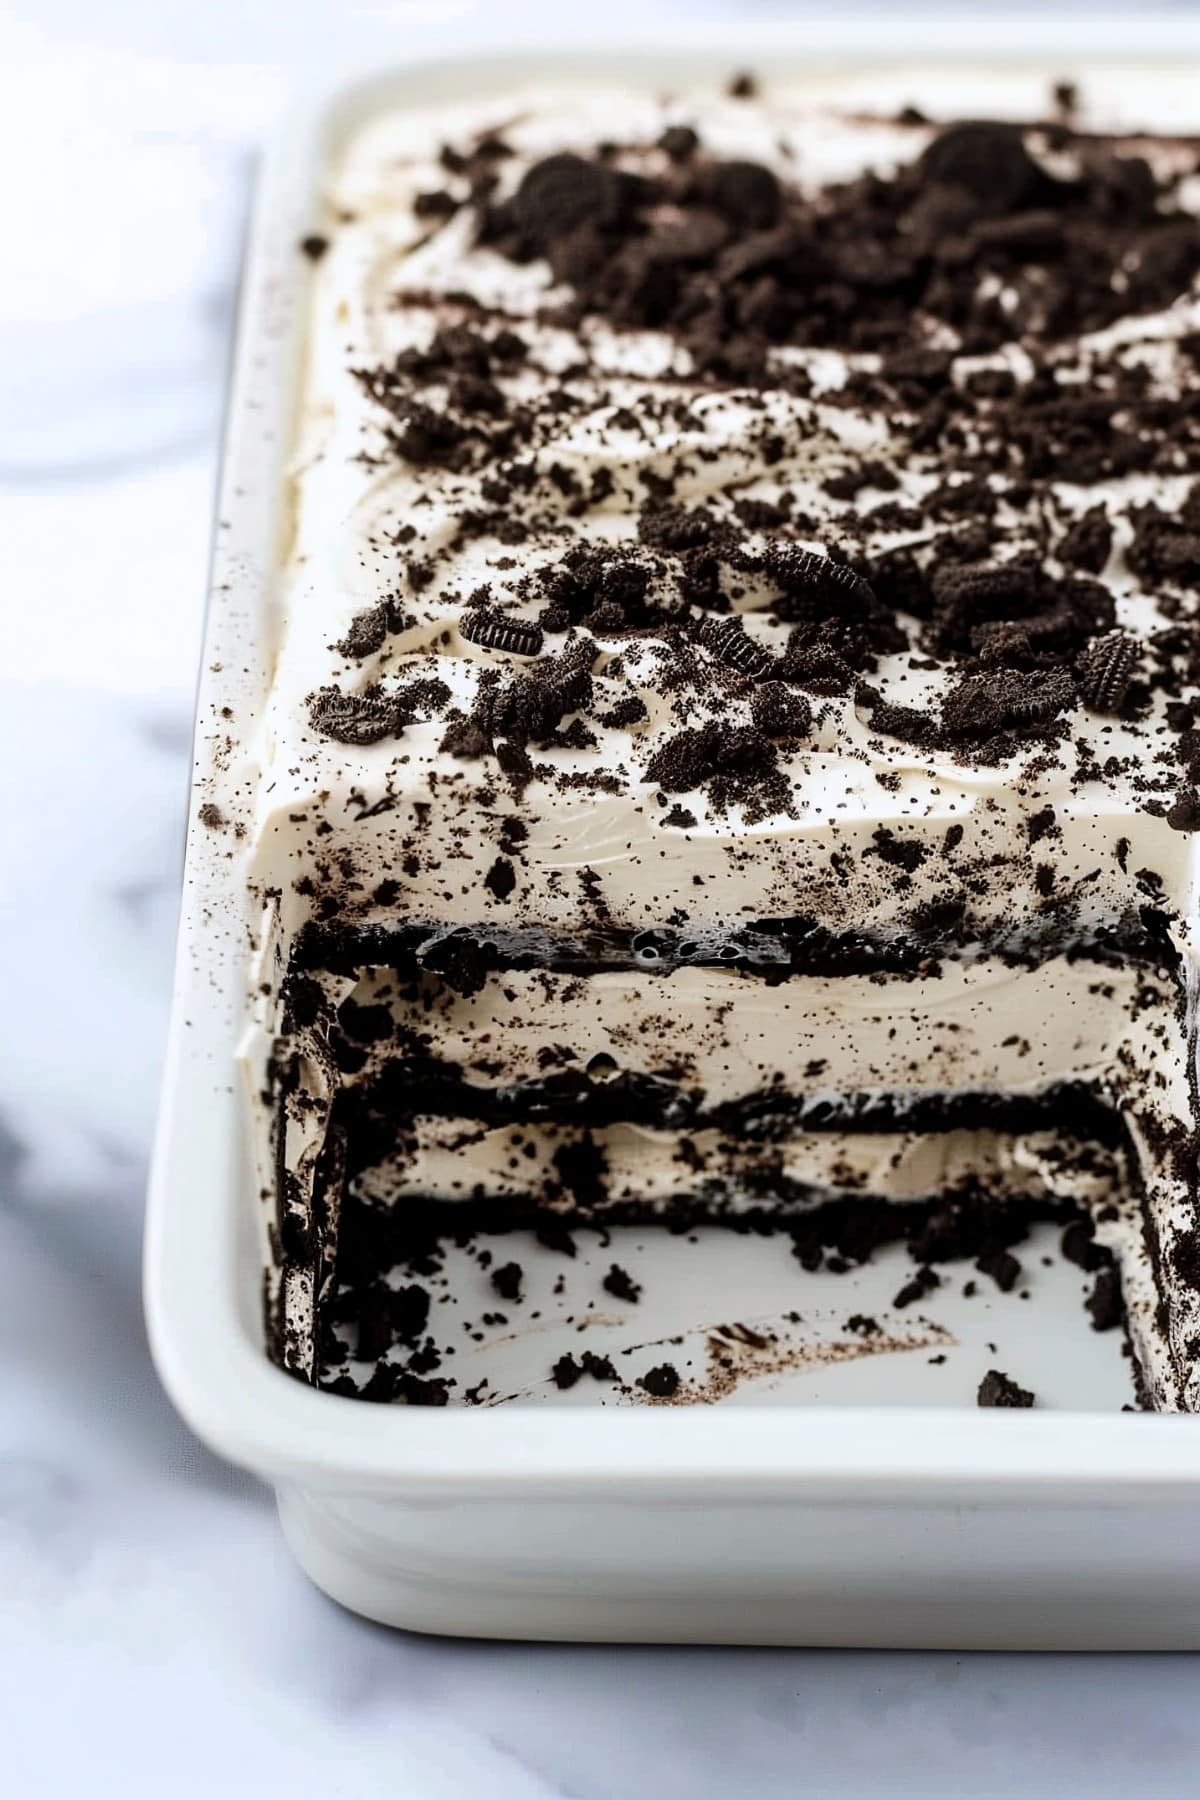
2. LAYER the cookies and cream into the baking dish.
3. CHILL. Cover and chill the cake for at least 6 hours or overnight.
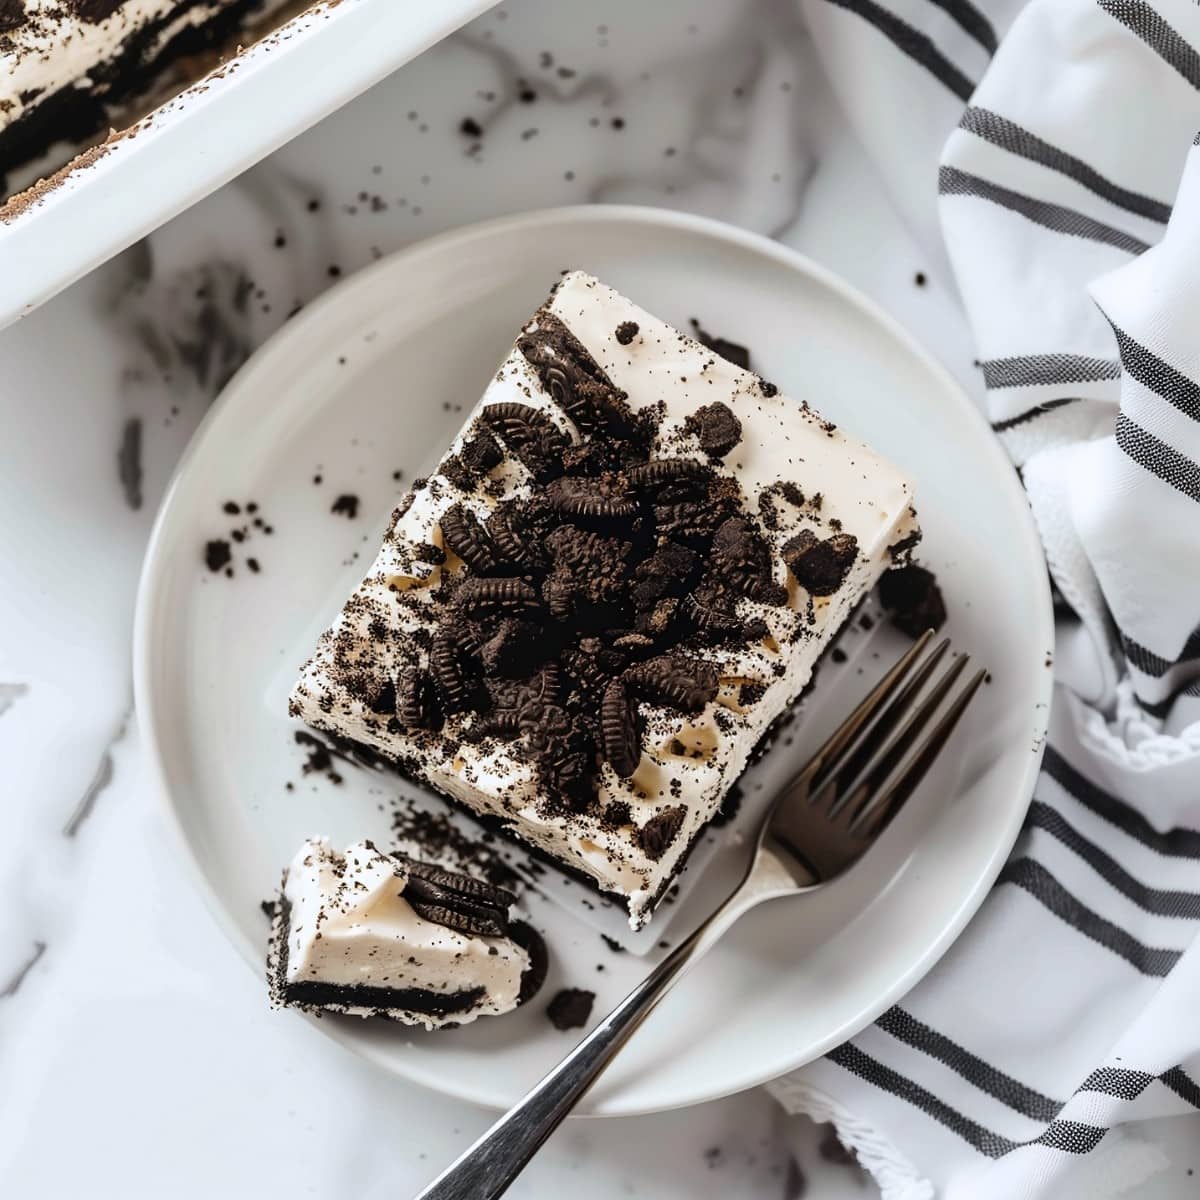
4. SERVE. Add more crushed Oreos on top and serve!
Tips For the Best Oreo Icebox Cake
This is my go-to when I want to wow my friends and family without spending hours in the kitchen.
Plus, who can resist the classic combination of cookies and cream?
If you’ve never made an icebox cake before, don’t worry. Just check out these tips before you start, and it’ll be perfect:
- Use real whipped cream. It’s more stable and luscious than whipped topping. And since this whole recipe is so quick, it’s worth those extra minutes to whip it up.
- Add cream cheese. One (8-ounce) block of soft, full-fat cream cheese adds stability, helps the cake slice cleanly, and makes the filling ultra-creamy.
- Chill out. Let the cake chill overnight for the best results and to soften the cookies fully. 12-18 hours is the sweet spot.
- Cookie choice. Oreo thins will absorb the cream a lot more than thicker cookies. I like regular ones because they hold better shape.
- Fill in the gaps. Chop the cookies and stuff them in any gaps so every bite has a bit of everything.
- Decorate after chilling. Add any decorations like sprinkles, chocolate curls, or crushed cookies after the cake has fully set up in the fridge.
- Make a smaller batch. Use one package of cookies with one and a half cups of whipped cream in an 8×8 baking dish. You’ll get two layers instead of three.
Recipe Variations
It won’t come as a surprise to hear you can use whatever flavor Oreo you like.
So, if you’re a fan of strawberry or mint, use those instead.
But there are even more ways to make this your own! Such as:
- Peanut butter – use Nutter Butter Cookies and drizzle the top with melted peanut butter. Top it off with chopped Reese’s cups for maximum nutty goodness.
- Funfetti – use birthday cake Oreos and add sprinkles to the top just before serving.
- Tiramisu – use lady fingers and whisk 1 cup mascarpone and 1 teaspoon espresso into the cream. Top it with cocoa powder.
- Biscoff – use Biscoff cookies and drizzle the top with Biscoff spread.

How to Store
Yes, this holds well in the fridge, and yes, it even freezes well!
Here’s what you need to know:
To Store: Cover the cake tightly with plastic wrap or transfer leftovers to an airtight container. Keep in the fridge for up to 3 days.
To Freeze: Wrap the assembled cake securely in plastic wrap, followed by a layer of aluminum foil, and store it in the freezer for up to 2 months. Thaw the cake overnight in the fridge before serving.
Top chilled leftovers or thawed slices with fresh cookies before serving.
More No-Bake Desserts You’ll Love
Homemade Reese’s Bars
No-Bake Brownies
No-Bake Cookie Dough Bites
Cream Cheese Lemonade Pie

Oreo Icebox Cake
18
servings5
minutes6
minutes430
kcalThis no-bake 3-ingredient Oreo icebox cake is impossibly easy to make. It’s creamy, chocolatey, and insanely good with hot fudge sauce!
Ingredients
2 (18.25 ounce) family sized packages Oreo cookies (96 cookies)
3 cups heavy whipping cream
1/3 cup powdered sugar
2 teaspoons vanilla extract, optional
Instructions
- In a large cold bowl or stand mixer, beat the heavy cream, powdered sugar, and vanilla extract (if using) until stiff peaks form, about 5-7 minutes.
- In a 9×13-inch baking dish, arrange a layer of Oreo cookies (about 30) covering the entire bottom of the dish. Break a few to fill in any gaps.
- Spread 1/3 of the whipped cream evenly over the Oreos. Place another layer of Oreos on top of the cream. Repeat with another layer of cream and cookies, and finish with the cream on top.
- Cover the dish tightly with plastic wrap and refrigerate for at least 6 hours or overnight.
- When ready to serve, crush the remaining Oreos into crumbs and sprinkle evenly over the top. Slice, serve, and enjoy!
Notes
- Use 3 (8-ounce) tubs of Cool Whip instead of whipped cream if you prefer.
- You may need fewer cookies, depending on the size and shape of your baking dish.


I made this two days ago. It’s awesome and so easy to make. My son said it tastes like Oreo cheesecake, and my granddaughter and I think it tastes like Oreo cookies and cream ice cream. Definitely will make this again.
Glad you guys enjoyed it! I’m a sucker for anything Oreo-related! Butterfinger- and Reese’s-related, too! :-p