Do you have a sweet tooth and want something delicious to satisfy it?
You’re in luck because this peanut butter cake is the perfect treat for any occasion.
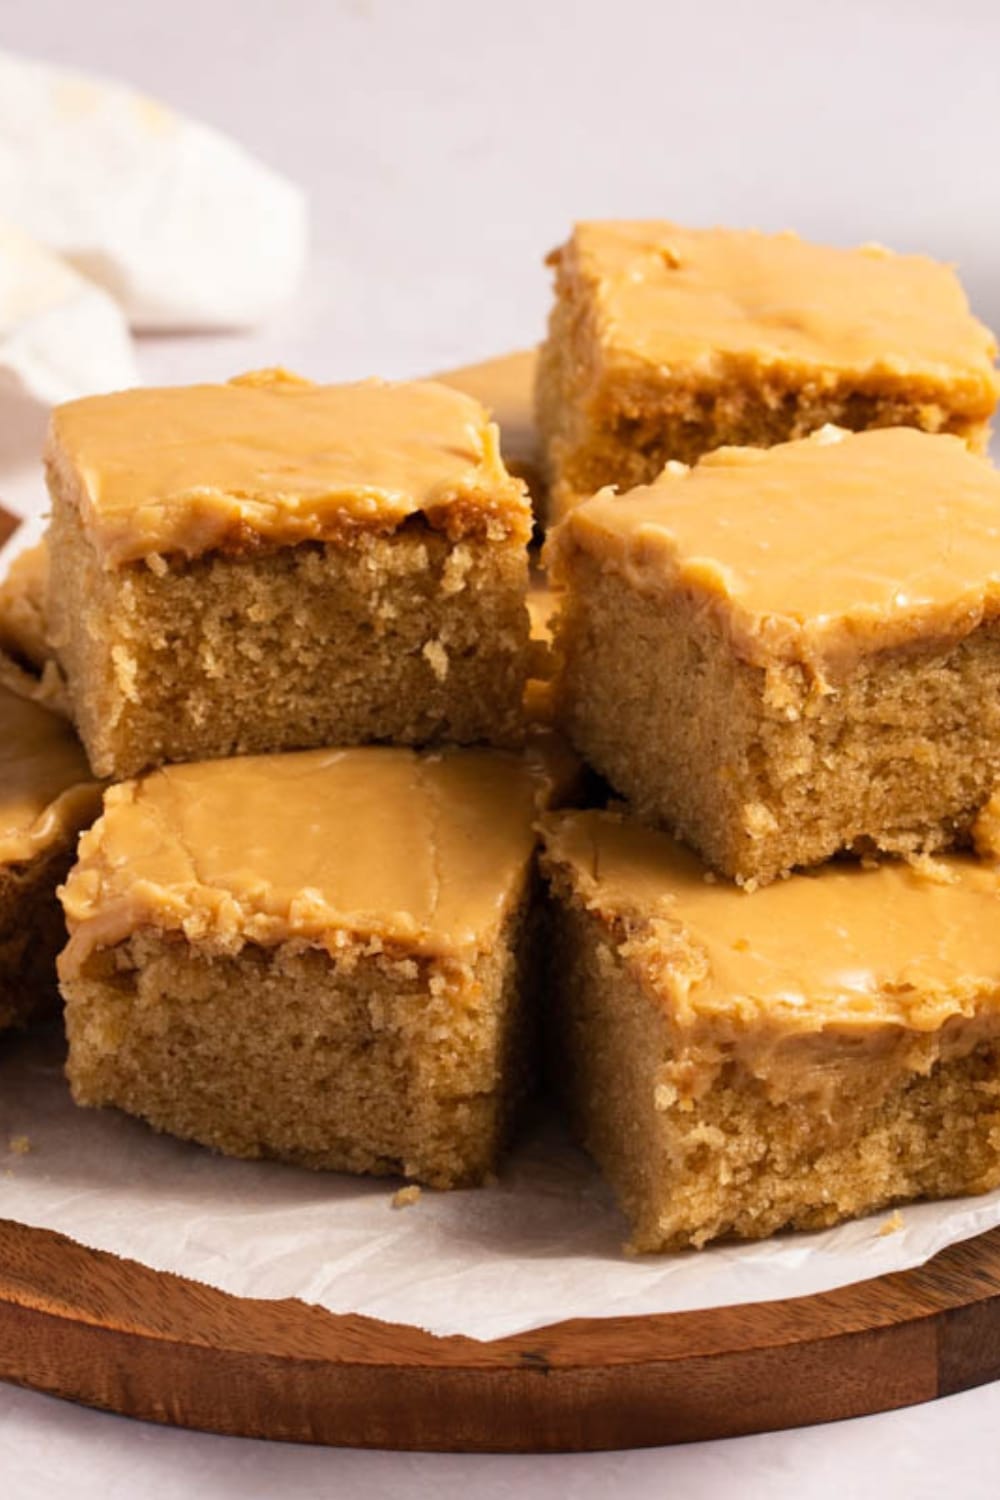
It’s loaded with protein-packed peanut butter in the cake and the icing.
And your experience level in the kitchen doesn’t matter with this recipe. You can be a newbie cook or an experienced professional chef.
Either way, this peanut butter cake recipe will satisfy your cravings. And it won’t make you crazy trying to bake it.
So join me on this culinary journey as I dive into this unbelievable cake.
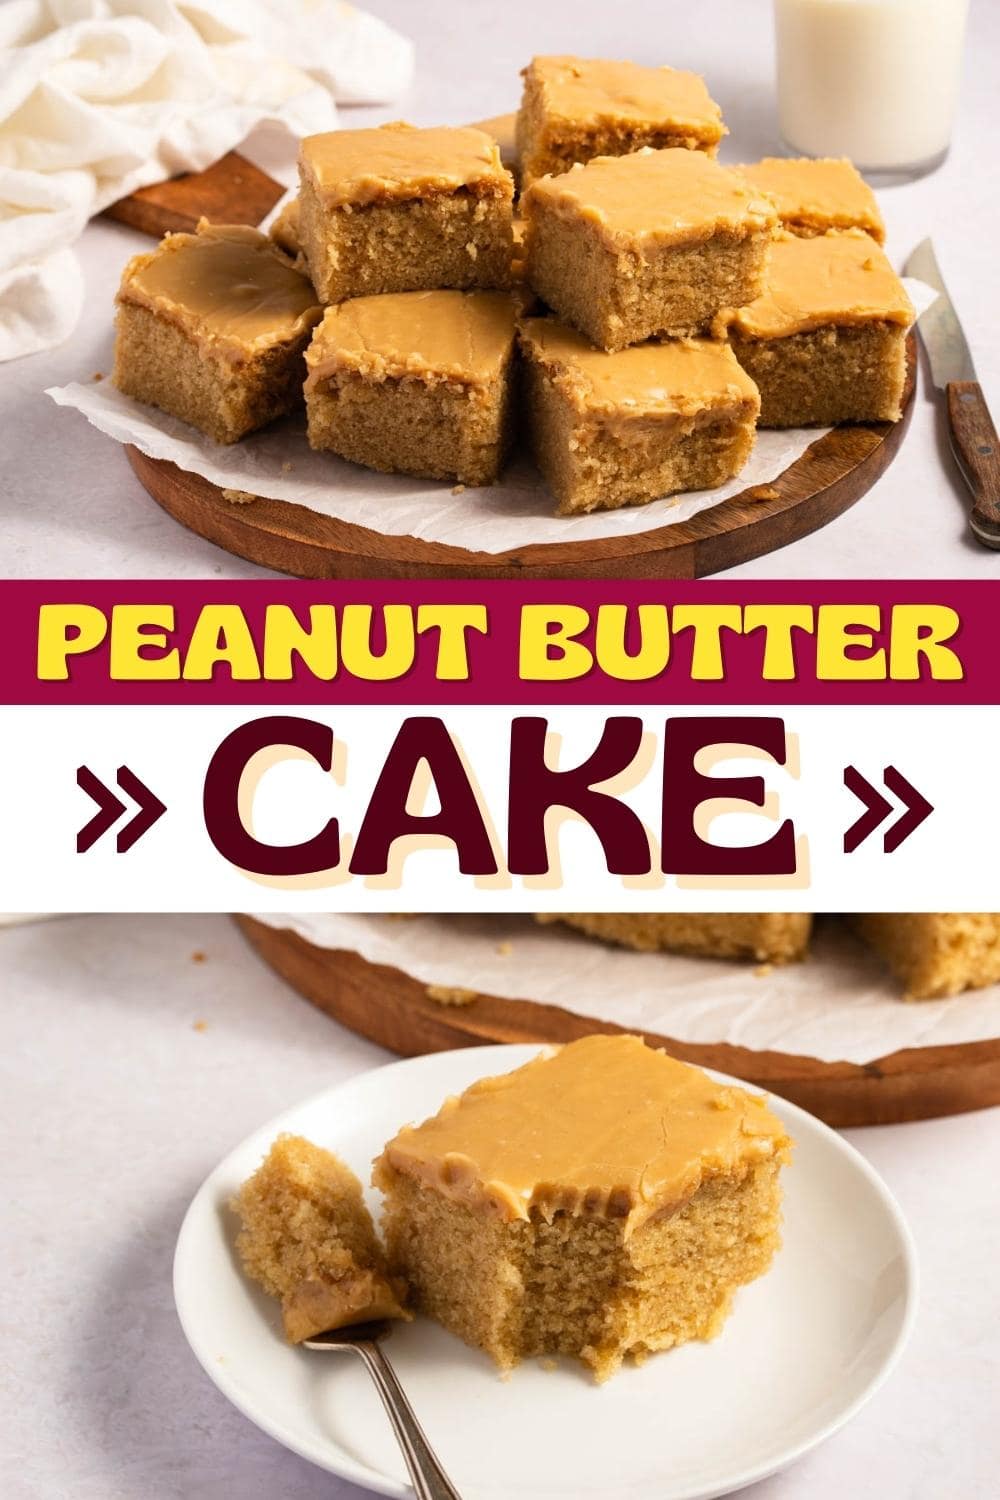
Peanut Butter Cake
Remember when your grandmother used to bake cakes on Sunday?
They weren’t fancy, and they didn’t feature 700 layers or lots of icing roses and decorations.
They were good, old-fashioned sheet cakes. They looked plain and unimpressive to the naked eye.
And yet, they were some of the most incredible-tasting cakes you’ve ever had.
That is this cake.
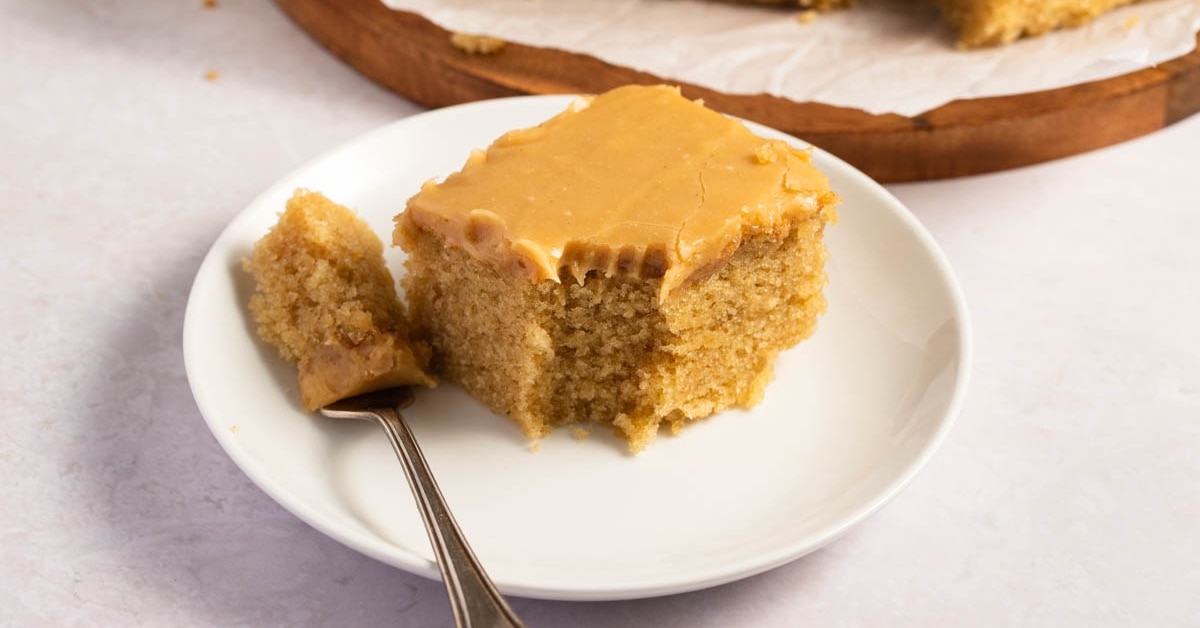
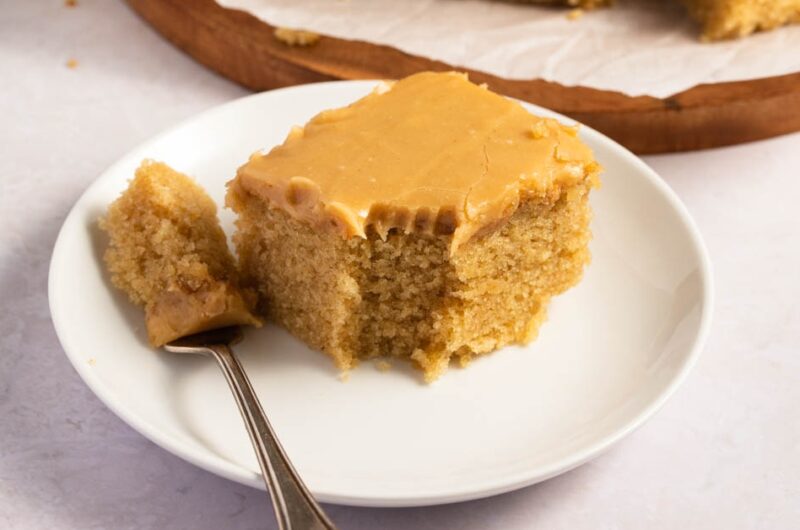
It might not look as elaborate and pretty as something you’d buy in a bakery.
In terms of taste and texture, though, it’ll blow every bakery cake out of the water.
It’s soft, moist, impossibly rich, and full of peanut buttery goodness.
People might not rave about how gorgeous it is. But once they taste it, their knees will go weak with pleasure.
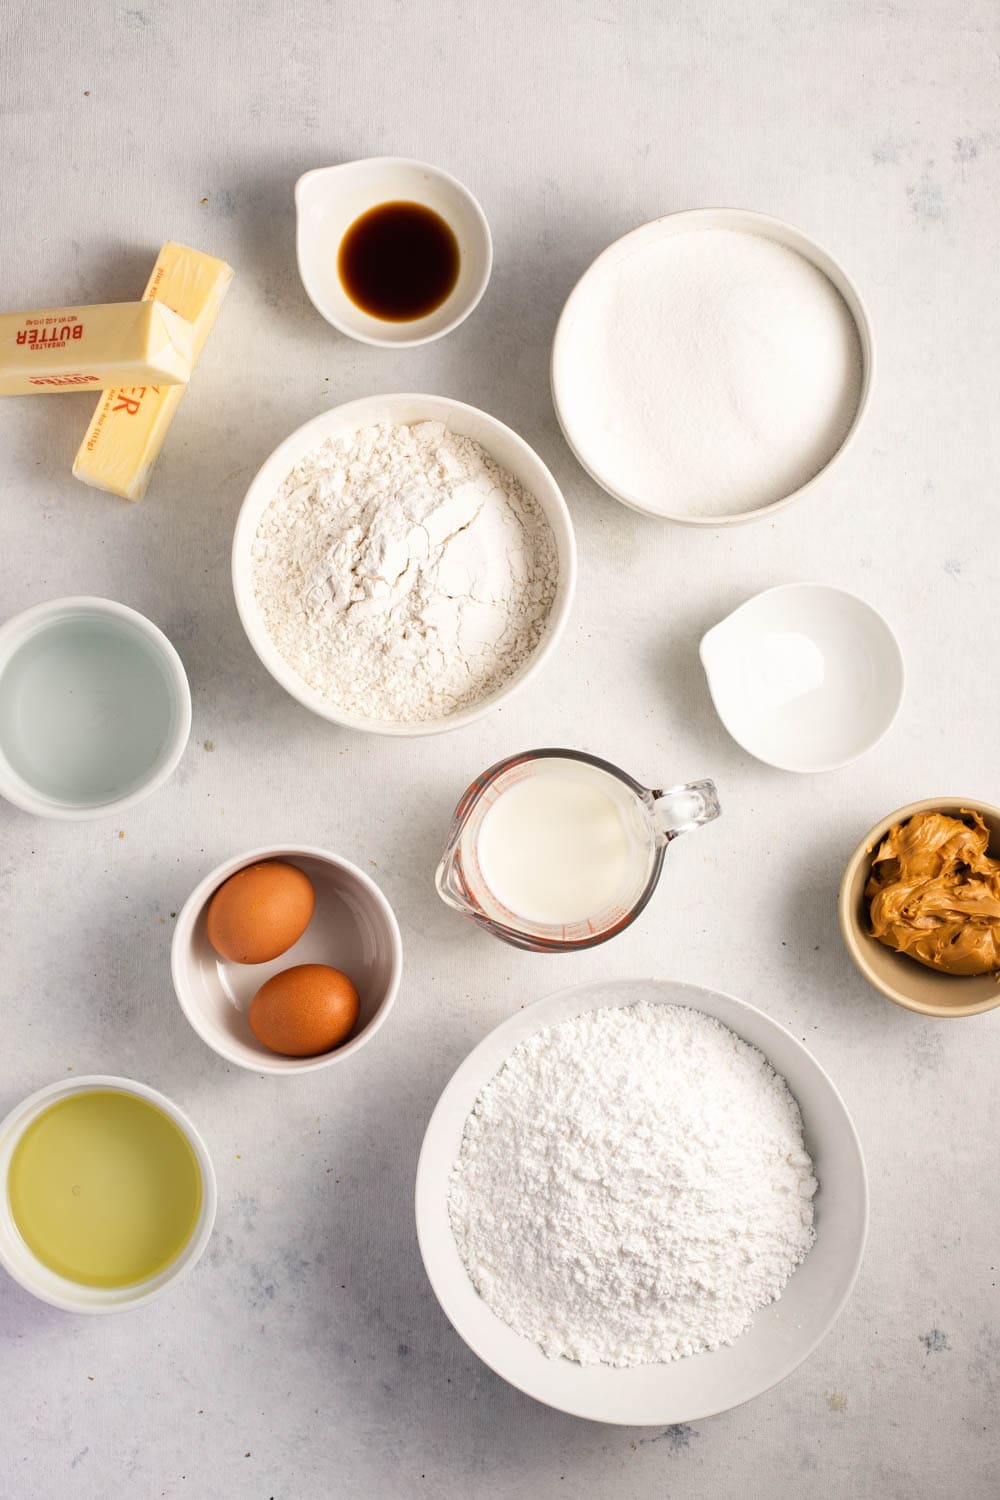
Ingredients
Here’s what you’ll need:
- Flour. All-purpose flour is the best option for this cake. It helps balance out the thick heaviness of the peanut butter.
- White sugar. I use plain white sugar to sweeten the cake. Brown sugar would work in a pinch, but it may slightly change the cake’s texture.
- Baking soda. This will help the cake rise.
- Milk. You need milk for the cake and the icing in this recipe. It adds sweetness and smoothness to the icing and makes the batter moist. Stick to whole milk for the best flavor.
- Eggs. Eggs help hold everything together and give the cake its light, airy texture.
- Vanilla extract. Use a bit of vanilla extract in both the batter and the icing to enhance the dessert’s flavor.
- Water. Water will keep the batter from being too thick.
- Butter. Butter adds flavor and richness to the batter. It adds those things and creaminess to the icing.
- Vegetable oil. Vegetable oil keeps the cake tender and moist, enhances the flavor, and keeps it from sticking to the pan.
- Peanut butter. Peanut butter is the primary ingredient in both the cake batter and the frosting. It’s where all that rich, yummy, peanut buttery goodness comes from.
- Confectioner’s sugar. Wait, what is confectioner’s sugar? Don’t worry, it’s just another name for powdered sugar.
As you can see, most are standard, everyday baking ingredients. You won’t need anything too crazy for this recipe.
How to Make Peanut Butter Cake
Here’s a brief overview of the steps for this recipe:
1. Make the cake.
Preheat the oven and grease a half-sheet baking tray (18×13-inch).
Mix the dry ingredients for the cake in a large bowl – the flour, sugar, and baking soda. Then, add the wet ingredients (milk, eggs, and vanilla).
Mix them with an electric mixer on low speed until smooth.
In a saucepan, combine the water, butter, oil, and peanut butter, and mix until smooth.
Add the peanut butter mixture to the cake batter and whisk until smooth.
Pour the batter into the baking sheet. Spread it evenly with a spatula and tap it on the counter a few times.
Bake the cake for about 20 minutes until golden brown.
Use a toothpick inserted into the center to double-check. It should come out mostly clean with just a few crumbs.
2. Make the icing.
Add the butter and peanut butter to a clean saucepan. Cook it over medium heat, stirring regularly.
Once the ingredients are melted and combined, add the milk and vanilla.
Then, whisk in the confectioner’s sugar 1/2 cup at a time. Start with 2 cups and as more as needed.
(I like it quite thick so I usually add 3 cups.)
Continue whisking the mixture while it cooks for 3 to 5 minutes. It’s ready when it’s smooth and warm.
3. Ice the cake.
Finally, pour the icing over the still-warm cake. You may need to use a spatula to even it out.
Then, slice and serve!
For the complete list of instructions, check out the recipe card below.
Tips and Variations
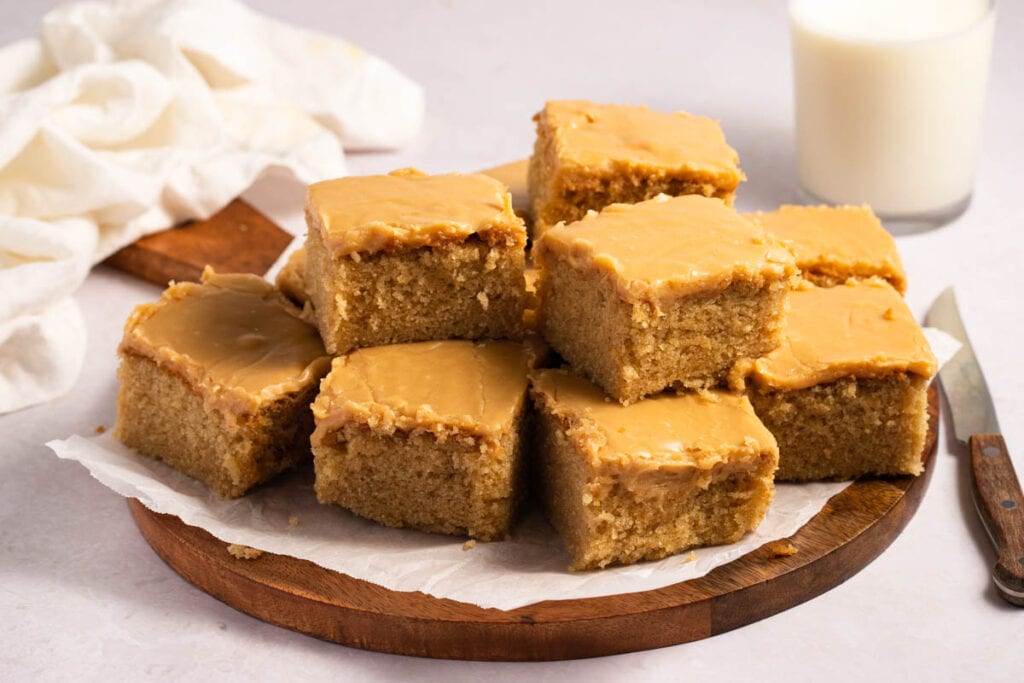
The most important thing to remember for this cake is that it needs to be baked in a baking sheet.
That means a flat tray with a rim. For best results, use a half-sheet baking tray (18×13-inch).
If you try to bake this in a 9×9 cake pan, it’ll take much longer to bake and probably won’t come out right.
It’s strictly a sheet cake, not a cake to be layered.
Now, here’s a few final tips before you get started:
- Don’t over-mix or over-bake. Both will lead to a tough, non-fluffy cake. Whisk everything until just mixed. And be sure to remove the cake from the oven as soon as a toothpick comes out clean.
- Tap, tap, tap. Remember to gently tap your baking sheet on the counter after pouring the batter. Doing so helps level it out and gets rid of any air bubbles.
- Liberally grease your baking sheet. The sheet should be well-greased, otherwise, the cake may stick.
- Adjust the powdered sugar as needed. I find 3 cups is just the right amount, but it you want more of a thin glaze, 2 should be enough.
- To test, scoop a small spoonful out of the glaze and pour it over the surface. If it leaves a raised trail for a few seconds, it should be good to go.
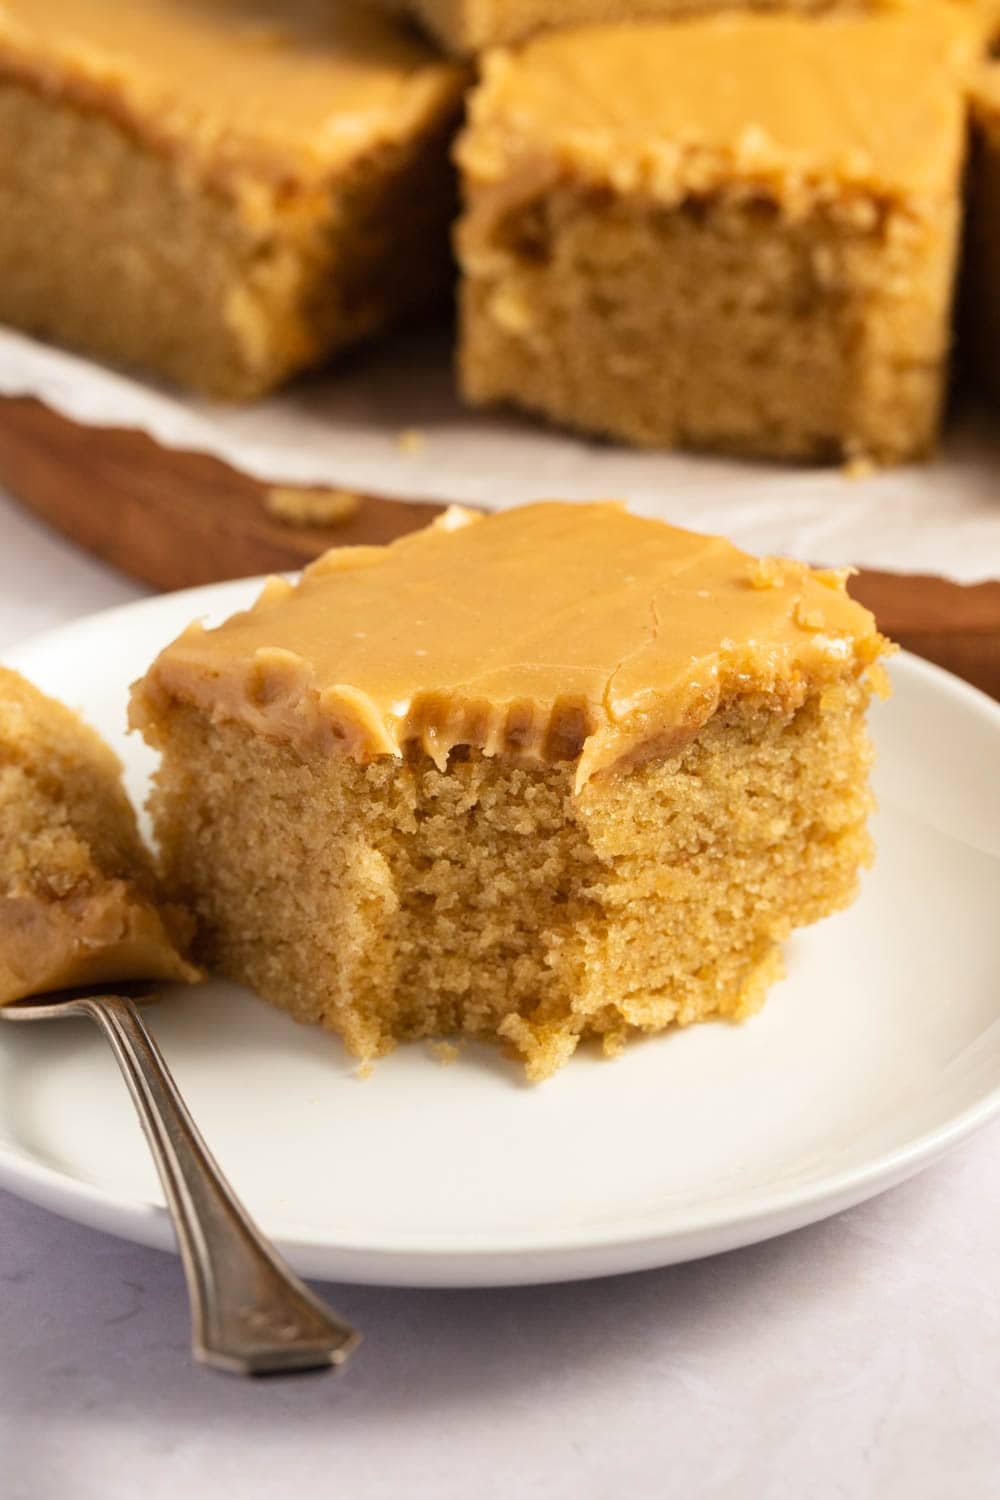
Recipe Variations
- Use chunky peanut butter in the batter for more crunch.
- Top the iced cake with crushed, salted peanuts or crushed pretzels.
- Chop up some Reese’s cups and add them to the top of the cake.
- Swap out the peanut butter icing for chocolate icing for that classic chocolate/PB combo.
- Swap out the peanut butter icing with strawberry icing for a PB&J-like cake.
- Add a little whipped cream and chocolate sauce for extra decadence.
- Coarse sea salt looks (and tastes) great on top of the peanut butter icing.
Remember, it’s your cake. Make it however you like.
How to Store and Freeze Sheet Cake
If you have leftovers, you can store them at room temperature or in the refrigerator or freezer. Here’s how:
- Room temperature storage. Cover the cake with a tight-fitting lid, or wrap it tightly in plastic wrap. It will last for about 5 days.
- Refrigerator storage. Cover the cake with a lid or plastic wrap, as mentioned above. Then, place it in the refrigerator for 5 to 7 days. Eat the leftovers chilled or warm them in the microwave for about 15 seconds.
- Freezer storage. Let the cake cool fully before flash-freezing it (uncovered) on the sheet pan. Then, remove the cake from the freezer and transfer it to a freezer-safe container. You can also wrap it tightly in plastic wrap. It should last in the freezer for about 3 months. Let it thaw in the fridge overnight before serving it.
More Peanut Butter Recipes You’ll Love
Peanut Butter Cookies
Peanut Butter Milkshake
Reese’s Peanut Butter Pie
Old-Fashioned Peanut Butter Balls



Can your Peanut Butter Cake and several other recipes use a substitution of Splenda instead of the sugar? Or maybe even 1/2 sugar and Splenda?
I am a Type II diabetes and really try to keep my sugar down. Actually neither my husband or I need the empty calories.
Thank you,
Debra Simmons
Hi Debra!
I’ve never tried it, but I recommend experimenting with small batches to see how you like it.
Maybe half the recipe just in case the Splenda flavor is too much.
If you use “Splenda Original Granulated Sweetener” you should be able to swap it out on a 1:1 ratio.
Though, as mentioned, it will affect the tase – so your idea of half and half would likely work best.
Let me know how it turns out!
I would like to use this recipe but make peanut butter cupcakes and then frost them with chocolate frosting. What do you think? Time wise, how would I change the recipe?
Hi Pat!
I’ve never tried this as cupcakes but it should work well.
Make the batter as instructed then fill cupcake liners about 3/4 full. You should get around 20-24.
They’ll bake at 350°F for about 18-20 minutes.
I bet they’ll be extra delicious with chocolate frosting.
Let me know how they turn out!