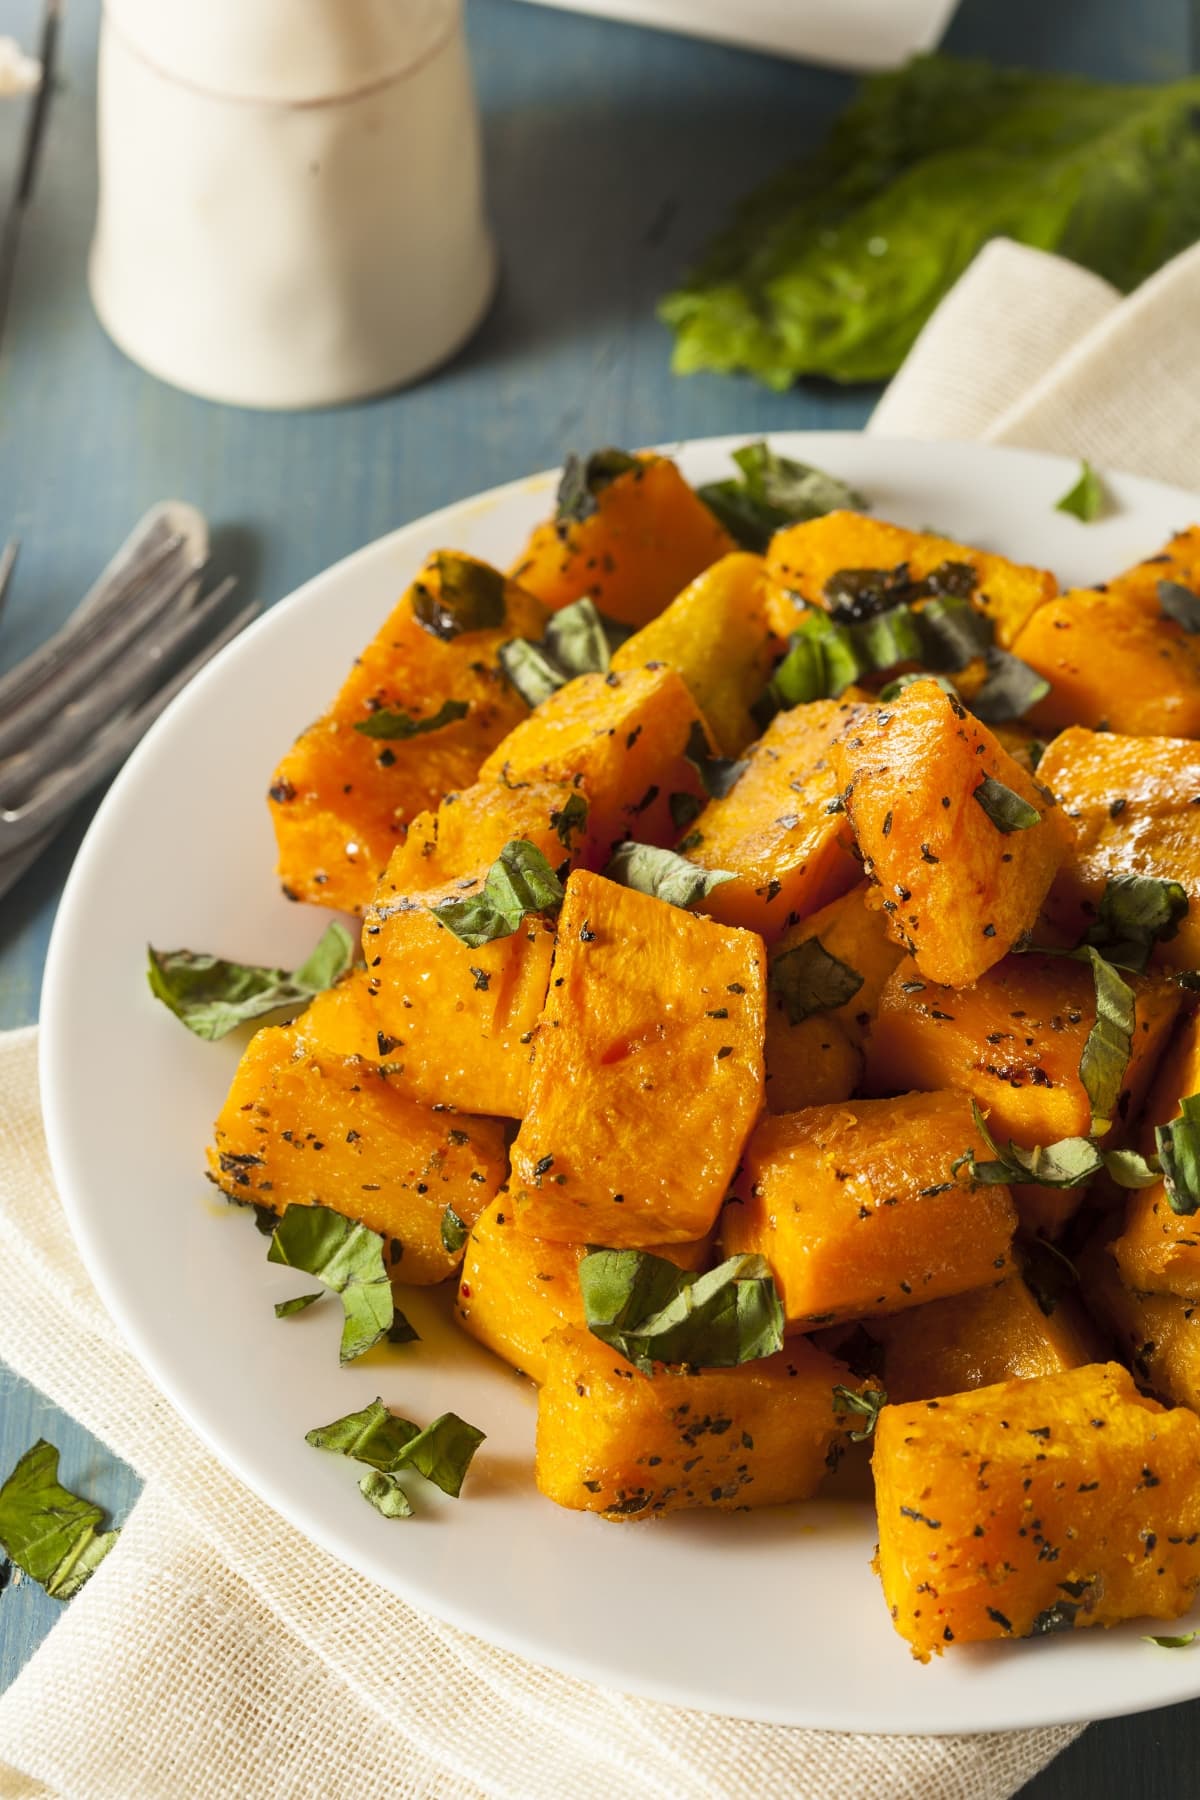
This simple roasted butternut squash is so irresistible! It’s quick, easy to make, budget-friendly, and only needs three primary ingredients.
But convenience isn’t the only reason it’s such a fantastic side dish. It also tastes phenomenal and has a wonderful texture. It’s tender and roasted almost to the point of caramelization.
In short, it’s an incredible dish. You can make it for regular weeknight dinners or more formal occasions.
Either way, roasted butternut squash never seems out of place on the table.
Now, let’s talk about how to make it.
Roasted Butternut Squash
There are a lot of fall recipes that incorporate butternut squash into the mix. However, none are as simple and quick as this roasted butternut squash recipe.
Peel and cut the squash, toss it with olive oil and garlic, and season it with salt and pepper. Then, arrange it on a baking sheet and roast it for about half an hour.
That’s basically the entire recipe. It’s unbelievably easy to make and tastes terrific. It’s like a cross between sweet potatoes, pumpkins, and carrots.
It’s slightly sweet, warm, earthy, and savory all at once. Adding garlic and pepper makes the savory notes stand out even more.
You can’t beat it if you want something cozy and comforting.
Ingredients
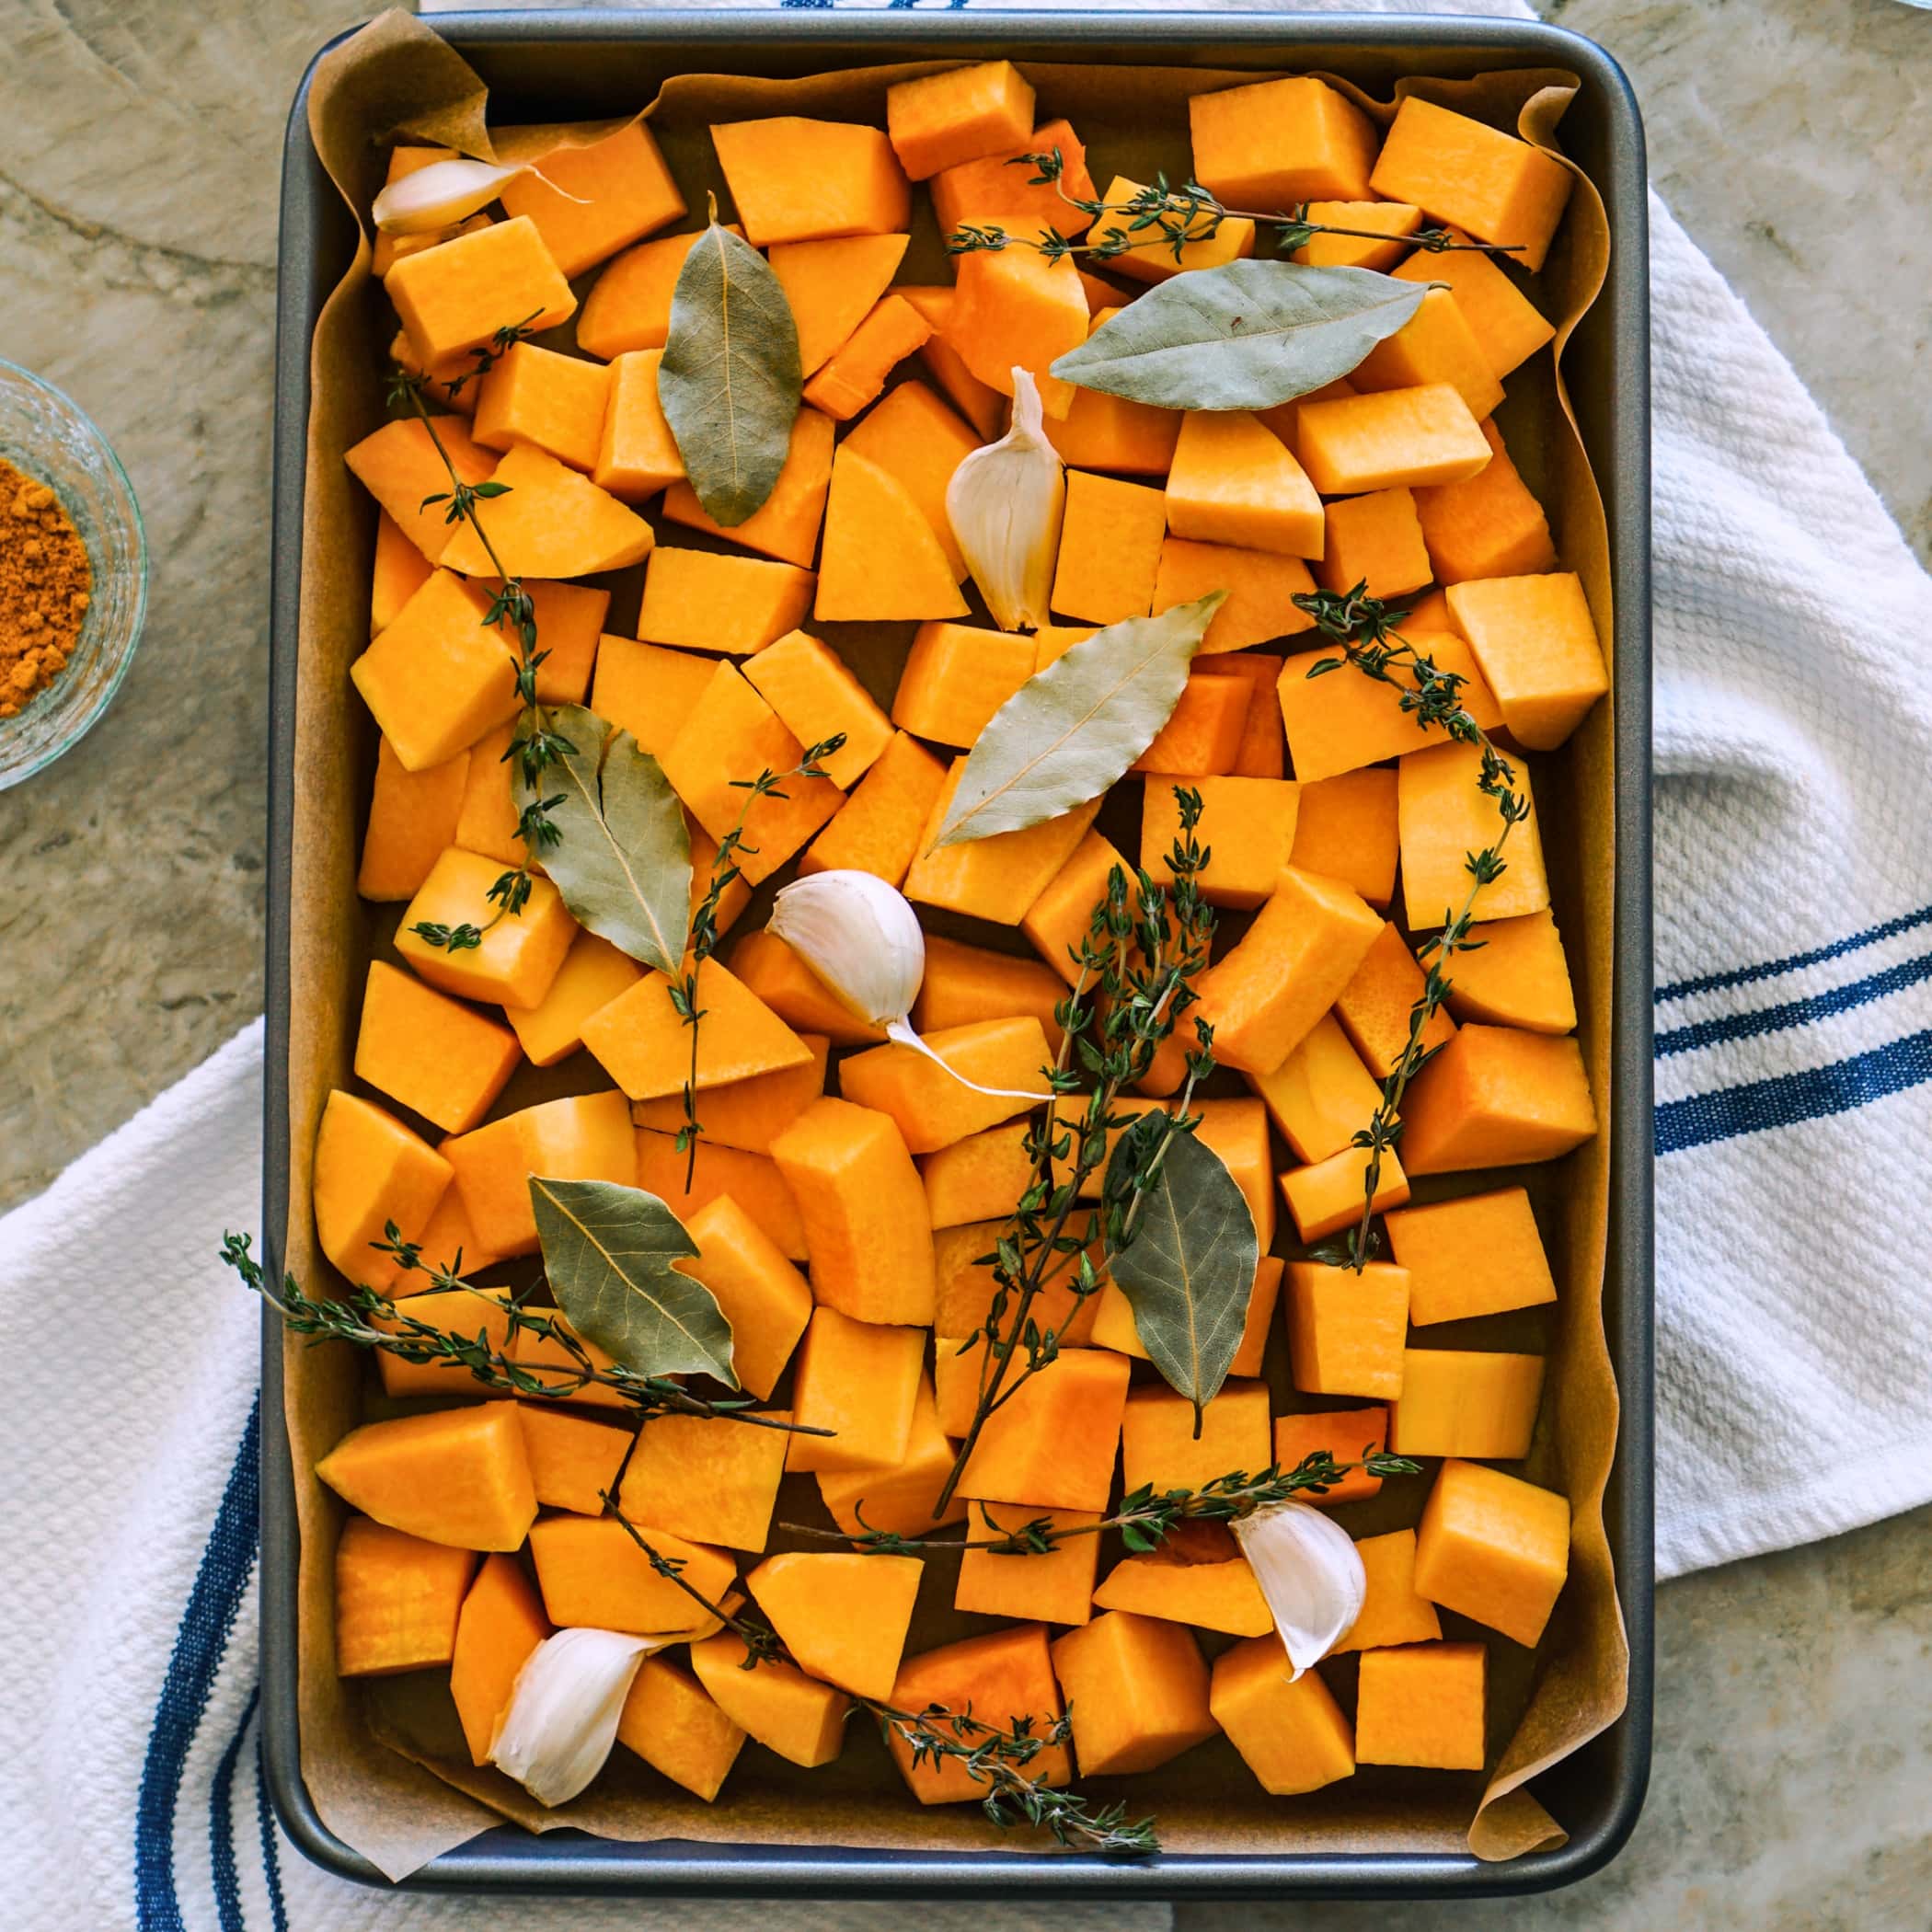
Besides salt and pepper, you only need three ingredients for this recipe. They are:
- Butternut squash – Select a medium-size butternut squash that’s firm and without blemishes. If your options are small or large, select a large squash and add extra oil and garlic.
- Olive oil – I like extra virgin olive oil, but you can use your favorite. Grapeseed oil works well, as does avocado oil.
- Minced garlic – Some people don’t add garlic to their butternut squash. However, it’s the perfect savory contrast to the vegetable’s sweetness. Use fresh garlic cloves you’ve minced yourself for the best flavor.
How to Cut Butternut Squash
There are specific ways to cut different fruits and veggies to simplify the process. Here’s how to cut butternut squash:
- Slice off the stem end and the opposite end of the squash. Use a sharp vegetable peeler to peel the skin.
- Cut the squash in half from top to bottom. Use a sharp knife.
- Remove the seeds using a melon baller (or ice cream scoop). Discard the seeds.
- Slice the squash into 1-inch slices from side to side. Dice the 1-inch slices into 1-inch cubes.
I’ve tried a million different ways to cut these large veggies. This way is the easiest.

How to Make Roasted Butternut Squash
Start by preheating the oven to 400 degrees Fahrenheit. After that, follow these simple steps to make this yummy butternut squash:
1. Cut. Peel the squash, then cut it in half lengthwise. Scoop out the seeds and discard them. Then, cut the squash into 1-inch slices, which you’ll then cut into 1-inch cubes.
2. Toss. Toss the squash with garlic and olive oil in a large bowl. Toss it well to ensure all the cubes are evenly coated. Season them with salt and pepper to suit your tastes.
3. Roast. Lay the cubes in a single layer on a baking sheet and bake them for 25 to 35 minutes. They’re ready to eat when they are fork-tender. Enjoy them warm with your choice of garnishes.
Tips for Success
Here are a few tips to keep in mind to ensure your roasted butternut squash is a hit:
- Give it a good rinse. Some people think washing veggies you peel is useless. But I prefer to err on the side of caution.
- Keep your veggie peeler sharp. I can’t stress enough how important it is to use real vegetable peelers to peel and to ensure they’re SHARP! Trying to peel the squash with a knife never works well.
- Save yourself a step. Save time by peeling and cutting the squash up to 24 hours before roasting it. Just put the cubes in an air-tight container in the fridge until it’s time to toss and roast them.
- Throw some butter into the mix. Use one tablespoon of oil and one tablespoon of melted butter for a richer flavor. The butter gives the squash an incredible depth of flavor.
- Try a microwave hack! If your vegetable peeler is sharp, you shouldn’t have trouble peeling it. However, if it isn’t, you can microwave the squash for 2 minutes on high power. It will help loosen the skin and make it easier to peel.
- Go for “burnt” edges. I don’t know about you, but I love my roasted veggies to have crisp, dark edges. Add 5 to 10 minutes to the cooking time to achieve this. Keep a careful eye on the baking pan, and don’t let the squash burn.

Variations
Try some of these variations if you want to mix things up a little:
- Play up the sweetness. Butternut squash has a natural sweetness. You can enhance it by leaving out the garlic and drizzling the cubes in honey or maple syrup. Some people even add brown sugar and/or cinnamon!
- Give it a tangy twist. Mix 2 tablespoons of honey with 2 tablespoons of balsamic for this variation. Toss the squash with 1/3 of the mixture and roast it with rosemary, olive oil, salt, and pepper. Drizzle the remaining balsamic-honey mixture over it after roasting.
- Add herbs. Don’t stop with garlic, olive oil, salt, and pepper. Try mixing whatever herbs you like best with the squash. Rosemary, thyme, dill, sage, and cayenne are good options. Top the finished product with parsley, as well!
- Make it cheesy. Try tossing the squash in garlic powder, chili powder, butter, and Parmesan cheese. It’ll give it a cheesy finish that’s impossible to resist.
- Try it with pasta! My favorite way to use up leftover roasted squash is to make this creamy butternut squash pasta.
Ways to Serve Roasted Butternut Squash
I love to serve roasted butternut squash in the fall and winter months. And it’s the perfect choice for holiday meals.
With that in mind, serve it with other cool weather-themed main courses and side dishes. Here are some of my favorite things to pair it with:
- Baked turkey wings
- Ground turkey pasta
- Grilled chicken tenders
- Paula Deen’s cornbread dressing
- Oven-fried pork chops
It also tastes great with leafy green salads or chicken salad and a side of buttery rolls.
Storing, Freezing, and Reheating
Here are your directions for storing, freezing, and reheating leftover butternut squash:
To Store: Store leftover squash in an air-tight container in the refrigerator. It should last between 4 and 5 days.
To Freeze: Let the squash cool fully first. Then, freeze the cubes on a baking sheet in a single layer. (It should take about 90 minutes.) Transfer the frozen cubes to a freezer-safe container and freeze them for up to 3 months.
To Reheat: Reheat chilled squash in the stove, oven, or microwave. Warm it on the stove over low heat or in the oven at 350 degrees Fahrenheit. Heat it in the microwave on high power.
Remember to let frozen squash thaw in the fridge overnight before reheating.
Also, remember the consistency won’t be the same after freezing and thawing. The taste should still be good, though.
