This rocky road fudge takes just 10 minutes to create. But don’t let that fool you! It’s a family favorite and never lasts long at get-together’s.
If you’re looking for something quick and easy that you can put together for the next tailgating party, family get-together, or social of any kind, you’ve just
hit the jackpot.
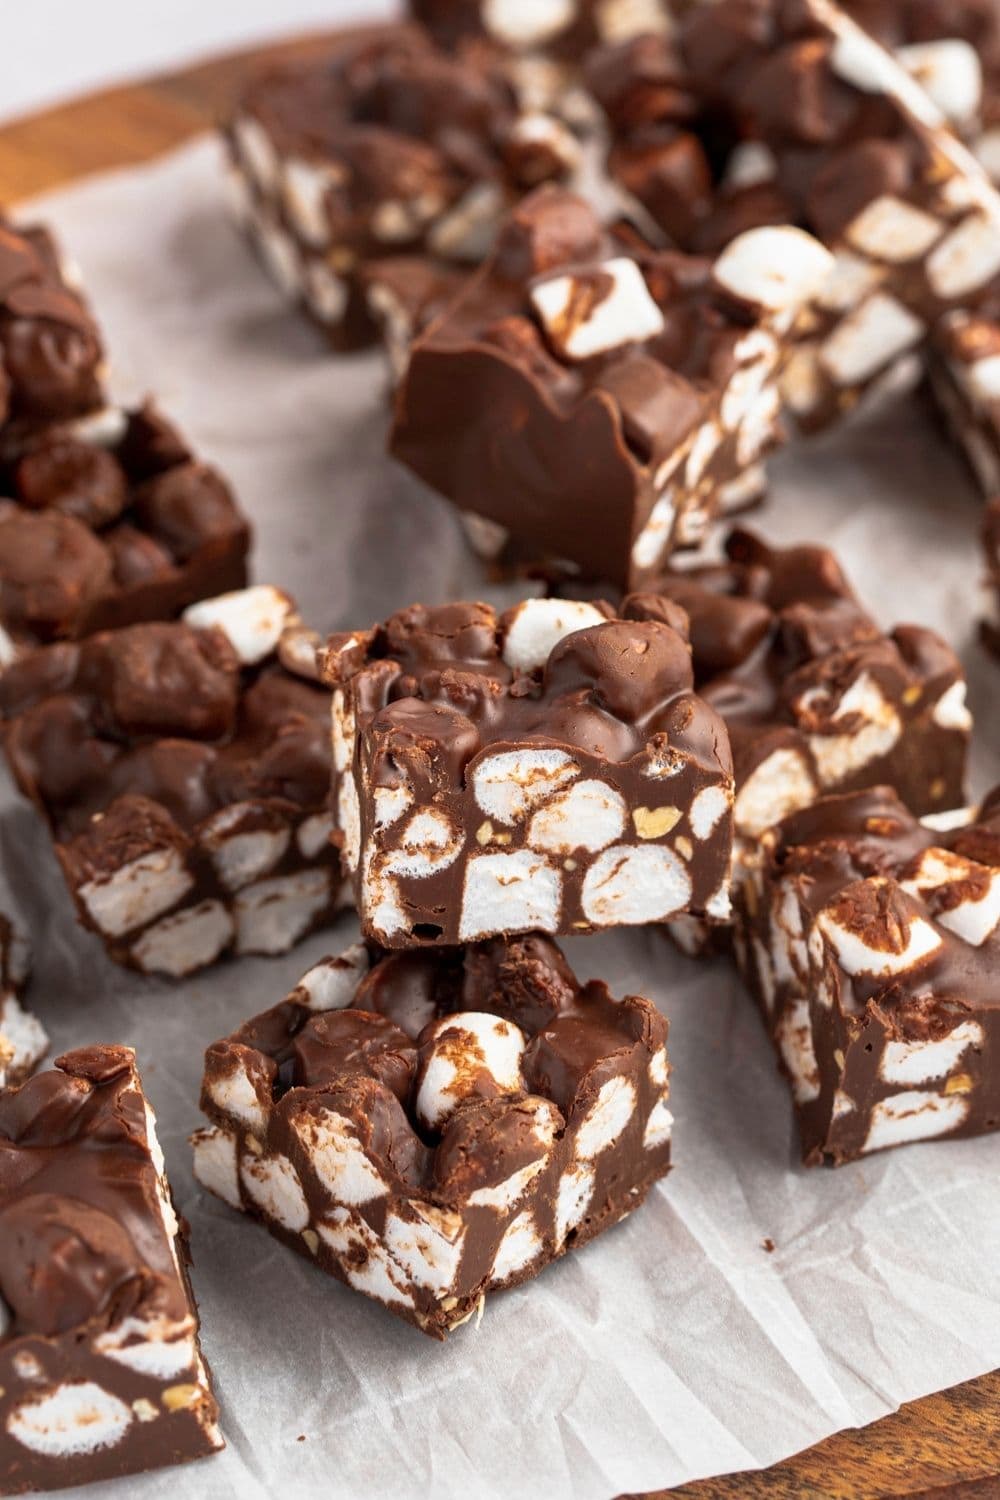
Rocky road has always been one of my favorite ice cream flavors. Which makes this salty, sweet, crunchy sensation one of my favorite treats.
Rocky Road Fudge Recipe Ingredients
You’ll only need three simple ingredients for this recipe:
- Semi-sweet chocolate chips. Use whatever brand you like best.
- Peanut butter. Stick to chunky peanut butter for that awesome rocky road texture.
- Mini marshmallows. You can even get the colored ones for an extra fun recipe.
How to Make Rocky Road Fudge
This quick, no-bake recipe couldn’t be simpler. There are only four basic steps.
1. Grease your pan. A square 9×9-inch pan works best.
2. Melt the chocolate and peanut butter. Warm them in a saucepan over low heat until the chocolate chips melt completely. Stir occasionally.
3. Add the marshmallows. Stir them in gently.
4. Let it set. Pour the mixture into the prepared pan. Then, let it harden on the counter or in the refrigerator.
If you want to make them easier to cut, freeze them overnight. Then, cut, serve, and enjoy!
How Long Can You Store Rocky Road Fudge?
Fudge will easily last up to two weeks in the refrigerator when placed inside an air-tight container or a Ziploc bag.
If you’re using a container, just be sure to separate the layers with wax paper or parchment to keep them from sticking together.
Can You Freeze Rocky Road Fudge?
If you’re like me and want to savor these a little longer, you can freeze them for up to two months.
There’s nothing better than pulling out this decadent dessert from the freezer.
My grandmother does this with homemade bread. She freezes it, then pulls it out once a week as a special treat.
Whip up a batch of this rocky road fudge. Then, store it in the freezer, and you’ll have a tasty treat to look forward to every weekend! Here’s how to freeze it:
- Place a layer of fudge in a freezer-safe container.
- Put a piece of wax paper on top of the fudge.
- Add another layer of fudge.
- Continue until you’ve stored all the fudge or reached the top of your container.
- Store the container in an upright position in the freezer.
When you want to serve it, simply remove it from the freezer and place it at room temperature to thaw.
If you notice a layer of moisture on top, pat it dry with a paper towel.

A fun variation…
If you want to shake things up a bit, you can try some of these fun variations.
- Turn them into s’mores. Place one cracker on top and one on the bottom. This gives the fudge a great s’mores-like flavor and experience.
- Add a topping. Sprinkle crushed graham crackers or Teddy Grahams over the top for a nice crunch.
- Add a graham cracker crust. Mix butter and crushed graham crackers together. Then, line the bottom of your pan with the mixture.
- Give it some add-ins. Add M&M’s, pretzels, caramel, or anything your heart desires. Have fun with it!
Or simply stick to the original recipe. You really can’t go wrong.
More Fudge Recipes
Here are a few more delicious fudge recipes to try:


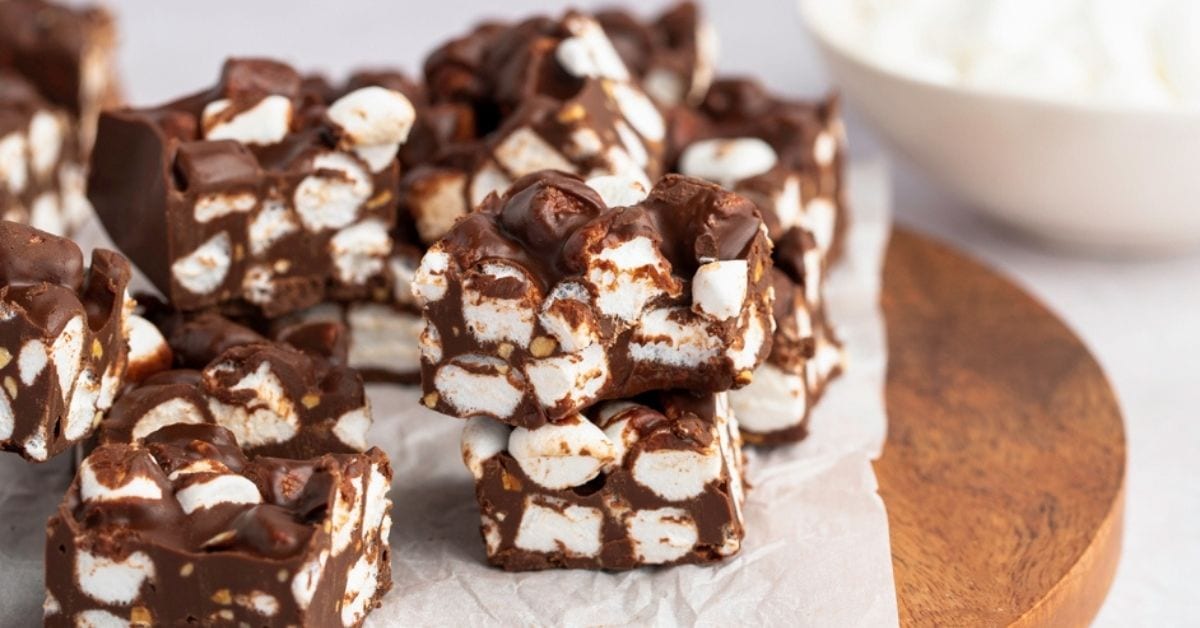


Love these simple recipes!! I’ve printed off several and I’m anxious to try them.
I was browsing for a dish/dessert/finger food for a picnic I am attending.
This sounds like the perfect item to take. Easy to eat and really yummy.
My favorite combination. I will return a comment after I have made them and taken them to the picnic.
Great recipe because always have the ingredients in the cupboard and when the craving hits, it’s ready very quick. I use extra crunchy peanut butter. Yum.