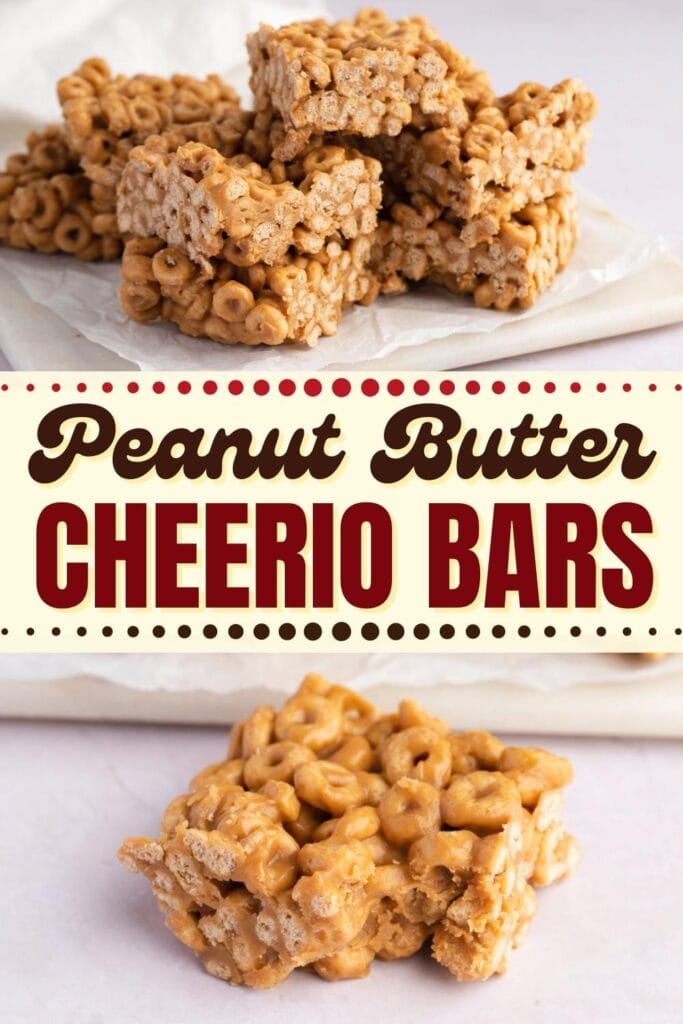
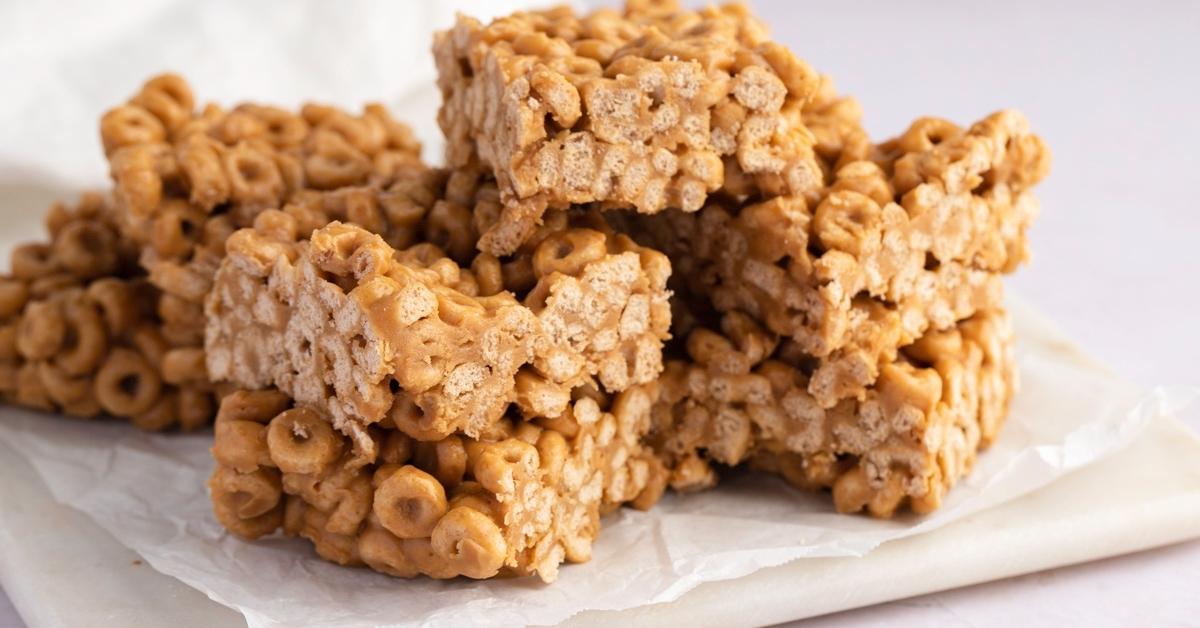
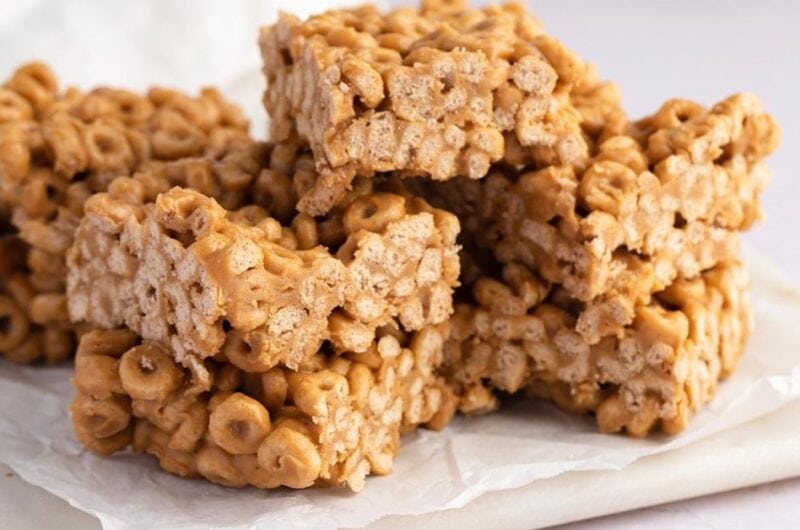
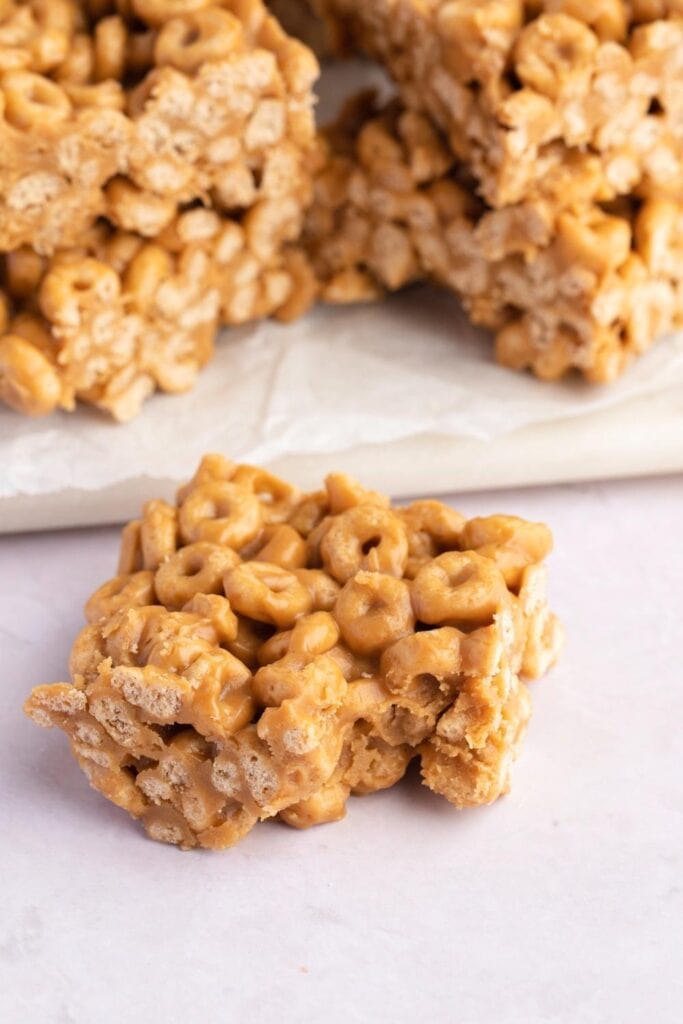
These no-bake peanut butter Cheerio bars are wonderfully sweet, delightfully crunchy, and oh-so chewy!
But be warned: they’re also pretty addictive.
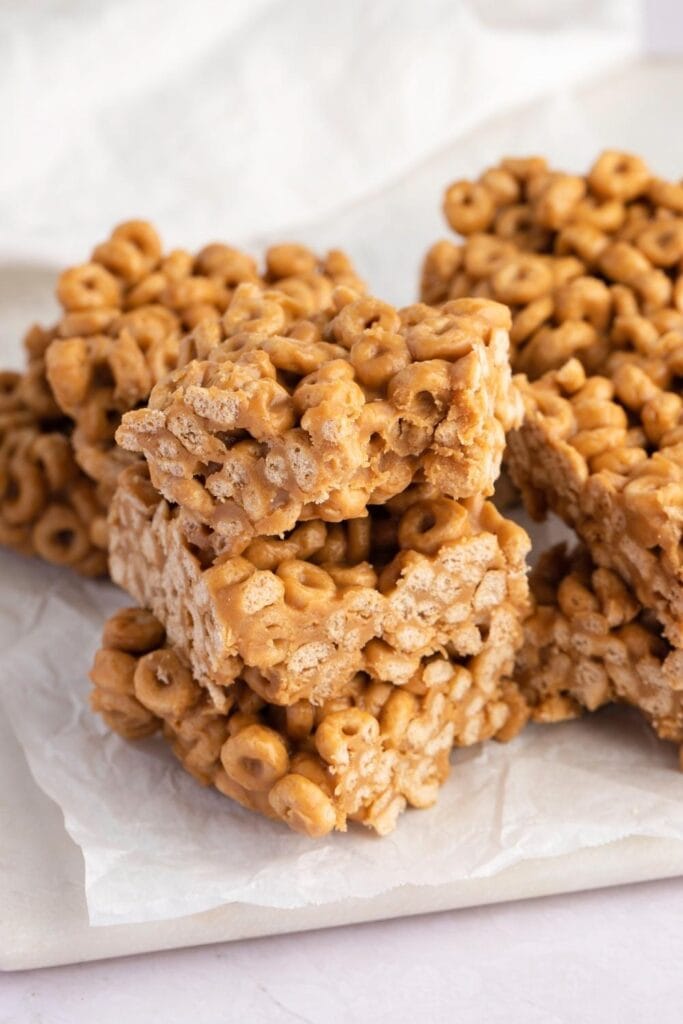
Besides being one of the most addictive snacks known to man, these babies are also incredibly easy to make.
There’s no baking necessary. Just melt, mix, refrigerate, and boom! You’re done!
Peanut butter Cheerio bars are the perfect homemade sweet treat when you don’t feel like baking.
No-Bake Peanut Butter Cheerio Bars with Honey
Like Rice Krispie treats, peanut butter Cheerio bars are a heavenly mix of sticky and sweet.
But instead of butter and marshmallows, peanut butter and honey hold everything together. That’s right, this recipe utilizes only three simple ingredients!
This trio creates a crunchy, ooey-gooey, and sweet-n-salty treat you can enjoy for breakfast, lunch, or dessert.
Or, if you’re obsessed like me, you’ll probably munch on them at midnight when no one’s watching.
Ingredients
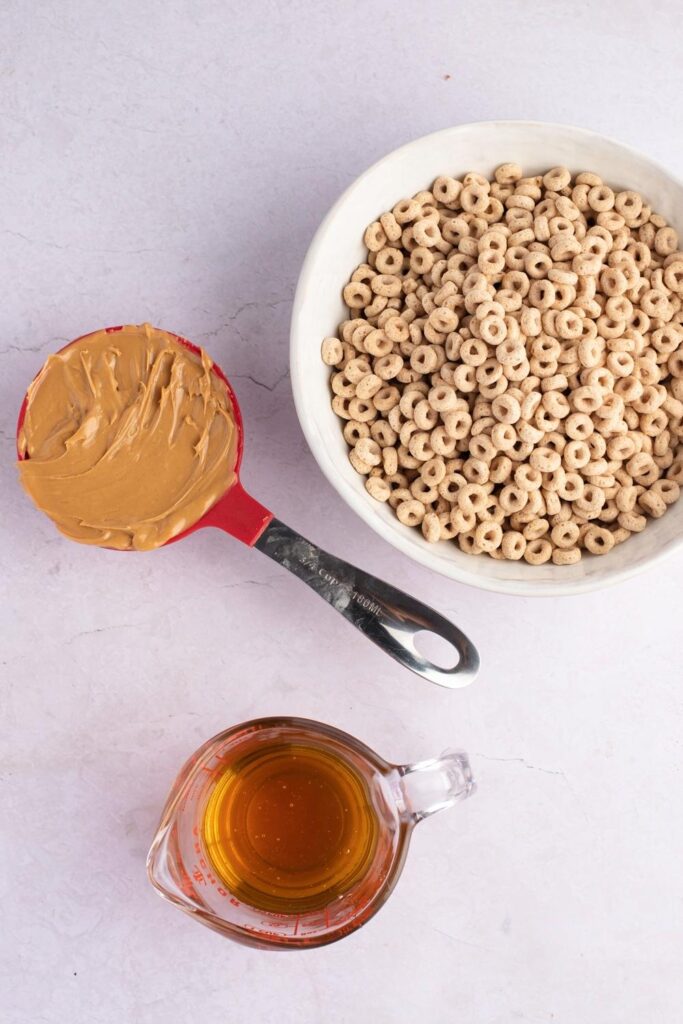
As mentioned, this recipe calls for just three pantry staples:
- Cheerios. Any brand alternative works, but the plain ones are best. Anything flavored will affect the taste and might not pair well with honey and peanut butter.
- Peanut Butter. For best results, use creamy peanut butter. All-natural peanut butter is too oily and won’t firm up your cereal bars.
- Honey. Aside from the sweetness, you’ll also need honey’s stickiness to serve as a glue to hold the Cheerios together. If you’re vegan, use maple syrup or agave.
How to Make Peanut Butter Cheerio Bars
1. Prepare the pan.
Line an 8×8-inch pan with parchment paper or aluminum foil and grease it with non-stick spray or butter.
It’s important to use this pan size to yield perfectly thick cereal bars.
While you’re at it, grease your hands and all the tools you’ll use to keep the honey from sticking.
2. Melt the peanut butter and honey.
You can do this in a saucepan over the stovetop or in the microwave.
The two key things are to heat the mixture on low and to use a container large enough that you can liberally toss the Cheerios in.
3. Add the Cheerios.
Add the Cheerios and toss until they’re well coated with the peanut butter and honey.
4. Set.
Firmly pack the cereal mixture into the pan and cover it with plastic wrap or foil. Let it set in the fridge for at least 2 hours.
5. Slice.
Use a sharp serrated knife and cut into squares. Serve and enjoy!
Tips and Tricks
While this recipe is super simple, there are a few things to keep in mind. Follow these quick tips and tricks below.
- Spray everything! This process is very sticky. Spray your hands, spatulas, measuring cups, and baking pan with non-stick spray. This will keep you and the tools you’ll use from getting sticky from the honey.
- Line your pan. These bars also love sticking to the pan. Aside from lining the pan with parchment paper or foil, spray it with oil, too. This will allow the cereal bars to lift right out of the pan once you’re ready to slice.
- Use room temperature ingredients. Room-temperature peanut butter melts faster and easier. And as mentioned, go for smooth peanut butter.
- Melt under low heat. If you heat the mixture too quickly, it’ll burn. You can also perform this step in the microwave. Put the bowl in for 20 seconds, stir, and repeat until smooth.
- Use a large saucepan or bowl. This makes the mixing process so much easier. If you use a small bowl, you’ll probably miss some pieces of cereal.
- Opt for the right pan. For best results, use an 8×8-inch pan. Any bigger than that, and you’ll get thin bars (though still tasty).
- Be gentle. Press the cereal mixture firmly into the pan, but not too much, or it’ll crush the Cheerios. Instead, just use a spatula and press down gently until it looks level.
- Use a sharp knife. When cutting, always use a very sharp knife. If it’s too dull, you risk crushing the cereal as you slice.
Add-Ins and Variations
Even with just three ingredients, these bars are one of the most delectable snacks I’ve ever had.
Care to make them even more scrummy? Easy! There are tons of add-ins and variations you can make to shake things up.
Experiment with these suggestions and let me know how yours turns out:
- Chopped Candy. Reese’s Pieces, M&M’s, crushed Heath bar, sprinkles, etc.
- Melted chocolate or chocolate chips. Dark, milk, white, butterscotch, peanut butter – take your pick.
- Other breakfast cereals. Cinnamon Toast Crunch, Fruity Pebbles, Froot Loops, Cocoa Puffs, etc.
- Mini marshmallows. I like to use colorful marshmallows.
- Nuts and seeds. Almonds, walnuts, sunflower seeds, coconut, or flax seeds.
- Dried fruit. Cherries, cranberries, blueberries – the list goes on.
How to Store Peanut Butter Cheerio Bars
It’s unlikely these bars will see the light of another day, they’re just that good. But in the rare case they do, here’s the best way to store leftovers.
- To store. Place bars in an air-tight container once completely cooled. Room temperature bars will stay fresh for up to one week. Refrigerated bars stay fresh for up to two weeks.
- To freeze. Wrap individual servings in aluminum foil or plastic wrap, and store them in the freezer. They will stay fresh for up to three months. When ready to eat, allow them to come to room temperature overnight.
More Bar Recipes You’ll Love
Rice Krispie Treats
Lunch Lady Peanut Butter Bars
Hello Dolly Bars
Caramel Brownies
Peanut Butter Rice Krispie Balls
