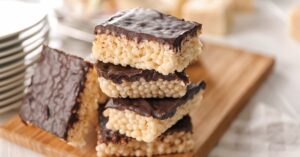
This easy Rice Krispie treats recipe makes the perfect kid-approved snack! Or adults who want to feed their inner child.
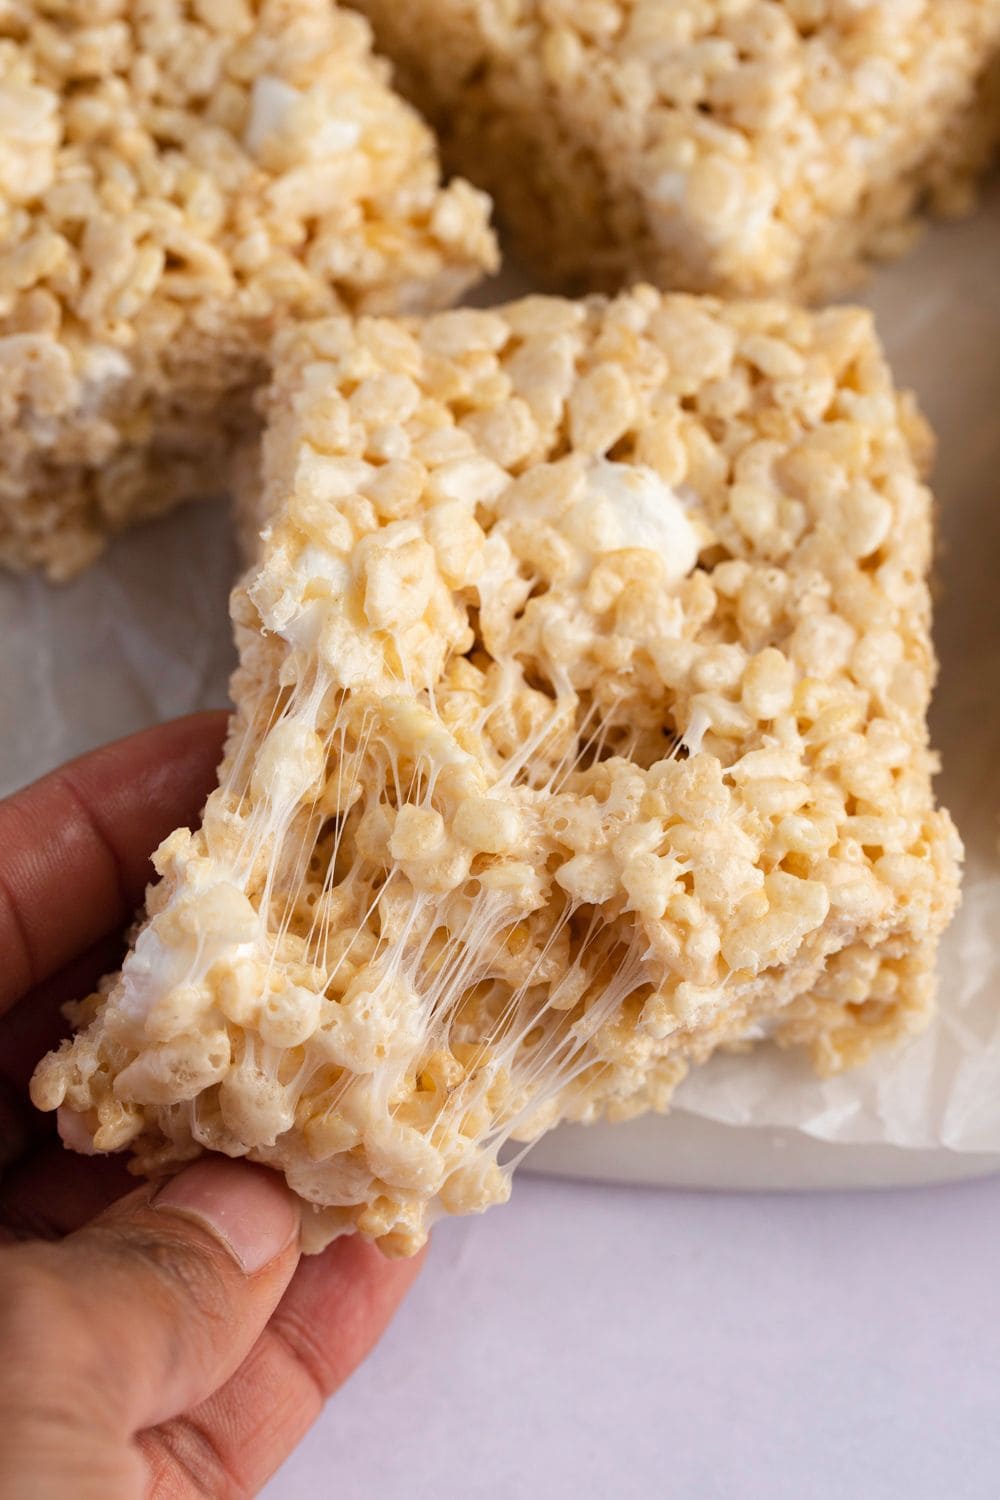
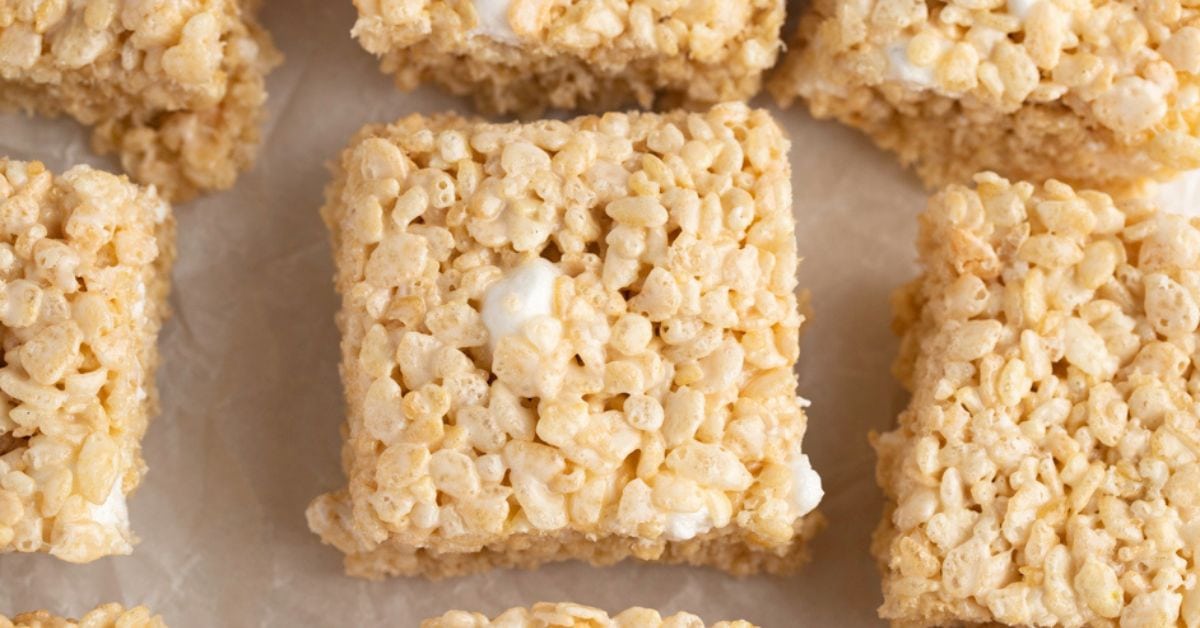
What’s not to love? They’re crunchy, and gooey, with the perfect amount of sweetness.
And the best part? You can jazz them up with whatever sweet treats you like. That includes chocolate chips, Reese’s Pieces, and more!
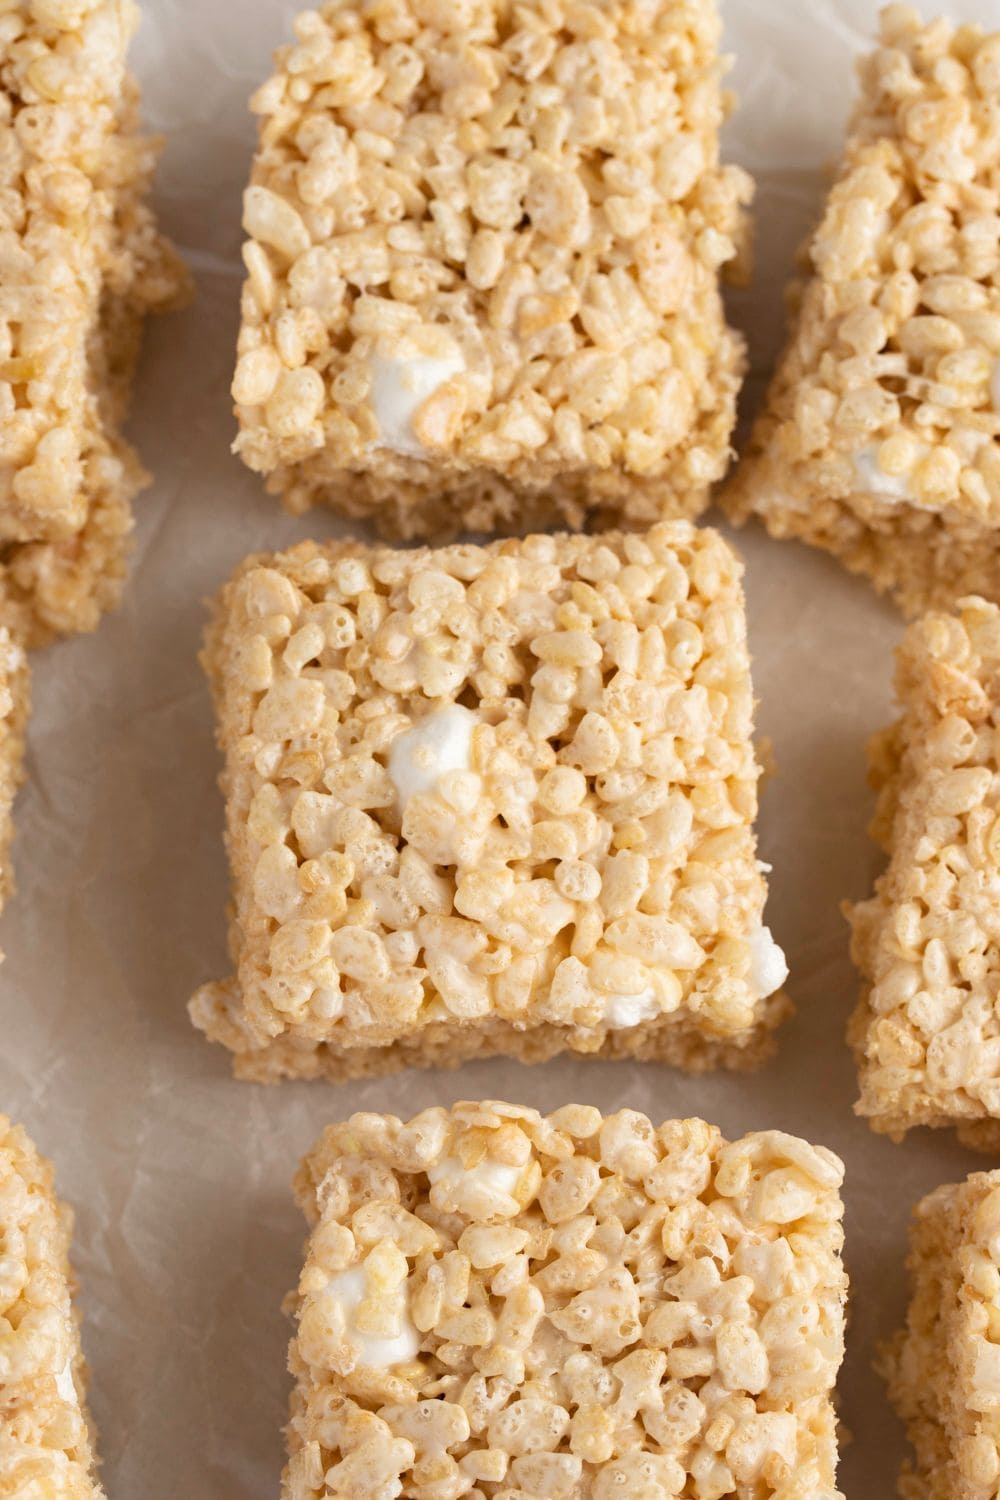
Original Rice Krispie Treats
I hope you’re ready to get messy because these easy snacks are as sticky as they come!
Rice Krispie treats are a simple, sweet dish perfect for any occasion. They’re quick to mix up and quicker to disappear!
And everyone loves the texture of crunchy cereal with gooey marshmallows.
The original recipe, which is what you’ll find below, is insanely simple. It’s a classic, so why change it?
Having said that, there are plenty of ways to make these treats your own.
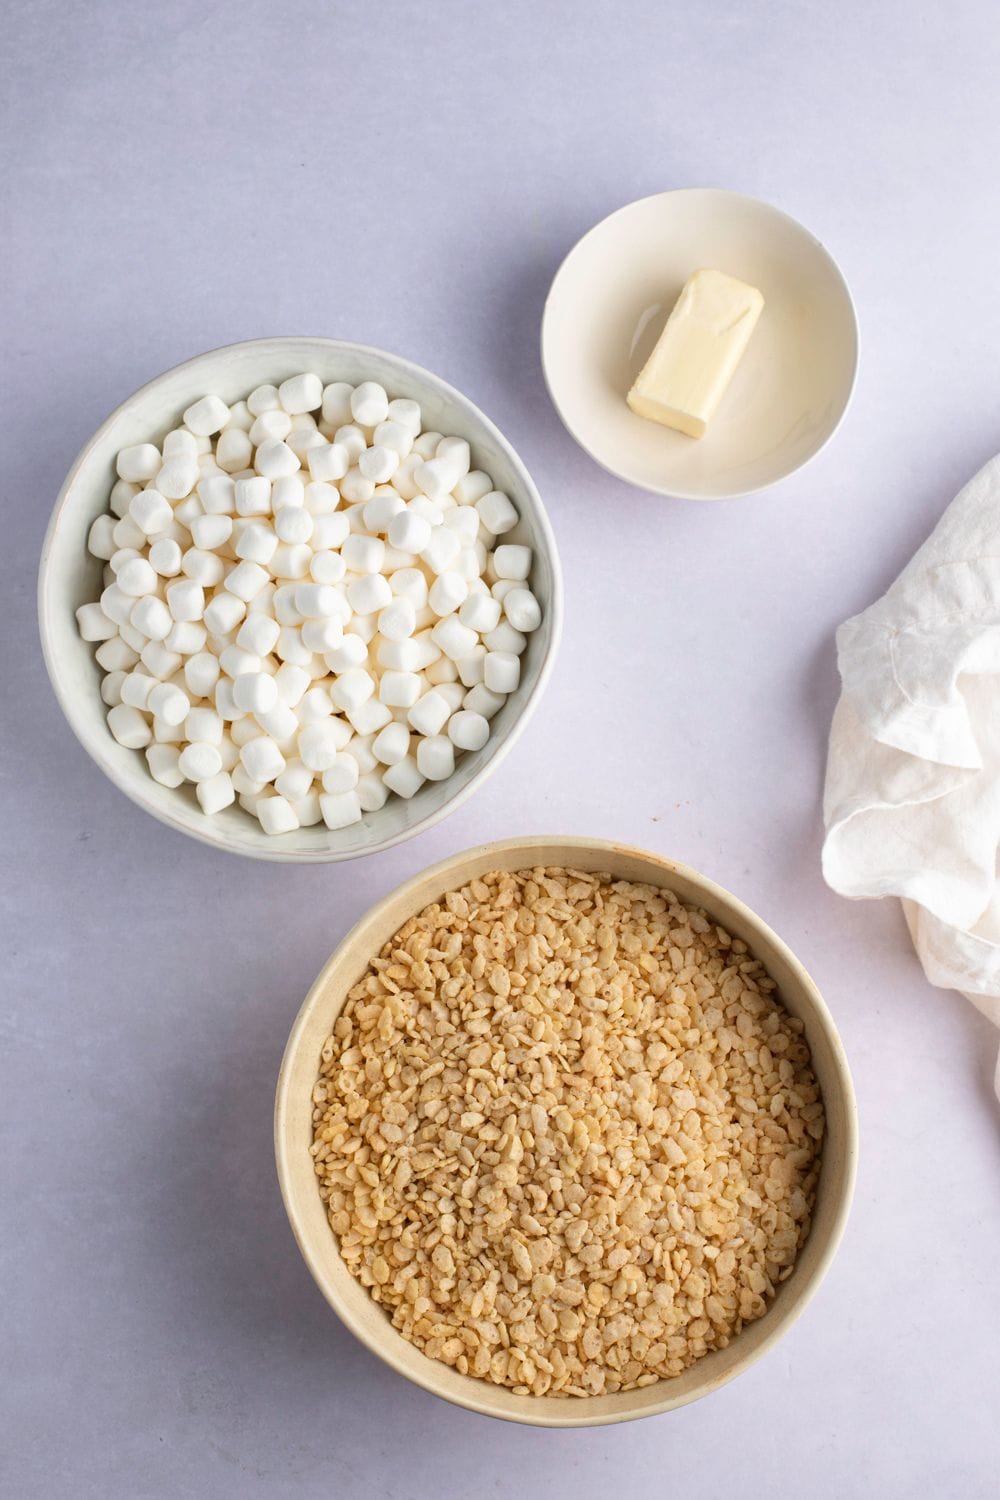
Ingredients
What’s amazing about Rice Krispie treats is that the recipe list is super short. Almost as short as the cooking time, but we’ll get into that a little later.
Here’s everything you need for this classic treat.
- Butter. Stick to unsalted. Salted butter can be too strong and detract from the ooey-gooey goodness of this recipe.
- Marshmallows. Pop open a bag of fluffy marshmallows and let their sticky, sugary magic do the work for you!
- Rice Krispies Cereal. This is the backbone of this recipe and where the dessert gets its name. A box of classic Rice Krispies cereal is all you need to turn a bland breakfast into an incredible dessert.
Optional Extras
The OG recipe hits me right in the nostalgia. But there’s nothing stopping you from making these treats your own.
Here are a few suggestions to take these bars over the edge:
- Chocolate chip
- Sprinkles
- Flavored extract, like vanilla, almond, or coconut
- Coconut flakes
- M&Ms
- Reese’s Pieces
- Nuts
- Other cereals, like Fruity Pebbles
- Pretzels
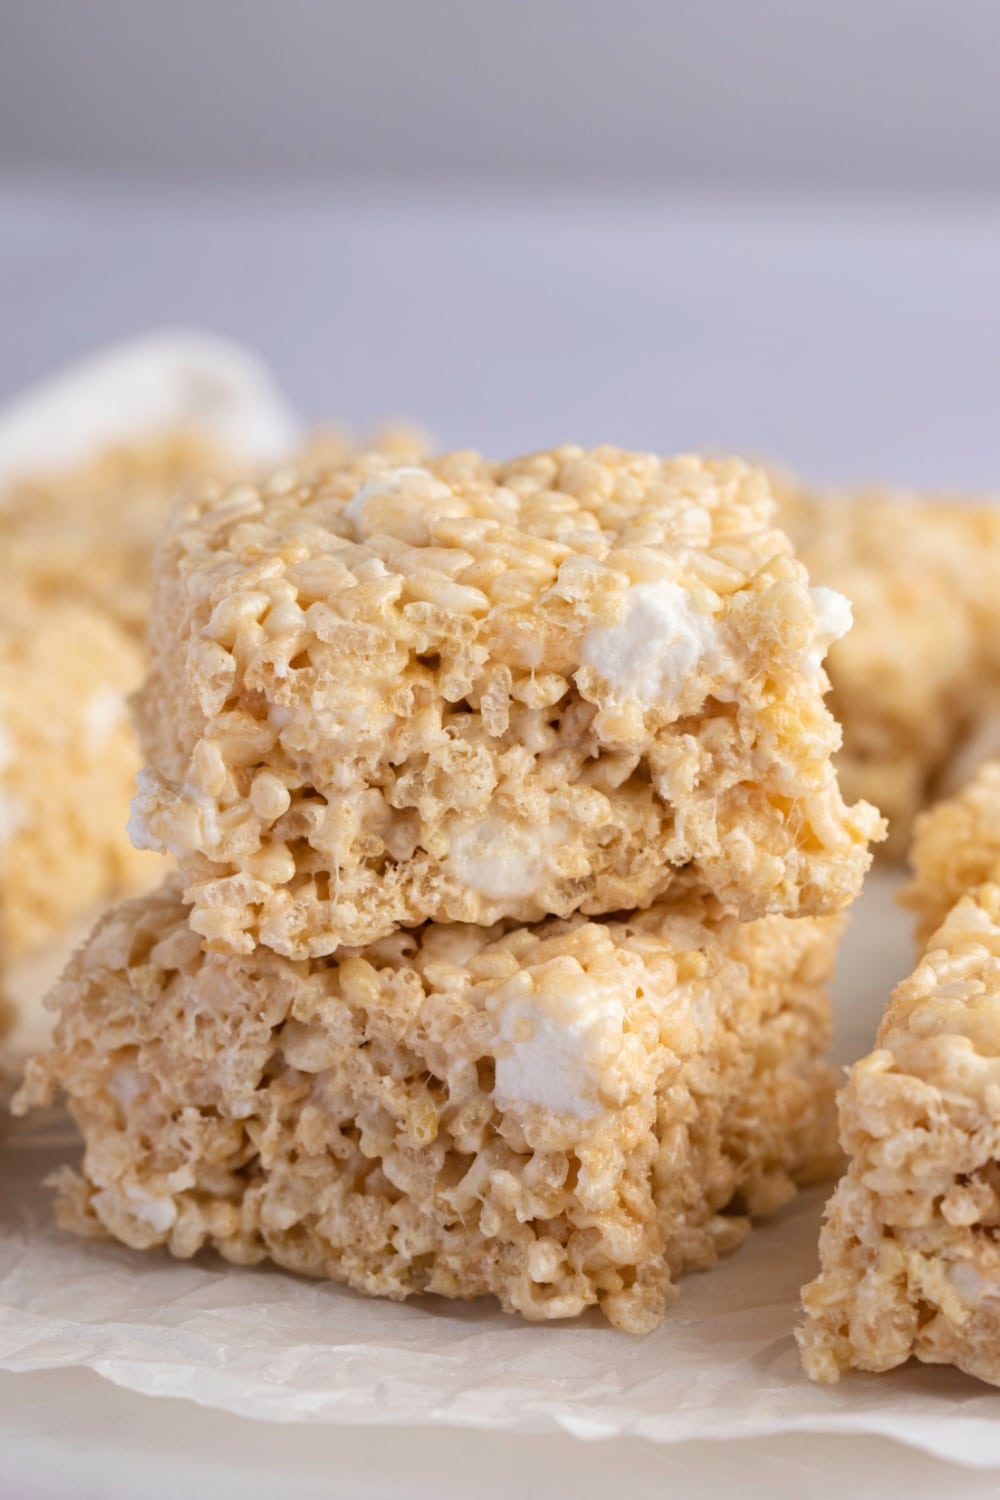
How to Make The Best Rice Krispie Treats
Rice Krispie Treats are my go-to sweet treat because they’re so easy.
Here’s a quick rundown of how quickly they come together. Don’t worry, I’ll go into more detail at the bottom of this post.
1. Prepare. Grease a baking pan with butter or non-stick spray.
2. Melt the marshmallows. Combine butter and marshmallows, and melt on the stove or in the microwave.
3. Add cereal. Then, very gently mix the cereal with the melted marshmallows.
4. Set. Pour the Rice Krispies onto the prepared baking dish and press down gently.
5. Serve. Allow it to cool for at least 15 minutes. Then cut, serve, and enjoy!
How to Melt Marshmallows
There are a couple of ways you can go about melting the marshmallows for this recipe. And they both work well.
So, just choose the method you are most comfortable with.
- The microwave. Microwave the marshmallows for 15 seconds at a time, stirring between each burst. You can melt the butter and marshmallows simultaneously using this method.
- The stovetop. Place the marshmallows in a pot on medium-low heat. Heat them until smooth and creamy, stirring occasionally. Then, add the butter.
I usually leave a few chunks of marshmallow so you get pops of chewy goodness inside the cereal. But you can make them as smooth as you like.
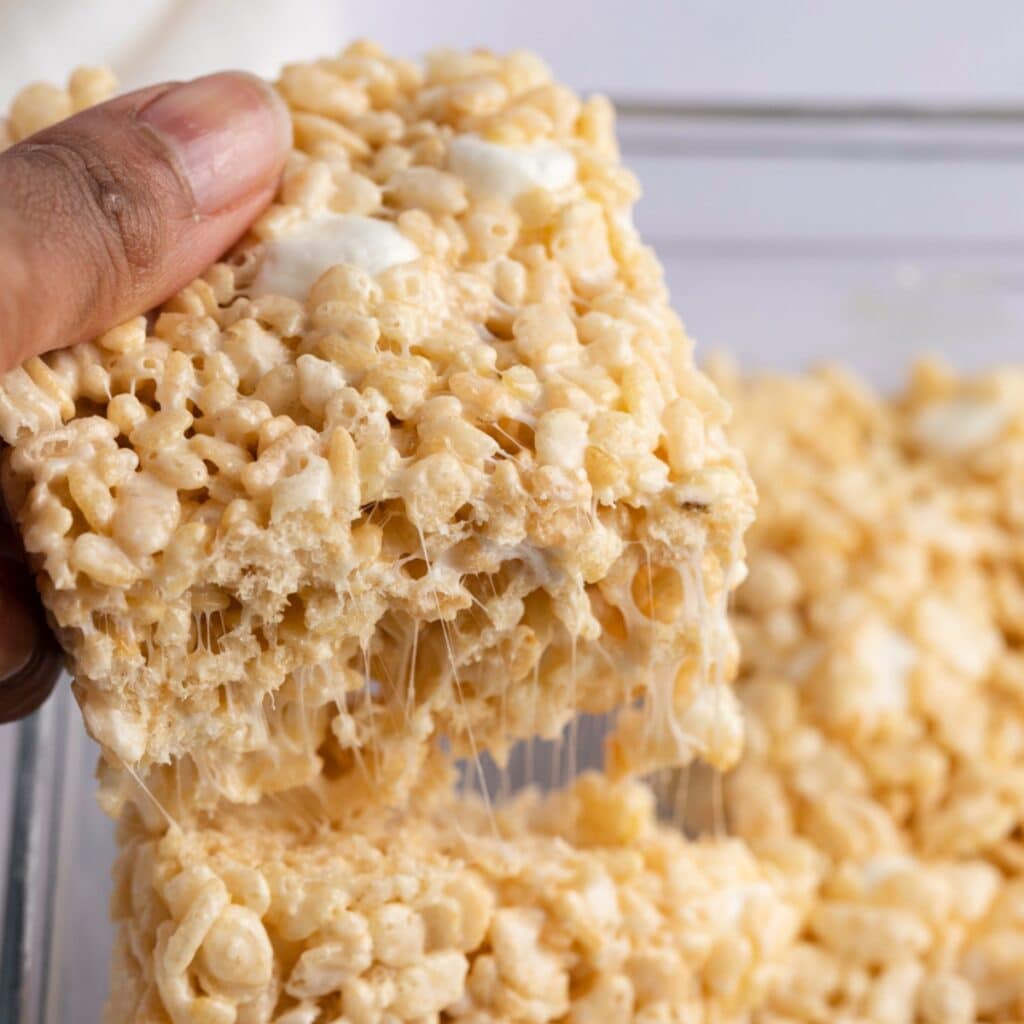
Tips & Tricks
If you are embarking on your first Rice Krispie journey, there are a couple of tricks of the trade that can help ensure your success.
- Don’t burn the marshmallows. Pour the marshmallows into a warm pan and watch them closely! When they’re smooth, take them off the heat immediately, or they’ll burn. Always err on the side of undercooked rather than overcooked.
- Stir occasionally. If you over-stir the marshmallows, they will become hard. Be gentle.
- Don’t press too hard. You want your Rice Krispies to retain their original shape as much as possible. When pressing them into the pan, be gentle. They don’t have to be perfect!
- Grease those hands. This mixture is unapologetically sticky. To prevent a sticky mess, spray your hands with a little cooking spray. You’ll thank me later.
- Cut them into fun shapes! Traditional Rice Krispie treats are square, but they don’t have to be! Use a cookie cutter to make fun shapes your kids will adore.
Recipe Variations
Once you have mastered the traditional recipe, you may want to shake things up by mixing in some Rice Krispie add-ins. Check out some of my favorites below.
- Chopped candy. Think M&Ms or Reeses Pieces. Make sure you chop the candy small enough to not overpower the cereal pieces.
- Chocolate chips. You can easily make them chocolatey with a handful of chocolate chips. But why stop there? Consider fun flavors like butterscotch or white chocolate.
- Swap out your cereal. Rice Krispies are the OG, but other cereals work, too! Try Fruity Pebbles, Cinnamon Toast Crunch, or Reese Puffs cereal. Everything goes with marshmallows.
- Get fruity. Are you craving a fruity treat? Try adding freeze-dried strawberries to the mix. Or for a real treat, blend strawberries and white chocolate chips.
How to Store
Cereal doesn’t last forever and goes stale quickly. Check out these storage tips to keep your Rice Krispies, well… crispy.
To Store. Place cooled Rice Krispies in an air-tight container on the countertop. They will stay fresh for up to 3 days.
Refrigerating them isn’t recommended because they will become hard.
To Freeze. Place them in an air-tight freezer bag where they will stay fresh for up to 3 months. When ready to eat, set them out until they reach room temperature.
More No-Bake Treats to Try
No Bake Cookies
No Bake Peanut Butter Pie
Philadelphia No-Bake Cheesecake
Oreo Lasagna







How much vanilla extract and how much salt?
1/2 teaspoon of each! 🙂
Thanks for your recipes. I enjoy them so much. They’re good for company and potlucks 😛
Hi Sandra!
So happy you’re enjoying the recipes 🙂
How much vanilla extract?
Hi Jojomo,
You’ll need 1/2 teaspoon vanilla extract 🙂